Impressionist photography is a unique genre that encourages artists to break the rules. You can use blurred subjects, movements, and crooked lines in this creative process.
The impressionist style might look complicated, but it’s quite easy to master. It’s also a fun way to express yourself.
Impressionist Photography: What is It and How to Use It in Photography
Impressionist art is associated with Plein air paintings and the ones showing the passage of time. The art movement was born in the 19th century.
Famous impressionist painters include Claude Monet, Camille Pissarro, and Vincent Van Gogh. Compared to the detailed paintings of that time period, this art movement stood out.
The name itself came from a painting by Monet that he named Impression, Sunrise.
Impressionist paintings consist of quick brushstrokes that resemble motion blur and bokeh. In essence, the style itself is an impression of life.
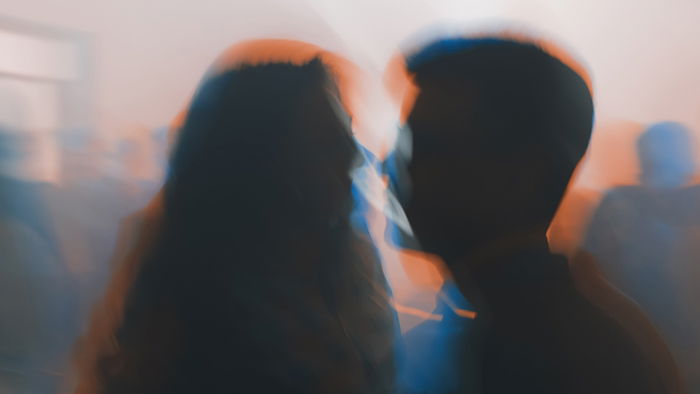
Impressionist photo techniques focus on capturing atmospheres, changing light, and movements without prioritising sharpness. To this day, many photographers attempt to do the same thing, whether with their camera or in post-processing.
Is Impressionist Photography Ideal for You?
Impressionist photography is one of the few genres that doesn’t follow any regular rules. In fact, it goes against most rules. For example, instead of keeping your camera steady, you’re encouraged to move it around.
Impressionist photography is ideal for artists who:
- Like working with a limited amount of equipment;
- Enjoy experimenting with unusual photography techniques;
- Focus on capturing atmospheres and movements in their work;
- See the potential in abstract compositions;
- Appreciate the art of emotions.
You’ll find a lot of creative freedom in this genre.
I enjoy sharp, detailed photos. But I’ve found a surprising amount of comfort in abstract photography. After experimenting with this genre, you might feel the same way too.
Now that you’re more familiar with impressionism photography, let’s dive into a few helpful tips.

Impressionist Photography Tips
1. Choose the Right Camera Settings for Impressionist Photography
All you need to create an impressionist photo is a camera (or even a smartphone) and your imagination.
While the gear is simple, the settings get a little more complicated. There are a few camera settings that will make your shooting process easier to manage.
Eva Polak is a professional impressionist photographer. She says that shooting in either aperture or shutter priority mode will give the best results. Your camera will prioritise either aperture or shutter speed. This way, it will find the best settings for you without wasting your time.
If you’d like to have more control over your photos, though, shoot in manual mode.
Your camera doesn’t have either of these modes? Then you can recreate some impressionist techniques in an editing program like Photoshop.
2. Find Potential Subjects by Studying Your Environment
You don’t need to travel the world or go to an extravagant place to find a subject worthy of your attention. Impressionist photography opportunities exist everywhere.
Your subject can be a butterfly in a park. A falling snowflake in your neighbourhood. Or even a child riding a bike in the distance.
You have to train your eye to look at the world through an impressionist point of view. Then you’ll find these creative opportunities.
Think of black & white photography. Since the world doesn’t look monochrome to most of us, we have to teach ourselves to visualise it.
To do that, all you have to do is study your surroundings. Take a break from work and go for a walk. What’s the busiest place in your area? What about the quietest place?
Where can you find movements that could become the stars of your next photo?
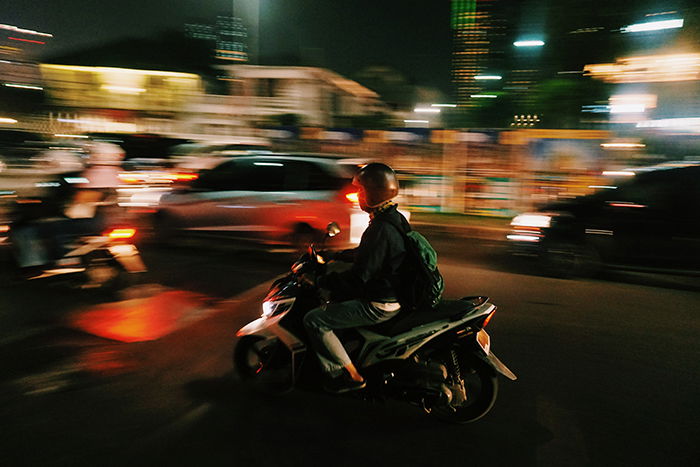
3. Capture the Essence of Movement Using Panning
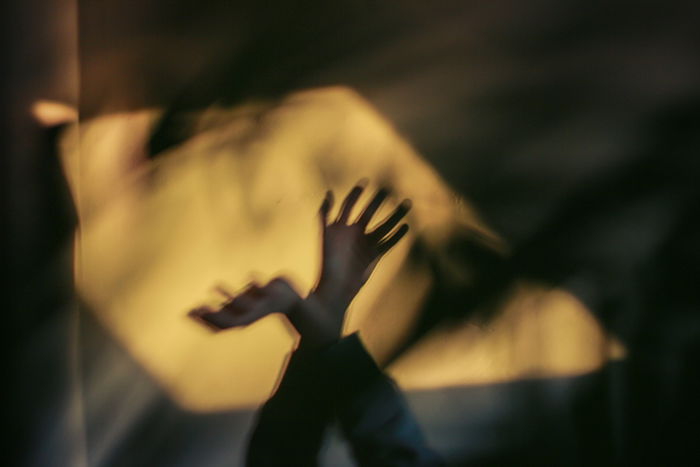
Panning is a very popular and simple technique. The trick is to move your camera along with your subject and use a moderately long exposure!
This will only work if your subject is moving fast. And if you can predict their movements. Your results will either look completely blurry or have a very sharp subject.
Either way, the background will look like an interesting abstract painting.
The point of panning is to capture the essence of movement. And it will help you emphasise the quickness of your subject’s motion.
4. Predict the Subject’s Movement for Perfect Framing
Instead of panning or moving your camera all over the place, you can sit still and observe. This works very well if your subject is a dancer.
The one thing you should pay attention to is framing. If your subject leaves the frame, you’ll have an incomplete photograph. Again, you need to be able to predict your model’s movements.
When it comes to dancers, all you have to do is make sure the entire stage is in the frame.
If you want your entire photo to look blurry, don’t use a tripod. If you want to take a photo like the one below, you’ll need to use one.
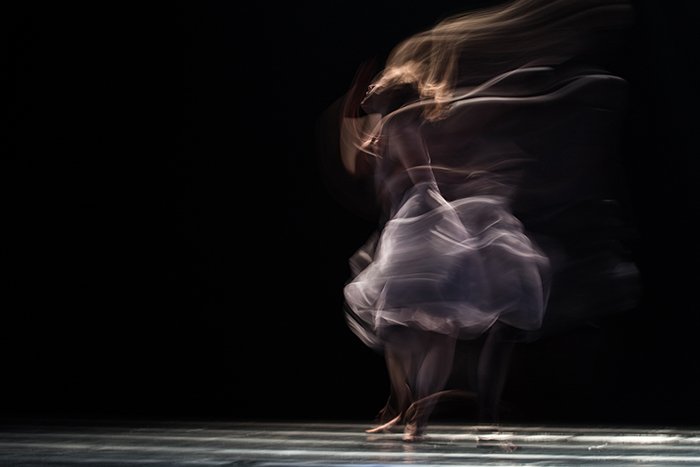
Set your aperture to f/5.0 or anything larger than that to get interesting long exposure photography results. Reach a 1/30 shutter speed or less for the desired motion blur!
The larger your f-number, the longer it will take your camera to capture a photo. And the more motion blur your photo will have. This will result in smooth lines like the ones above.
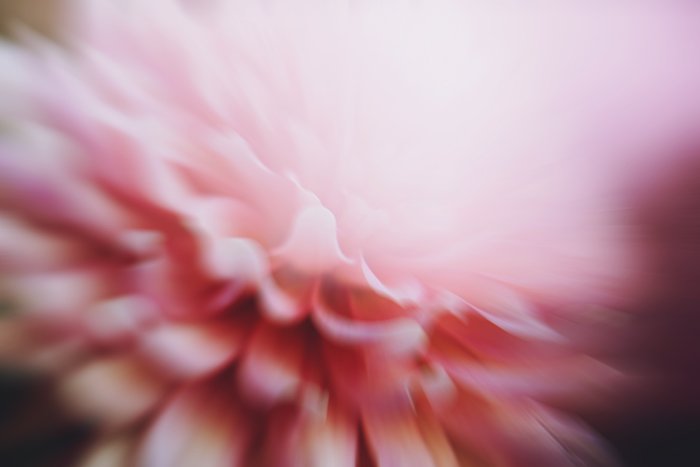
5. Defocus to Create Depth and Mystery
- Blur can create interesting abstract shapes. It’s also pleasant to look at.
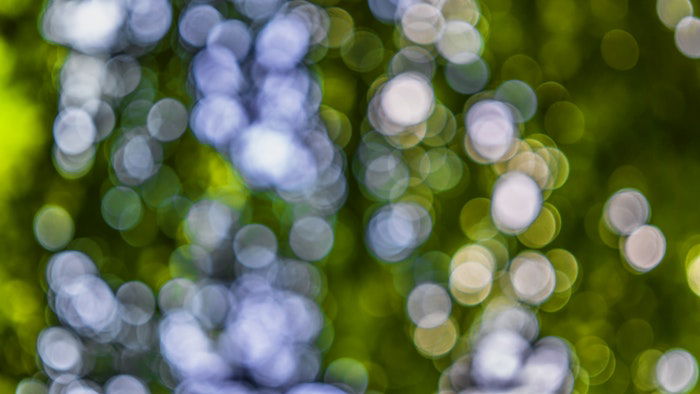
Use the smallest f-number you can to take the blurriest photos possible. An aperture of f/1.2, f/1.4, or f/1.8 will give you the best results.
Once you do, find a composition you like and manually focus away from it.
There’s no limit to what you can do with the blurred technique. You can use lens blur to photograph landscapes. To mysterious silhouettes or figures. Or to fill your frame with beautiful bokeh.
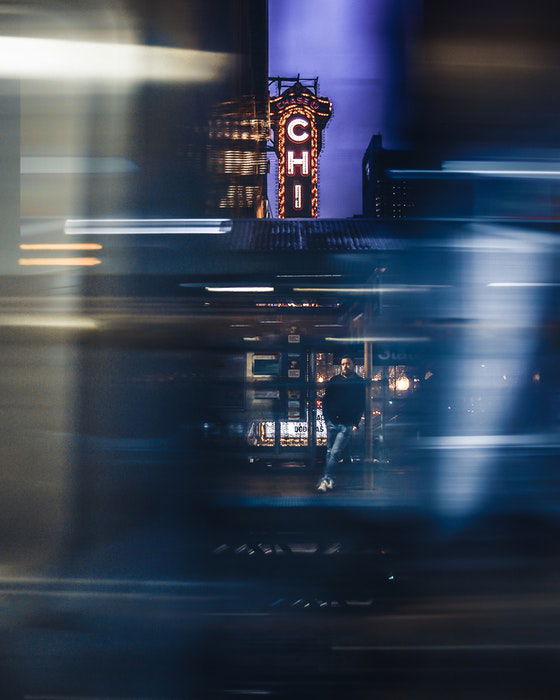
If you want to take your blurred technique to the next level, combine it with freelensing. It is a technique you can use with cameras that have interchangeable lenses.
You’ll have to take off your lens and hold a part of it against your camera to create a tilt-shift effect.
Part of your photo will look blurred while the other will look sharper.
If you don’t want to use the risky freelensing technique, you can use the tilt-shift effect in Photoshop. Go to Filter > Blur Gallery > Tilt-Shift. There, you’ll be able to control the amount of distortion and blur in your photo.
This won’t look as perfect as a photo made with a real tilt-shift lens. But it will give you interesting results that might inspire you to experiment in Photoshop more often.
6. Master the Zoom Effect for an Artistic Result
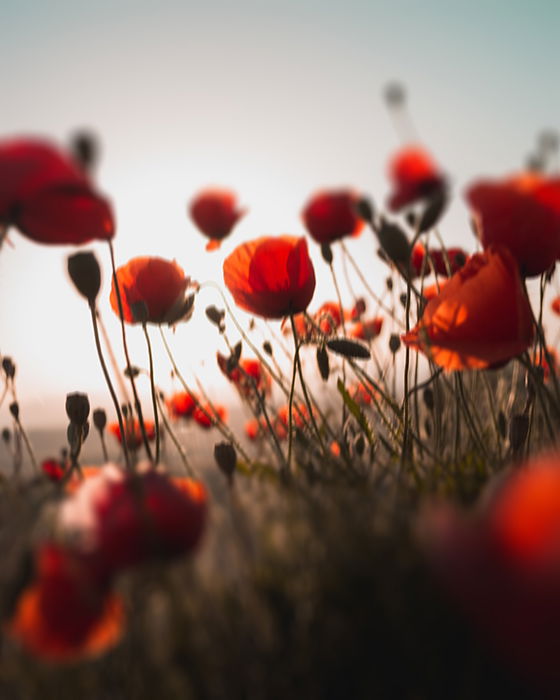
- If you have a camera with a zoom lens, you can take interesting photos.
- Zoom in and press the shutter at the same time. This will create the illusion of movement. It’s like what you’d experience while driving through a tunnel.
If you don’t own a zoom lens, you can still recreate the effect. Quickly move towards or away from your subject while taking a photo. Since it’s impressionism, you don’t have to worry about blurry results.
The zoom technique will work best with still subjects that can fit into your frame. Examples of this are plants, fruit, and eyes.
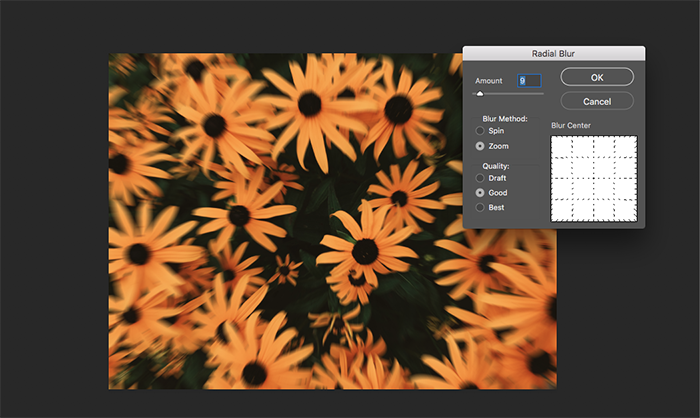
Like the tilt-shift effect, the zoom effect can be recreated in Photoshop. Go to Filter > Blur > Radial Blur and select Zoom under Blur Method.
Unlike the tilt-shift section, this effect won’t let you preview your results. You might have to try this effect a few times before you get the results you want.
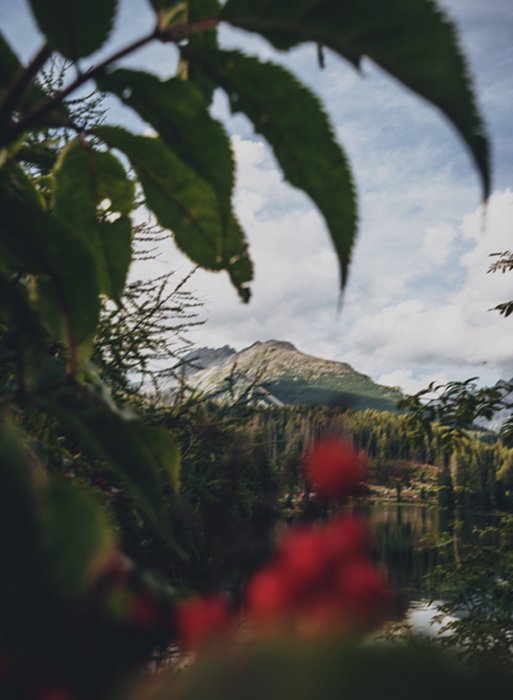
7. Shoot Through a Foreground to Add Layers
- The red berries make the photo below more visually appealing. The leaves frame a part of the image. Without them, the sky would look empty and dull.
- Details like this can enhance or destroy a composition. The more you practice, the easier it will be to find the perfect foregrounds and subjects for your photos.
-
Many abstract paintings consist of colorful layers that add depth to the subject. You can do the same thing. Shoot through foregrounds that complement your subject.
Pay careful attention to your foreground. If it’s too bright or vibrant, it will overshadow your photography subject.
It’s easier to find appropriate subjects out in nature. Outdoor colors complement one another in a natural way.
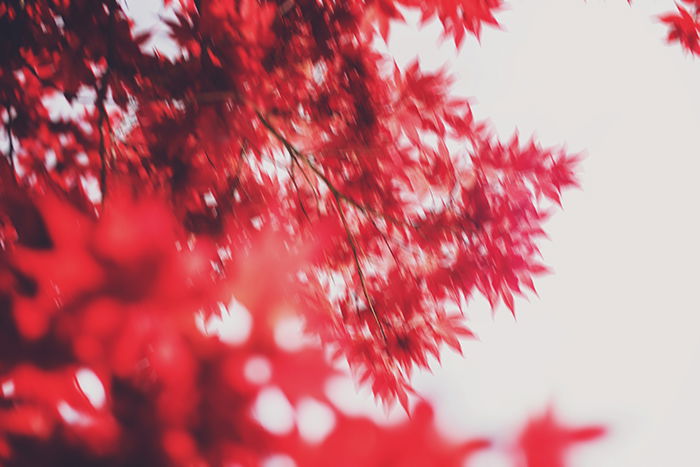
Conclusion: Impressionist Photography
Impressionist photography won’t improve your conventional technical skills. It will, however, inspire you to embrace your imagination. It will change the way you look at photos and what you can achieve with them.
Sometimes you need to break the rules and look at photography from a different perspective. You’ll find an abundance of inspiration in this genre.
For more artistic photography ideas, check out our article on how to turn photos into paintings with these awesome apps!
You can learn more techniques for jaw-dropping images with Wow Factor Photography!

