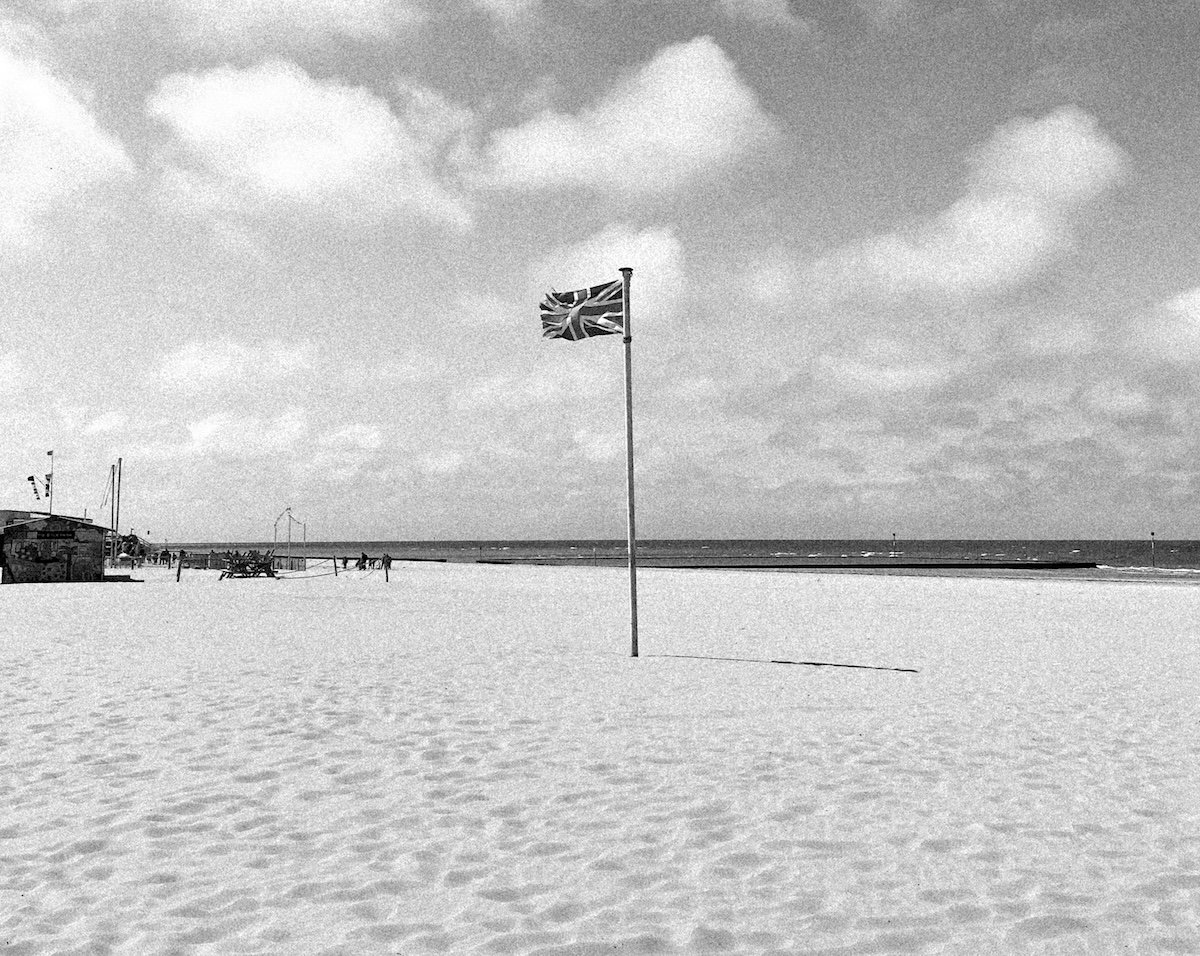
Learning how to add grain in Lightroom may seem like a step backward, but this aesthetic can add a new dimension to your photos. In the age of digital photography, we expect our images to be crisp and clean. But when we look back at old photographs, grain adds a unique aesthetic that gives an emotional and timeless feel.
This article will teach you how to add grain in Lightroom to get a film look. This process allows you to quickly change your photograph’s aesthetic and overall feel. It can be used to make event photography feel more timeless or add grit to street photographs.

- Learn to use every tool for quick, professional edits.
- Discover seamless subject selection with a single click.
- Unlock hidden details in photos with our unique method.
What Is Film Grain?
Film grain is caused by the chemistry that allows us to freeze and fix photographs. Grain is the noticeable texture we see in an enlarged film photograph.
Different film types will have different types of grain. Films with lower ISOs will have a finer grain. This makes the photographs sharper, and the grain texture is only noticeable when the image is enlarged. Higher ISO film has a larger grain. This is why we associate large grain with gritty photographs. For example, street photographers shooting at night would use films with high ISOs.
Film grain is now used as an artistic effect. It is an aesthetic that works in many different contexts. Continue reading to learn how to add film grain in Lightroom.

Adding Grain in Lightroom Classic vs. Lightroom CC
The process of adding grain to get a film look is the same in any version of Lightroom.
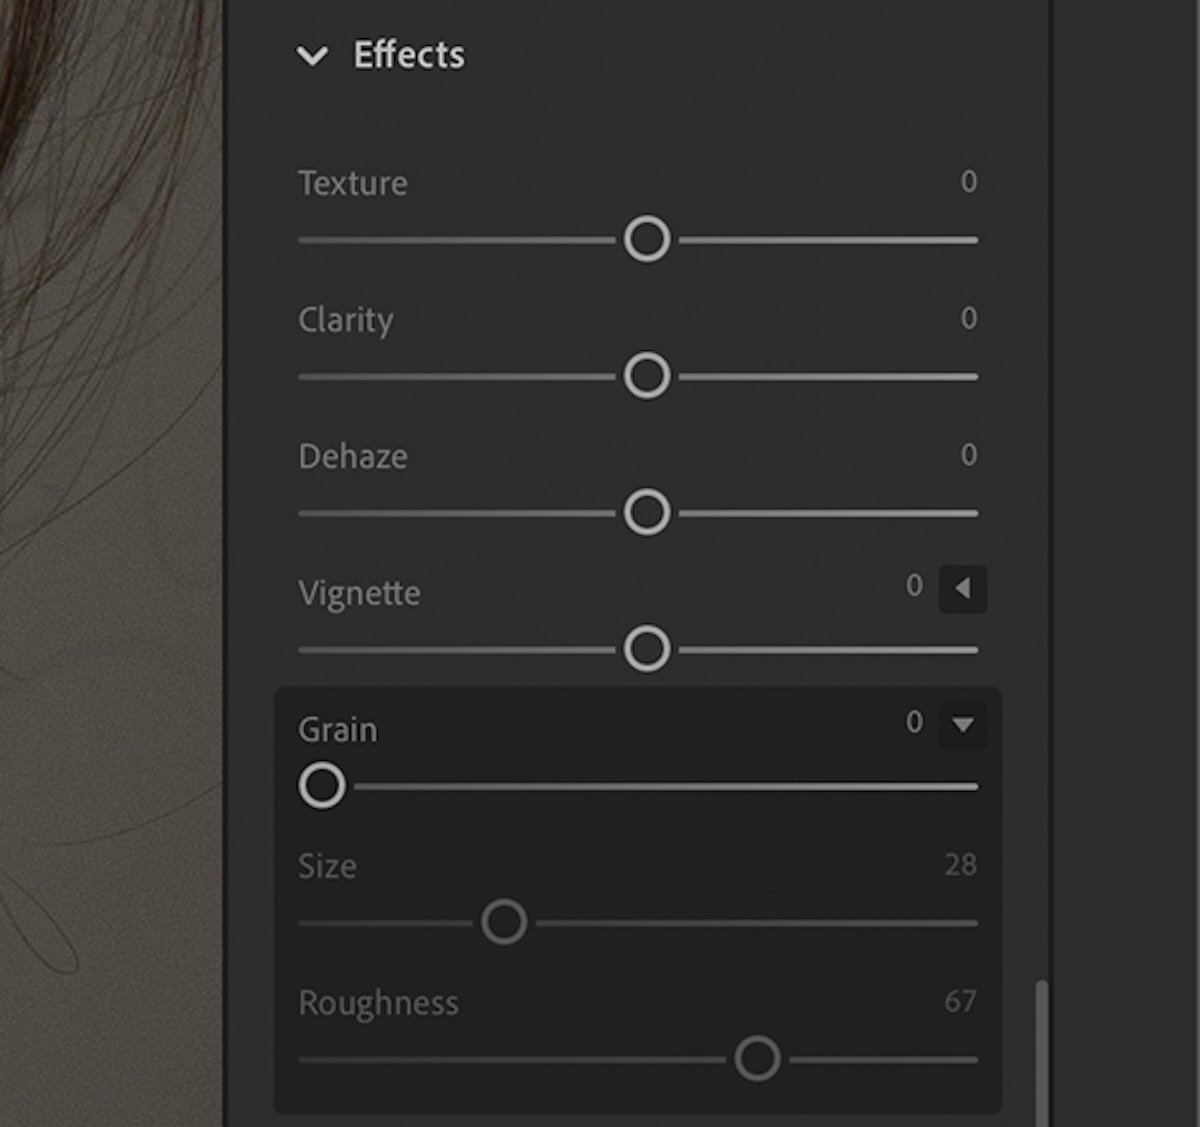
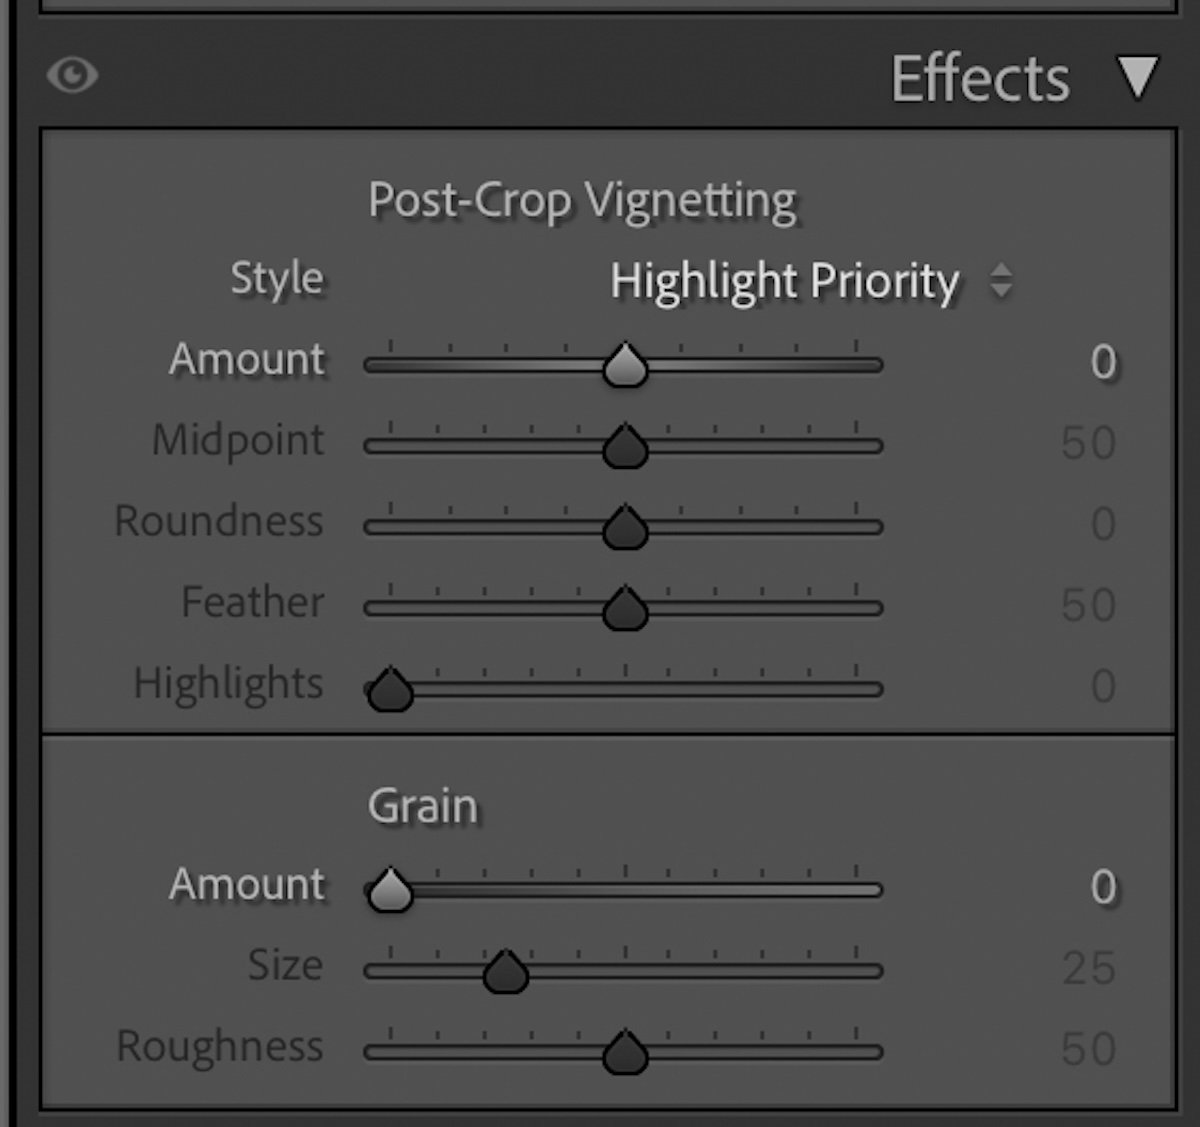
You will find the Grain adjustment in the Effects panel of the Develop module in Lightroom Classic. It will be in the Edit panel in Lightroom CC.
How to Add Grain in Lightroom to Get a Film Look
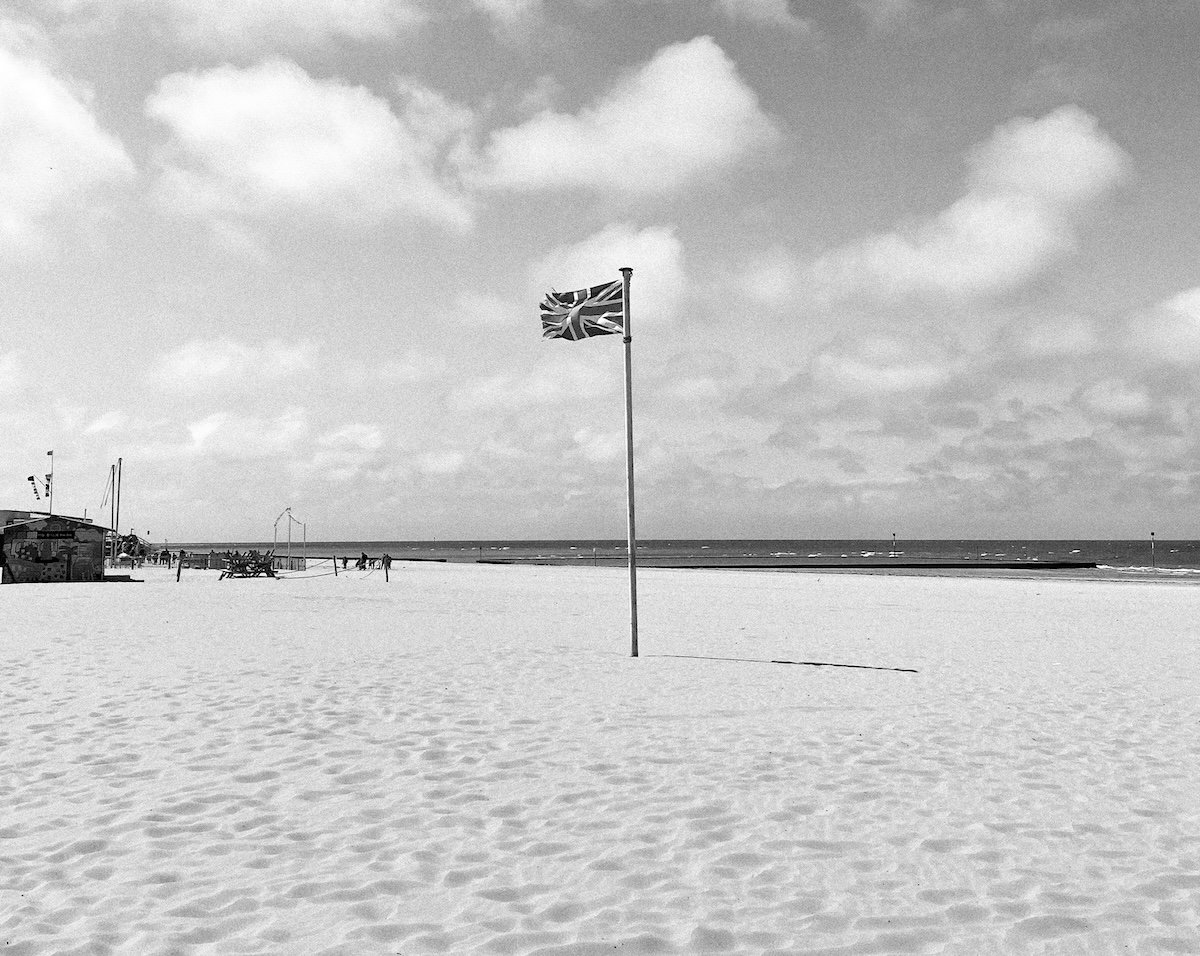
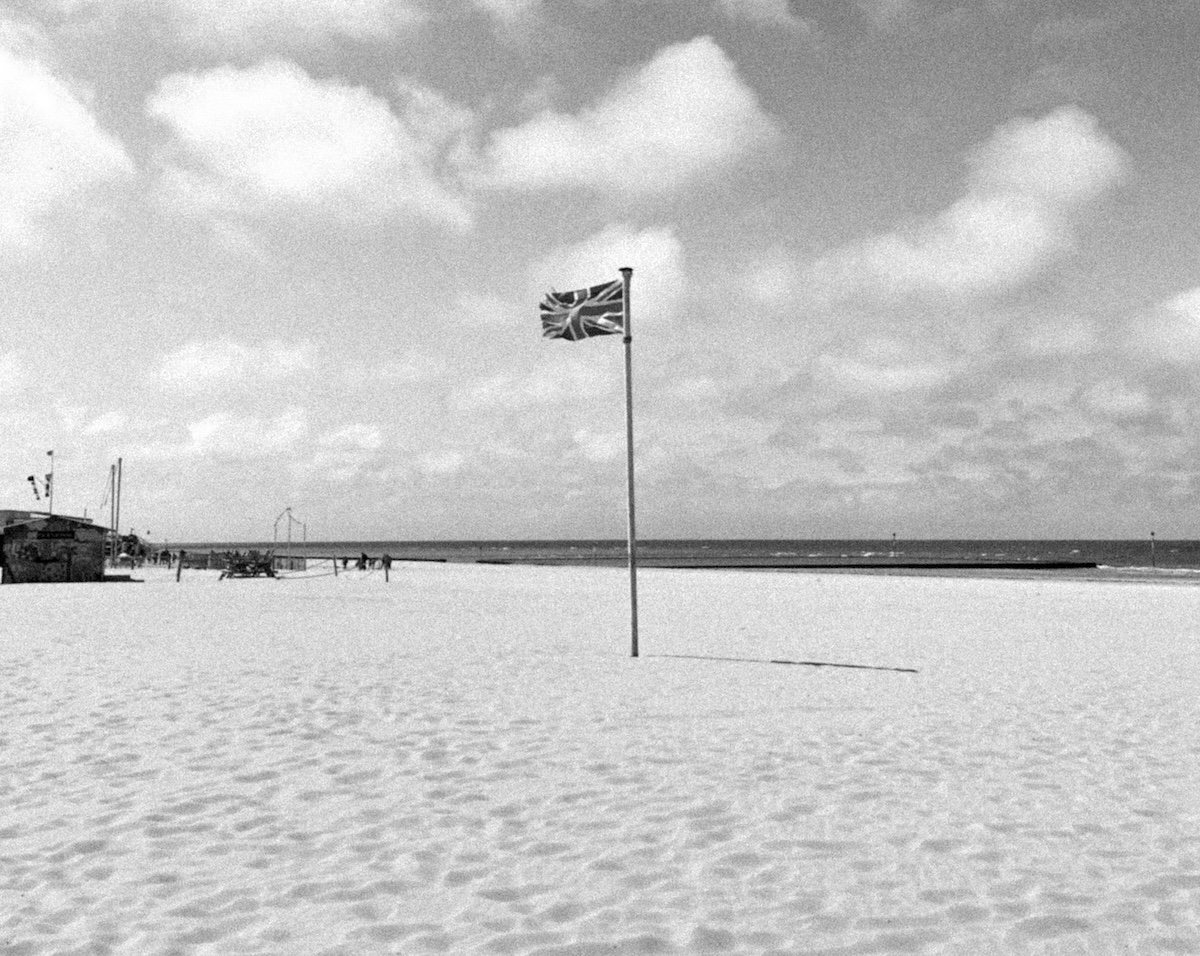
Now, we are going to look at how to add grain in Lightroom to change the aesthetic of your photograph.
Lightroom has a dedicated tool to add grain. You can find the Grain tool inside the Effects section. This tool not only allows you to add grain but also allows you to customize the grain effect.
The two customization options are Size and Roughness. You can edit these options after you apply any increment of grain to your photo.
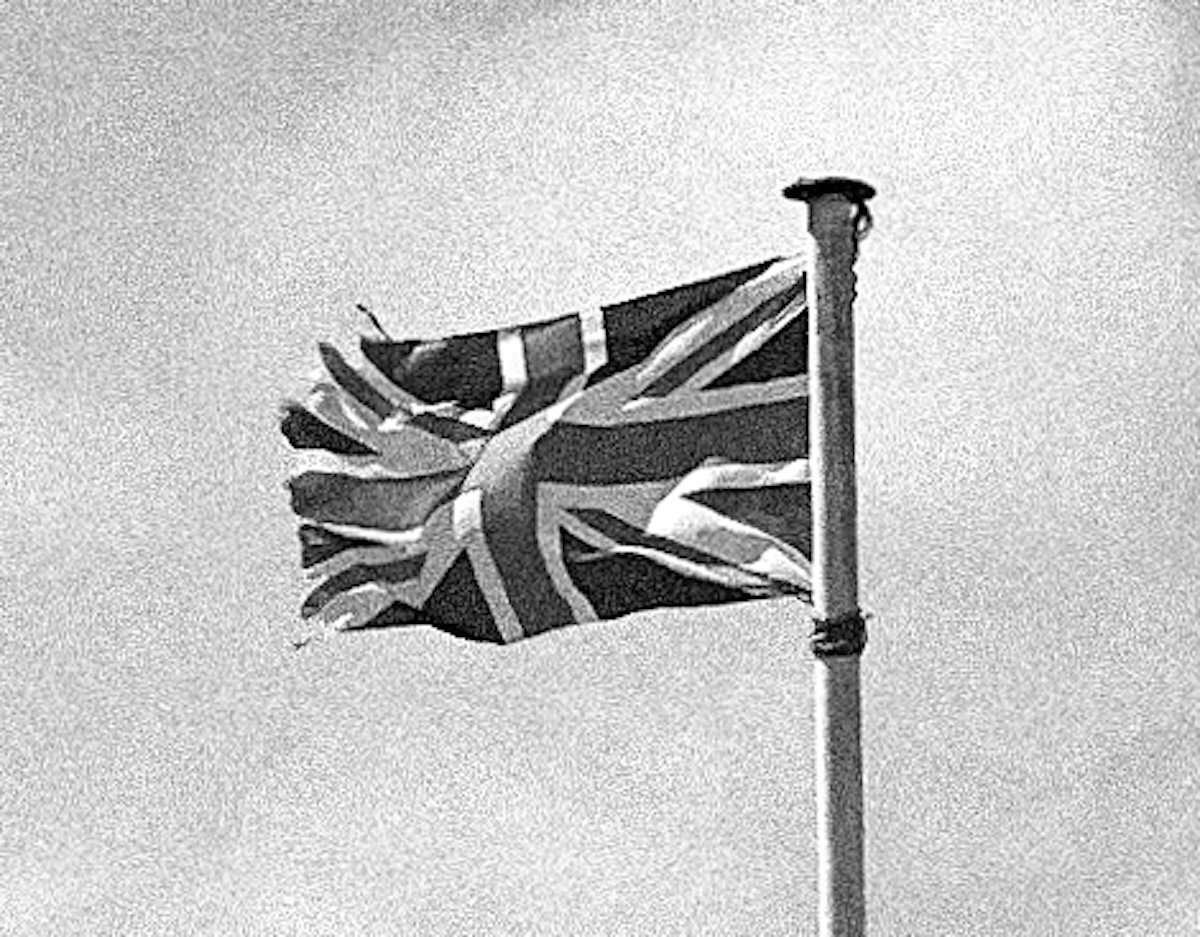
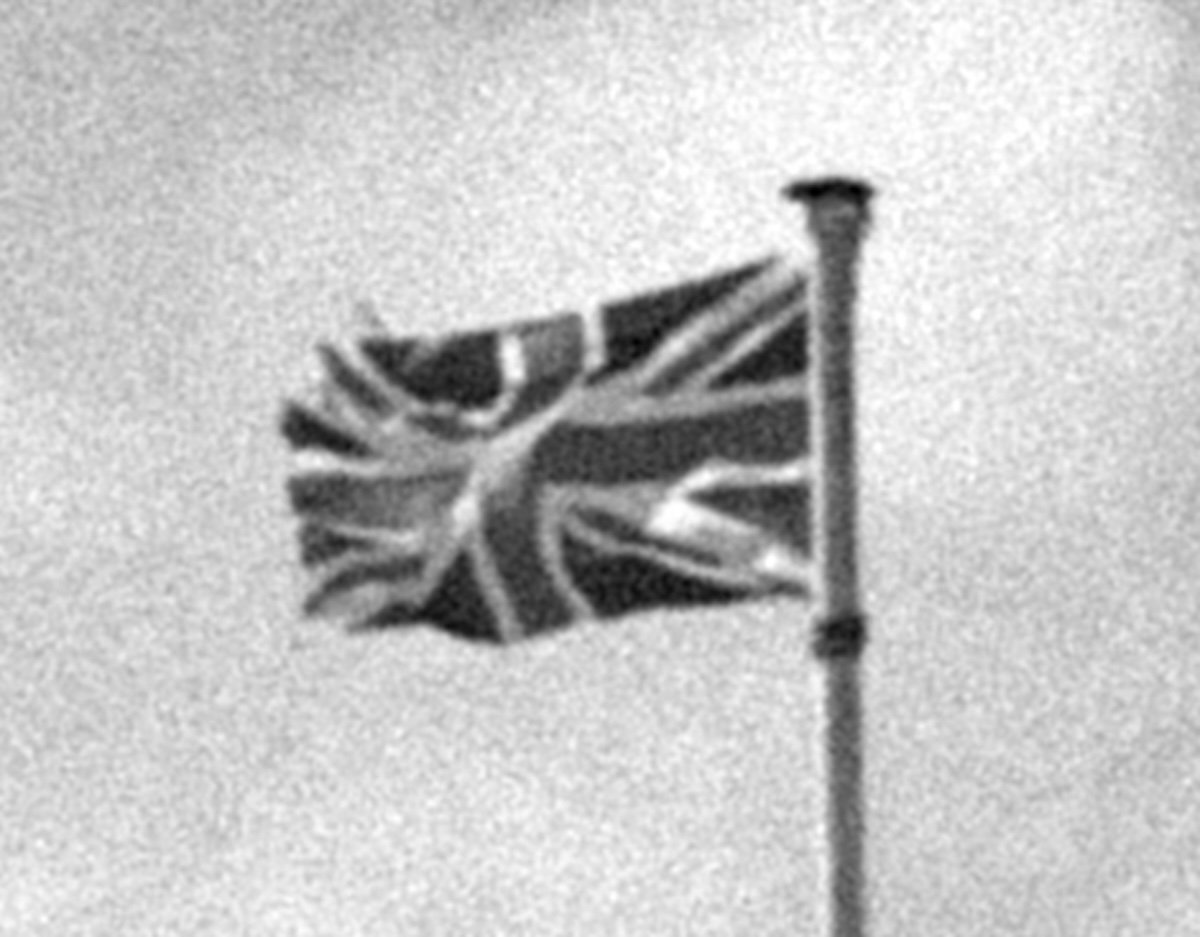
Size adjusts the size of the grain. As mentioned earlier, different film types had different size grains. If you want a subtle grain effect to your photograph, you may want to reduce the size.
The larger grain is more noticeable. This larger grain emphasizes the timeless or gritty effect you may want to achieve. Notice that the sharpness will change with the Size adjustment. This is an accurate simulation of real film effects as the larger film grain is less sharp.
Roughness is like contrast for the film grain. It is a way to amplify or reduce how noticeable your grain is. This is the most effective control for fine-tuning your grain effect.
Conclusion: How to Add Grain in Lightroom
The Grain tool in Lightroom is a quick and easy way to change the aesthetic of your photograph. There are many uses for film grain, as film grain existed in every photograph before the digital era. This means you can add it to beautiful fashion or wedding photography as well as gritty, intense street photography.
Make sure you play with the customization tools that Lightroom provides. These sliders are crucial and may change the overall feel of your photograph.

- Learn to use every tool for quick, professional edits.
- Discover seamless subject selection with a single click.
- Unlock hidden details in photos with our unique method.

