Have you ever looked at your photo and seen unusual lines or colors? This is a moiré pattern, and it can be an annoying part of any photographer’s job.
There are many ways to spot, avoid, and remove moiré. You won’t need to worry about moiré patterns at all if you use the right techniques.
Why Do Modern Cameras Still Create a Moiré Effect?
Moiré patterns in photography have been around for a long time.
In the past, the best way to remove moire was to shoot with the right equipment. Many old (and modern!) cameras have an anti-aliasing filter (also known as AA filter) that removes moire effect in-camera.
The point of the filter is to help avoid moire pattern even when you’re photographing tiny details.
The disadvantage of anti-aliasing filters is that they create more blur. This blur is a problem if you want your details to stand out. For this reason, many of today’s cameras don’t support this filter anymore.
There are many ways you can avoid and remove moiré patterns on your own.
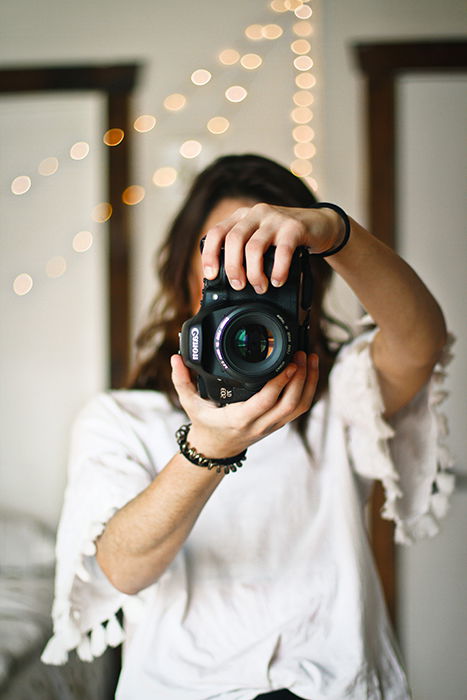
Objects Which Create Moiré Patterns
To avoid moire patterns, you need to know where they appear most often. Typically, anything with lots of small details will create unusual distortions.
If you’re a portrait or lifestyle photographer, watch out for:
- T-shirts or suits with tight patterns
- Fabric (e.g. lace curtains)
- Screens (laptops, TVs, and even phones).
If you’re a landscape, nature, or architecture photographer, try to avoid:
- Roofs
- Buildings with intense or tight designs
- Feathers.
These moire patterns can slow down your photoshoot and complicate your editing process. But this doesn’t mean you have to avoid them all the time.
In some cases, you’ll need to photograph these subjects to make your photos more interesting. You might need to shoot a specific product for an advertisement. Fortunately, there are solutions to this.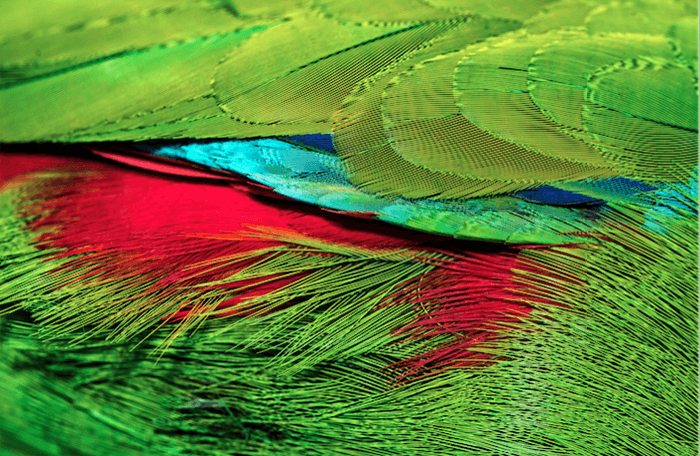
Zoom in to See If You Captured a Moiré Pattern
One of the most effective ways to avoid moiré patterns in photography is to look for moire intentionally.
During your photo shoot, take a few test shots of your subject. Zoom in and notice if there are any unusual colors or distortions in the details. If you see colors that shouldn’t be there (purples, greens, or yellows), then you have a moire photography problem.
You have two solutions in this case. You can either take photos of something else (change outfits, move to another location, etc.) or try a few anti-moiré photography tricks.
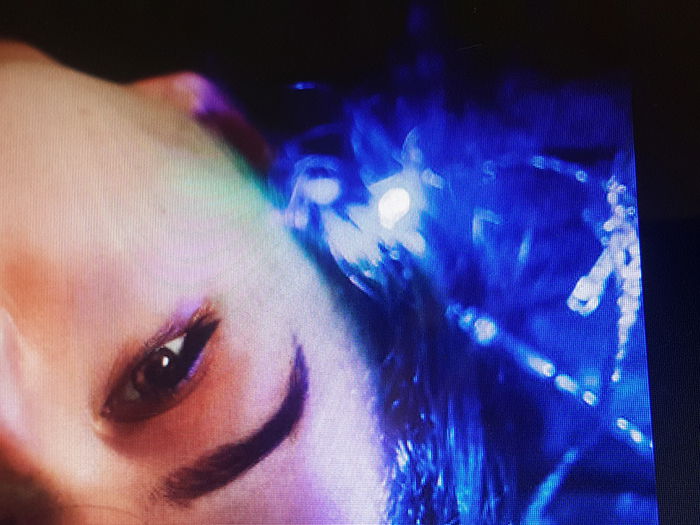
Shoot Close to Your Model to Create a Bigger Distance Between the Lines
Moiré patterns thrive off of details. If there are too many, your camera will get confused and create unflattering distortions. So why not create a more significant distance between the details? This way, your camera won’t get overwhelmed by all the visual information in front of it.
You can do this by getting closer to your subject. If you’re photographing a t-shirt, you can switch to a zoom lens to capture precise details. If you’re shooting a building, you might need to drive a little closer so that its patterns are more visible.
If closing the distance isn’t possible, you might need to change your camera settings.
Use a Large or Small Aperture to Fix the Moiré Problem
Sometimes, all you need to do is change your aperture. This depends on your photoshoot requirements. If you’re taking photos for fun, this shouldn’t be a problem. If you can’t experiment as much, you should skip to the next tip.
Experiment with very small and very large apertures. Some photographers have found that using an aperture like f/11 gets rid of moiré. The sharper your photos, the less confused your camera will be about the tight patterns in front of it.
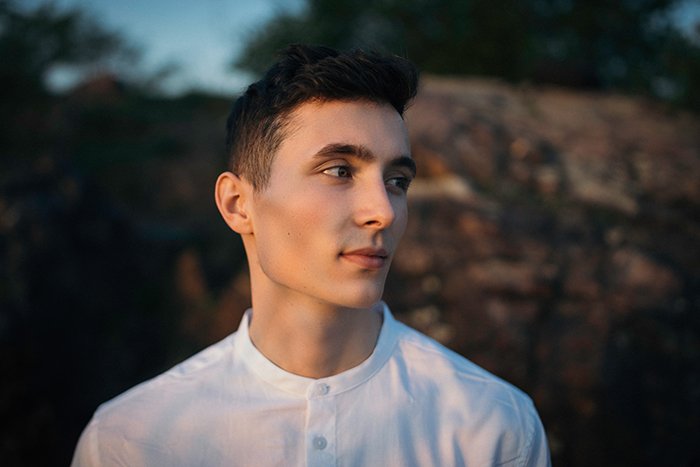
If the object with the moiré pattern isn’t the main subject of your photo shoot, you can blur it out. This is a handy trick for close-up photography and portrait photography. You can use a large aperture like f/1.2 or f/1.8 to keep nothing but your main subject in focus.

Use Lightroom’s Adjustment Brush to Get Rid of Moiré Patterns
Lightroom has a specific tool for removing moiré effect. Go to the Develop module and click on the adjustment brush icon. You’ll see the Moiré slider right under the Sharpness and Noise Sliders.
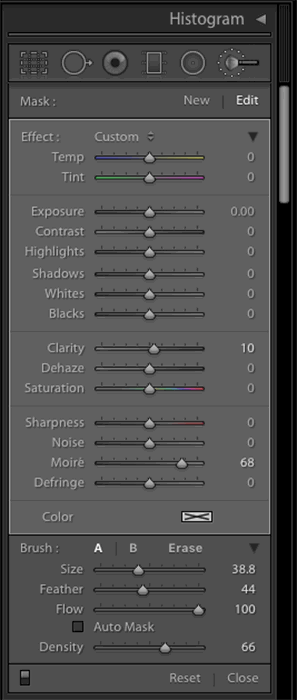
Make sure that every other slider is at 0. This way, you won’t accidentally make unwanted changes to the moiré pattern. To reset a slider, double click the name of the slider.
Once you reset everything, drag the Moiré slider to the right. You don’t need to choose a specific number. Make sure that it’s high enough for you to see a difference when you paint over the moiré.
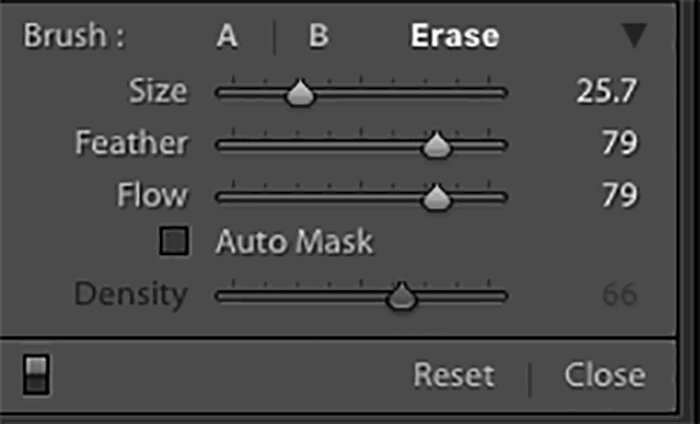
Paint over the moiré effect. You should start to see a difference. If you want to see the affected areas, click on Show Selected Mask Overlay.
Common Moire Effect Questions
What Causes Moiré in Video?
Patterns and thin lines usually cause moire in videos. The more tiny details there are, the harder it is for your camera to capture everything. These patterns create unusual curves, colors, and effects that might ruin a video.
How Do I Get Rid of Moiré Pattern in Photography?
You can fix moiré patterns in an editing program like Lightroom or Photoshop. Both programs have special tools for removing moiré. You can also avoid moire by shooting closer to your subject or using a smaller aperture.
What Is Color Moiré in Photography?
Color moire is a part of the moiré effect. It usually appears in photos of details that are very close to one another. The colors tend to be yellow, purple, or green. You can generally find color moiré in photos of patterned suits, t-shirts, and other kinds of fabric.
Conclusion
Moiré patterns are common. They shouldn’t be an obstacle during your photoshoots.
Using the right techniques, you can either avoid or remove moire without wasting a lot of time.

