Are you looking for tips to take high quality photos? If so, you’ve come to the right place. Here are eight easy ways to up your photography game and start taking pictures that look like they came straight from a magazine.
Take High Quality Photos by Shooting In Raw
You have heard this one a million times before, but for high quality images, you need to shoot in RAW.
This is not to say that JPEG files don’t have their place and that you should never photograph in JPG. You might be a high volume shooter like a wedding photographer. For you, it can sometimes make absolute sense to shoot in JPG. The files will take up a lot less space on your SD card and JPEG files are already processed.
The drawback of JPG is that you’re limited by how much retouching you can do. Every time you retouch a JPEG file, you lose information. A couple of edits can result in an image of very poor quality. RAW files preserve most of the information form the camera, like sharpness and contrast. It does this without processing and compressing.
This will give you more control over how your image looks. It will allow you to correct the white balance in post-processing.
You can retouch the file as much as you like without affecting its quality. And you can convert it to JPEG or another file type upon export.
A RAW file has 68 billion more colors than a JPEG file. It offers increased brightness and a higher dynamic range.
JPEG is a convenient file format that is easy to open and share. But a RAW file will give you much better quality photos.
Understand Your Light
Light is the foundation of photography. After all, it’s referred to as “painting with light“. Without it, the photograph couldn’t exist.
But many new photographers don’t pay enough attention to it.
Being able to “read” the light and set your camera is very important for getting good exposure.
You need to know how to get the correct amount of light into your camera. And you also need to understand how the direction of light will affect your final result.
Study incident light and reflected light, as well as basic principles of physics such as inverse square law. This will help you predict how the light will fall off when you’re shooting.
The more you understand how light behaves, the better the quality of the images you’ll be able to shoot.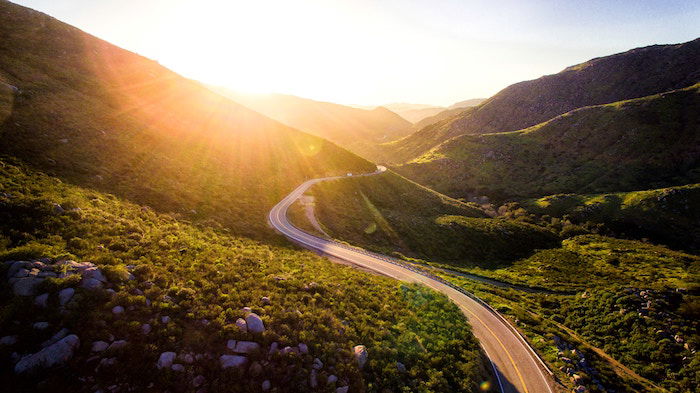
Understand the Exposure Triangle
The exposure triangle is the combination of aperture, shutter speed an ISO that gives you your exposure. You need to balance all three.
When you change one setting, it affects the others. Understanding the exposure triangle is fundamental to photography.
ISO relates to how sensitive the camera is to incoming light. The lower ISO number, the more light you need to achieve a good exposure. For example, ISO 100 is best used with studio lights or bright sunshine. A lower ISO will also give your image less “grain” or “noise”.
Shutter speed refers to how long the shutter in your camera stays open. Thus, how long it lets light into the camera.
Aperture controls how much light is allowed into the camera. We measure aperture in f-stops.
It can get confusing because a large aperture is represented by a small f-stop number. For example, f/2 would be considered a large or “wide” aperture because it lets a lot of light into the lens. But f/22 is a small aperture because it only lets a small amount of light in.
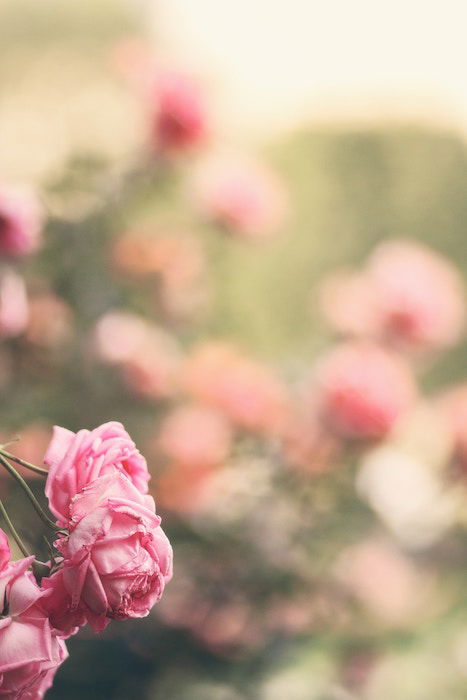
Aperture also affects your depth of field. This is the zone of acceptable sharpness within a photo that appears in focus. An image shot at a small f-number such as f/4 will have a much shallower depth-of-field than an image shot at f/16.
The aperture you choose will depend on what you’re shooting and your desired end result. A landscape image should be sharp throughout, requiring a small aperture. Portraits and some still subjects look best with blurred out backgrounds. This comes with a wider aperture.
Don’t Over Rely on ISO
Adjusting ISO instead of the aperture and shutter speed is a mistake. A lot of new photographers do this when they’re in a low light situation.
Raising the ISO on your camera can lead to noise. This gives your images a grainy look and reduces their quality. Some cameras have great ISO capabilities. You can push them quite far before this noise becomes obvious. In general, it’s a good idea to refrain from using high ISO whenever possible.
Most images look best when the ISO is in the 100-1000 range.
ISO controls your camera’s sensitivity to light. Aperture and shutter speed are more important exposure controls. Since ISO is so easy to change, people rely on it way too much when in lower light situations.
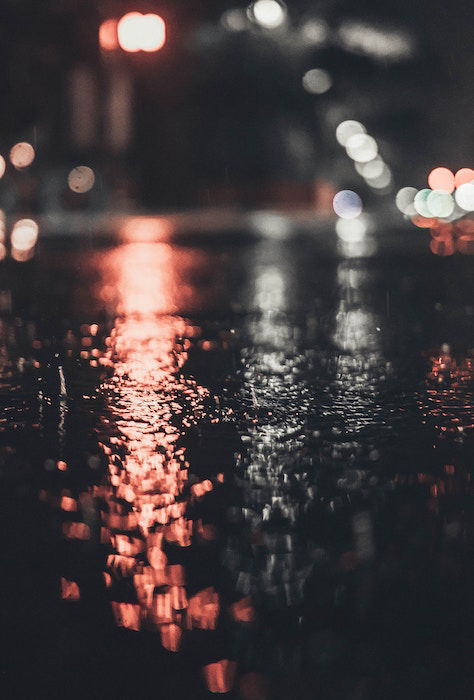
When faced with a low light situation, use a tripod if you can. This way you can decrease your shutter speed without getting camera shake.
This doesn’t mean that you shouldn’t raise your ISO when you have to. A lot of times you can’t work with a tripod or your lighting situation is too dark. This can happen when shooting a wedding ceremony inside of a church.
Start by adjusting the ISO and see if you can get good results without pushing it up too far.
Watch Your Histogram
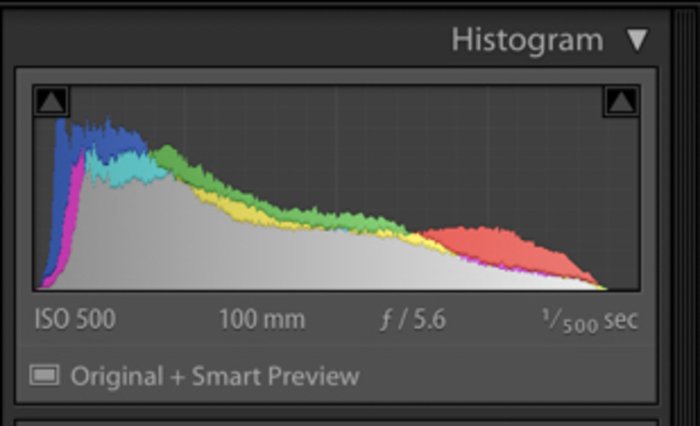
The histogram is another important tool. A lot of new photographers tend to skip over it, mostly because it can be confusing. But the histogram is crucial in helping you check whether you have proper exposure.
A histogram is a mathematical representation of the number of tones between the darkest part of your image and the lightest. It maps out brightness on a grayscale. Black is on the left, while white is on the right. You can find all the shades of grey between them.
Each image file has a scale of values of brightness. The histogram maps it out in pixels. Each pixel from the image is assigned to a value. The height of each column on the vertical (Y) axis is determined by how many pixels are assigned to that column.
If you have a dark and moody image, most of the tones will be on the left of the image. If the assigned brightness values touch the end of the histogram, then it’s underexposed.
In a light image, most of the brightness values will fall on the right. If they touch the end of the histogram, the image is overexposed.
In either of these cases, you’re missing details you can’t recover in Photoshop. At this point, you should adjust your exposure and re-shoot.
It’s always best to get your exposure as correct as possible in-camera.
 Use Compositional Principles for Quality Photographs
Composition is how you arrange your subject and all the other elements in your frame.
Good composition leads the eye through the image and keeps it interested in the scene. There are many compositional principles that can help you create stronger imagery.
When you start learning about photography composition, you will learn about the rule-of-thirds. This compositional guideline divides an image into nine equal sections. It does so using two horizontal lines and two vertical lines.
The important elements in the scene fall along these lines, or at the points where they intersect.
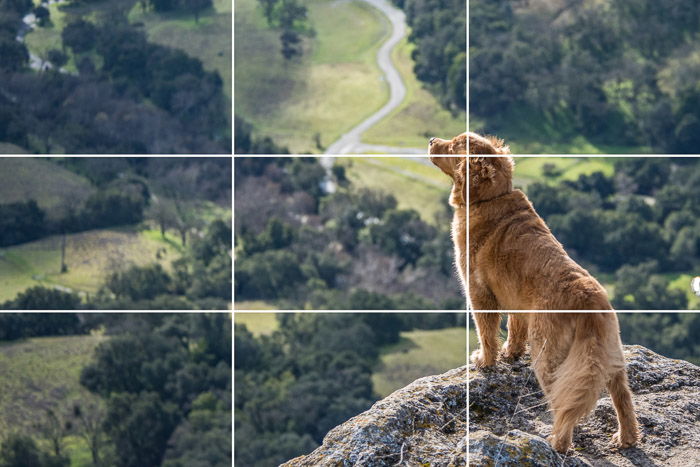
The rule of thirds helps you place main elements and focal points within the composition. Think of an imaginary grid that divides the image into nine equal parts, like a tic-tac-toe grid. The ratio is 1:1 per rectangle.
The rule of thirds is a great place to start. It helps add harmony to your images. It aids new photographers in their first steps in composition. It can work very well or many images, particularly landscapes, but relying on it too much can be limiting.
There are other principles like the Phi-Grid, the Fibonacci Spiral, and the Golden Triangle. These are all expressions of the Golden Ratio. They can help you create balanced images that are pleasing to the eye.
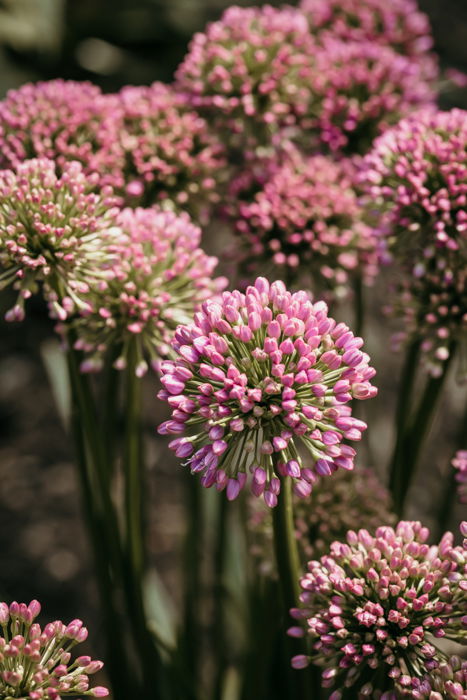
Concepts like texture, pattern, leading lines and even color all contribute to composition and quality in your photos.

Manage Your Colors
To get high quality photos, you need to manage your colors.
Color accuracy will differ from device to device. It doesn’t matter if you’re using a smartphone, tablet, or monitor. What you can do is ensure that color is accurate on your end through monitor calibration.
Regular monitor color calibration allows you to be sure that the true colors of a particular file are being represented. You know you’re not seeing colors your monitor’s settings has adjusted. Using a good quality monitor, such as an IPS monitor, can help significantly.
A non-calibrated monitor can lead to color inconsistencies. This will happen when you print your work, or even when you are viewing your work on another monitor.
One of the most important aspects of color management is the right color space.
Color space is a specified range of displayable colors.
There are two color spaces you’ll be most concerned with:
- SRGB is the correct color space if your work will be posted on the web.
- Adobe RGB is the correct color space if you’re looking to print your work.
SRGB is the industry standard color space for web browsers and web content.
The Adobe RGB color space is larger than the sRGB color space and includes more shades of green and red. Adobe RGB is only used for printing. It allows you to take advantage of the larger range of displayable hues.
If you’re using Lightroom, you can choose the appropriate color space upon export. You can see this in the image below.
Edit With a Light Hand
How you approach post-processing can make a huge difference. All RAW digital files need a bit of processing. They come out of the camera looking a bit flat and lacking in contrast.
Until you get comfortable with Lightroom or Photoshop, you should keep your editing and retouching minimal. This will result in the most natural look.
After that, you can go more in-depth with certain toning and color grading techniques if you wish.
Lightroom can seem overwhelming at first, but it’s relatively user-friendly. You can develop your skills with a bit of practice. Plus, there are tons of free tutorials and articles online.
Sifting through the mass of information on the web might be too much for you. Then you can pick an online Lightroom editing course. You can choose a general program or a class that is more tailored to your preferred genre of photography
You can also buy ready made presets. These are “recipes” of a combination of settings that will give your image a certain look.
You can apply these settings with a single click. Your results will vary and presets are best used as a starting point, and even a learning tool. You’ll most likely need to tweak them for optimal results. And to create your own signature editing style.
You can save these as “User Presets” in the Develop Module. Or you can make your own presets from scratch if you want to mimic a certain style from shoot to shoot.
If you prefer to work in Photoshop, you can buy “actions“, which will work similarly. The great thing about actions is that you can reduce the opacity on them to get a very natural look. And it’ll save yourself the time it takes to hand edit every image.
Conclusion
Digital cameras have made taking high quality photographs much easier in some respects. But photography still has a steep learning curve.
Digital photography has made it possible for anyone to get a decent image. Getting a great image, however, requires skill and practice.
These tips will help you immediately improve the quality of your photos. And they’ll give you some inspiration for areas where you can practice more.
