If you’re having trouble getting your photos to come out how you want them to, you may wonder, “Why are my photos dark?” In most cases, this is due to incorrect exposure settings.
Our article discusses exposure and how to adjust camera settings to get the desired results. We also provide a few tips on using camera tools to identify exposure problems. So, if you’re ready to take your photography skills to the next level, keep reading!
4 Tips for Exposure When Asking “Why Are My Photos Dark?”
Asking why your photos are dark is a common problem if you’re just starting to grasp photography. Exposure can be very hard to get your head around.
Whether you shoot in Manual mode or a priority mode like Program mode, you want to keep your exposure indicator in the center of the exposure meter. (Pictured below.) Note that this only applies if you’re shooting in good light. If you’re shooting a dark scene, you may want your photos to reflect this.
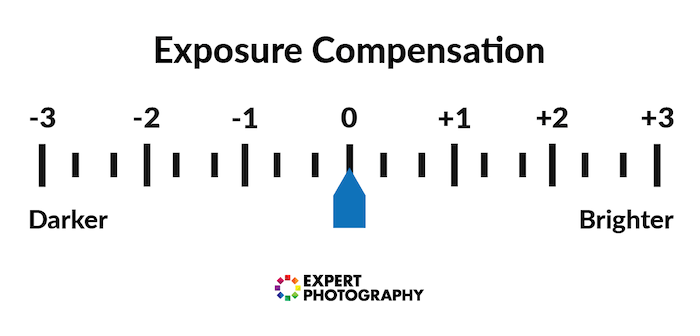
There are different shooting modes that I will talk about in this post. But most of the time, when your photos come out too dark, your camera is either in one of the auto modes or in manual mode.
When a camera is in one of the auto modes, it doesn’t have all the information, like how to meter the scene. So, it has trouble in low-light situations.
When shooting in manual mode, you’re in charge of setting the exposure, which can change even as you move the camera slightly. You may find that, at times, you’re not exposing correctly. Read our article about the “exposure triangle” for more about camera settings and proper exposure.
1. Use an External Camera Flash and Increase Exposure
People often ask, “Why are my photos dark with a camera flash?” It’s mostly when they’re using a pop-up flash (that’s a rant for another day). Remember, the camera isn’t as intelligent as us.
When the pop-up flash fires, it usually dramatically increases the light that enters the camera. And the camera exposes the image for this, forgetting about the rest of the photo.
Look at my photo below, for example. The camera has exposed the subject (albeit rather poorly). But the background is too far away to capture enough of the light from the flash. Altogether, the photo is too dark.
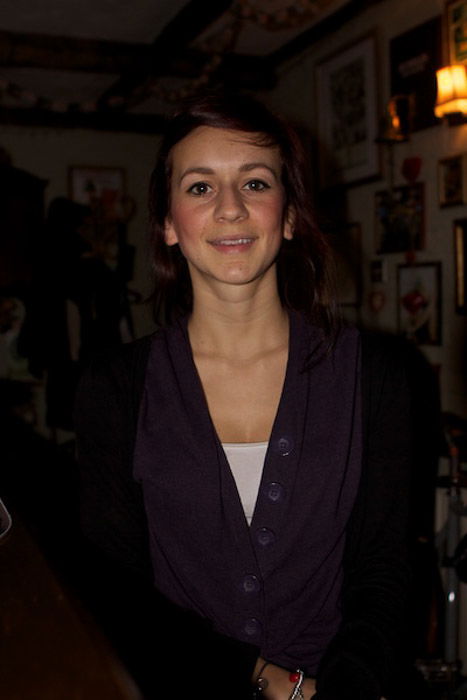
A way of counteracting this is to use an external flash and increase your exposure. You can widen the aperture, extend the shutter speed, and boost the ISO. When the flash fires, the camera freezes any motion. It records whatever has been captured, and the increase in exposure continues to capture the background.
Check out my photo below as an example. It was taken with an f/2.8 aperture, 1/30 s (seconds) shutter speed, ISO 1,600. Plus, the external flash exposure was turned down by 1.33 EV. So, there’s not enough ambient light to overexpose the face.

2. Use Correct Camera Metering
Metering is one of the most important aspects of exposure. It tells your camera which parts of the photo are the most important.
When photos come out too dark, your camera is usually set to Evaluative or Matrix metering when it should be set to Spot or Partial (or vice versa). Look at our article on metering modes to fully understand what this means.
Generally, to help you understand here, Evaluative or Matrix looks at the whole photo. In contrast, Spot and Partial metering only look at a certain part of the photo. I have four metering modes on my camera. But I only ever use Evaluative or Spot.
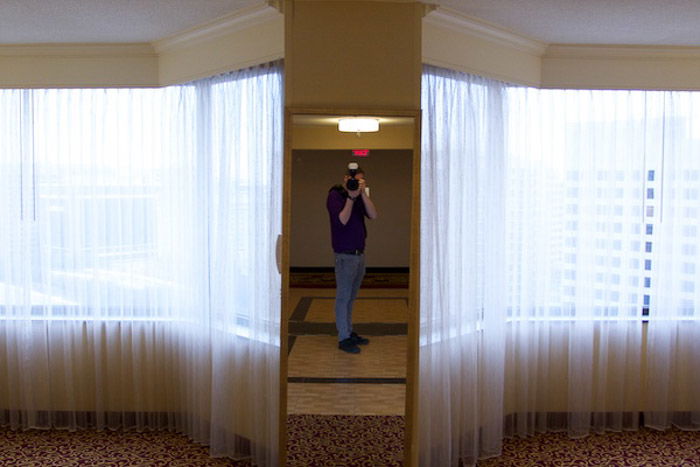
Below are a couple of photos I shot while waiting for the slowest elevators in the world in Washington, DC, last week. Both were shot in Aperture Priority.
The first photo was shot in Evaluative metering mode. As you can see, it considered the light from the whole photo to decide which exposure would work best. The trouble with this is that I’m left far too dark in the middle of the photo. And the windows to the side are still too bright. It’s a poor compromise.
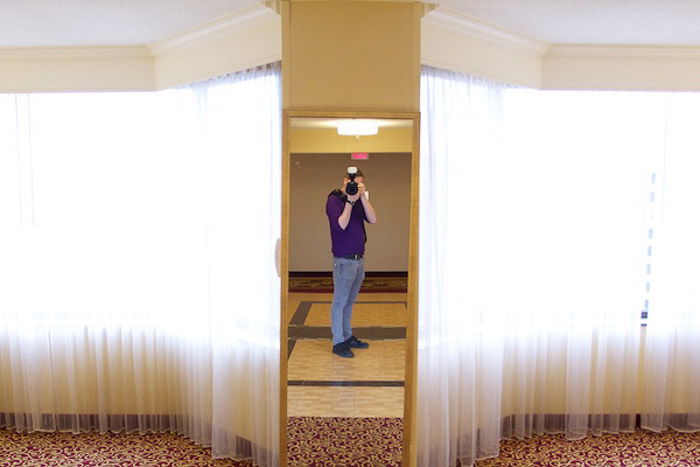
When I switched to Spot mode, the camera knew I wanted to be the photo’s subject. And the camera determined that it should zero in on the exposure around me, not the curtains.
This blew out the exposure of the windows, but that didn’t matter. Not only was the information from the windows unimportant to me. But I actually think it looks better to have them blown out like this, providing a nice contrast. As you can see, metering is very important.
3. Adjust Screen Calibration (Camera and Monitor)
When I talk about calibration, I’m first talking about your camera’s LCD screen and your computer’s screen.
Starting with the camera’s screen, it’s very easy to have this set too bright or too dark. When it’s dark out, and you’re trying to see your screen better, it’s natural to turn up the brightness. Or, worse still, you always have the camera set to full brightness.
When you go into your camera’s brightness settings, there is a scale to help you determine how bright you should set your camera. This prevents you from taking photos that are darker than you think they are. I personally have this set up to a custom button on my camera so I can change it on the fly.
Calibrating monitors for post-production is a different kettle of fish altogether. It’s not easy, and to do it properly, it usually requires some external hardware. But there are some online alternatives.
4. Use the Camera Histogram to View Exposure
As I mentioned above, it’s pretty obvious that your camera’s LCD screen is not the most reliable thing to view your photos on. But there are ways to make more use of it.
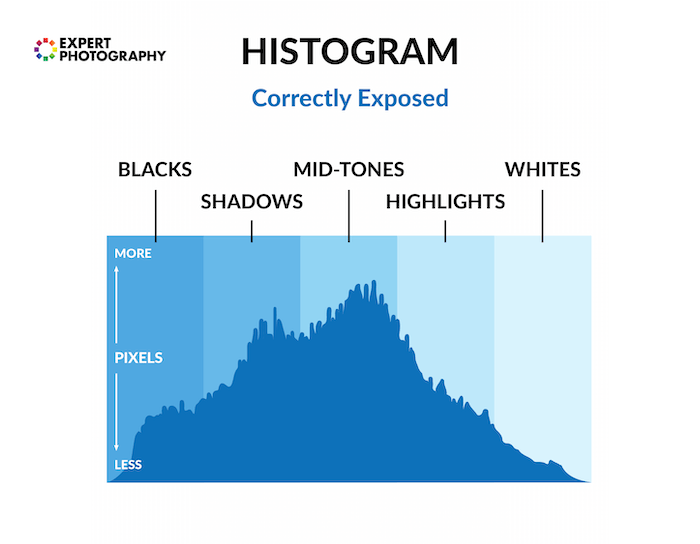
Using the histogram in your camera, you can see what your camera has recorded, set to a brightness scale. You can read the full article.
But, for this explanation’s sake, the histogram’s left side is “pure black,” and the right is “pure white.” If you have any information in either extreme, your camera has lost information that can’t be recovered.
Within a typical JPEG image, 256 distinct brightness levels are encoded. Zero (0) represents absolute black, and 255 indicates complete white. A histogram graphically represents these 256 values. And each pixel within the image is associated with a specific value.
Below is a histogram from a well-exposed photo. You can see that most of the information stays away from the edges.
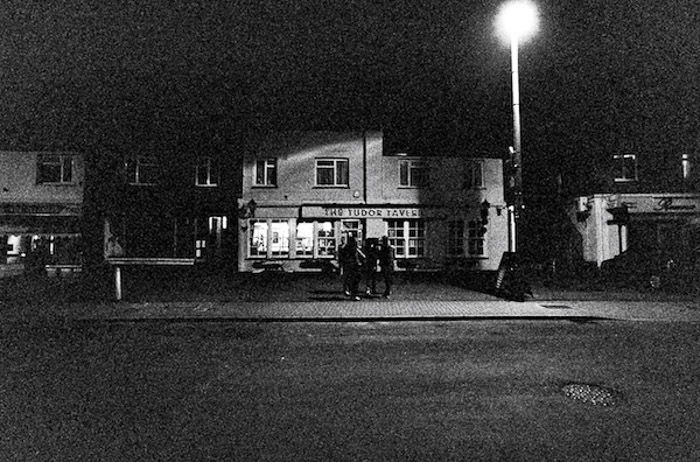
But sometimes, you can’t avoid having information close to the left edge because the scene is dark. And often, if you shoot in low light, you want your photos to be dark, especially when you’re shooting at night.
If you shoot in a dimly lit room, sometimes you want the photos to be brighter than they are to show details. But sometimes, having some really dark areas is alright because that’s just what the scene looked like when you took the photo.
Conclusion: Why Are My Photos Dark?
“Why are my photos dark?” is a common question that I’m often asked. And it’s one that I’ve asked myself in the past. The problems can range from a simple lack of knowledge about exposure to being unfamiliar with metering modes. Or it could involve calibrating your camera and monitor.
We hope the outlined problems will help you fix dark images. Just ensure your captured moments reflect the perfect balance of light and shadow to your intentions and tastes! Check out our selection of beginner eBooks and courses to learn more basic exposure techniques.
