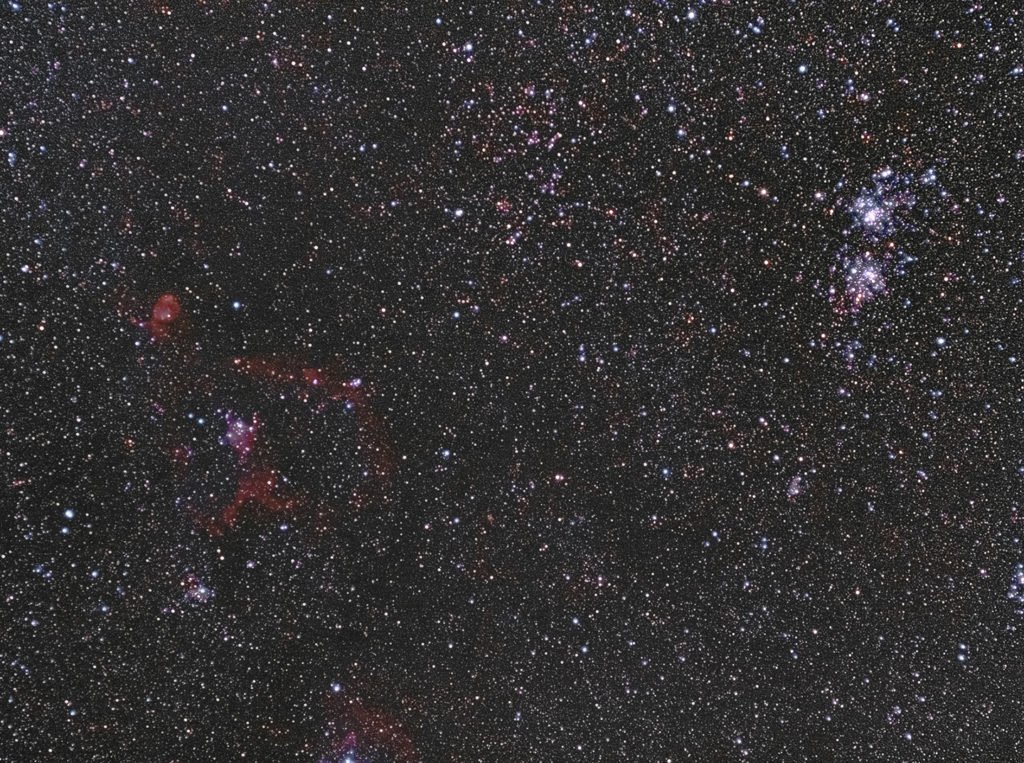
Astrophotography can produce stunning images. But capturing the cosmos in dynamic detail can be difficult. For the best results, you need to use astrophotography filters that reduce and remove obstacles and distractions. This leaves you with the true beauty of the universe.
There are many different filters you can use to enhance your astrophotography. And each one has a unique set of benefits.
We’ll look at the best astrophotography filters so you can find what you need. Our focus is on light pollution filters, line, and narrowband filters. We also look at solar, diffusion, and neutral density filters.
Before we look at the different filter types in more detail, here are our top picks for each category.
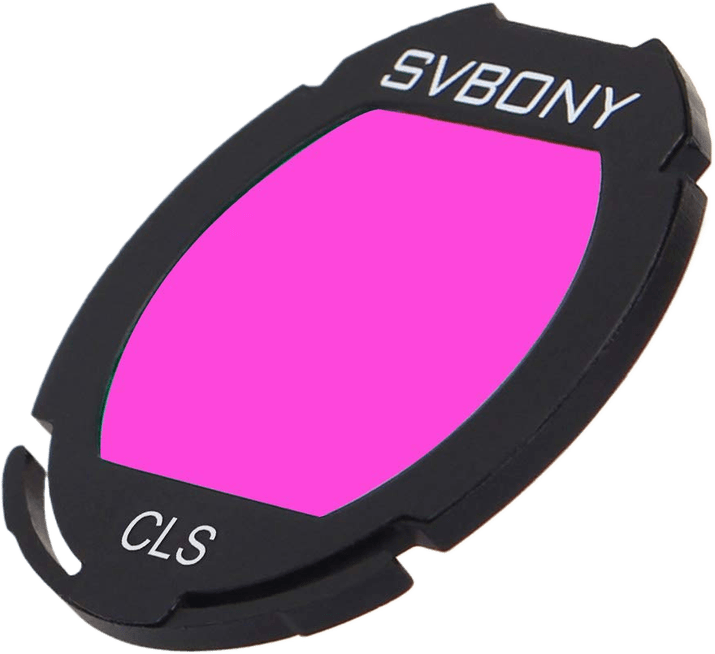
- Clips into the camera
- Ideal for urban areas
- Improves contrast
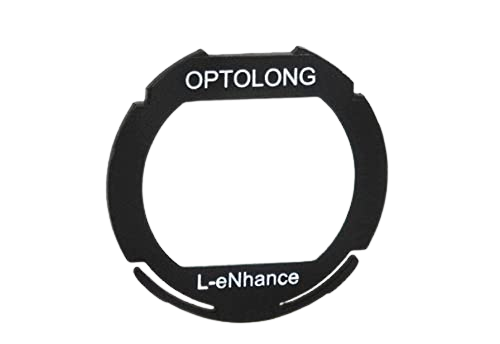
- Suppresses moonlight
- Improves color fidelity
- Passes hydrogen-alpha and beta and oxygen-III
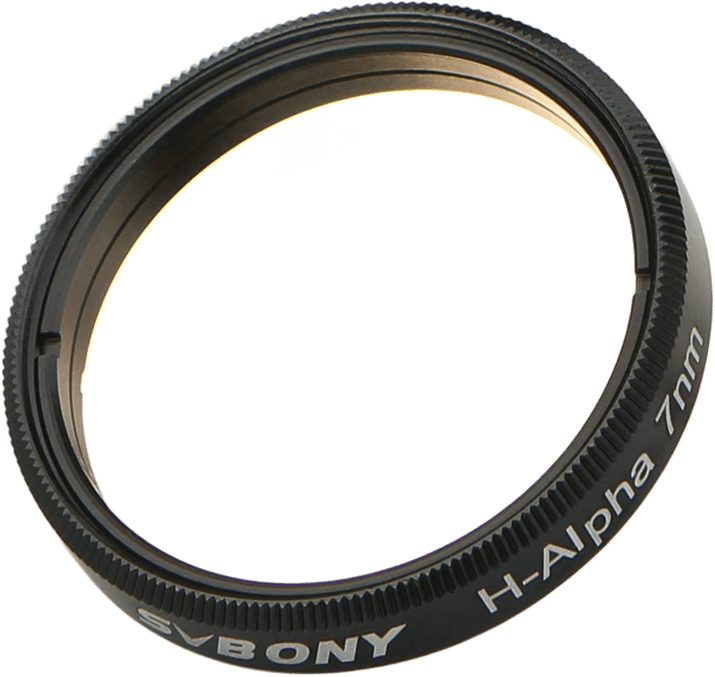
- Made with a double-sided polishing process
- High-quality German glass
- Very narrow bandwidth
- Essential for photographing the sun
- Black polymer coating
- Gives the sun a natural orange color
- US-made
- Filters out UV light
- Increases contrast
- 10-stop ND
- Adapter for multiple lenses
- Optical glass for clarity
What Are the Benefits of Astrophotography Filters?
Getting a good look at the night sky is optically demanding. When you gaze up to the stars, maybe you’ll see a constellation or a nebula or two. And that’s if it’s a clear night in the dark countryside. Most of the detail remains obscured.
The best digital cameras have the same problem. Even with powerful sensors and lenses, much of the beauty of the universe remains out of sight.
One of the main problems is light pollution from earth. In cities and urban areas, artificial light prevents us from seeing the definition of the stars above. Even a clear sky will look like a carpet of featureless grey.
But it’s not just artificial light pollution that gets in the way. Our atmosphere is full of radiation and chemicals. And there are billions of light waves bouncing around the universe all the time. All this noise obscures our vision of the Milky Way and beyond.
Some filters isolate or block specific light frequencies, giving a more clear and concise view of the cosmos. Other filters, such as diffusion and neutral density filters, help our cameras capture stars in the sky.
The Best Filters For Astrophotography
To find the best astrophotography filter, you need to think about what kind of images you want to create.
Another important aspect to think about is your location. If you’re shooting from a densely populated area, finding the right filter is vital for sharp and clear astro images.
We’ll take you through the best filters for astrophotography so you know what you need and why. This stuff can be a bit scientific. But we’ll make sure you don’t need a physics degree to understand astrophotography filters.
1. Broadband Light Pollution Filters
Light pollution is the biggest obstacle to astrophotography, especially if you live in a city. All you need to do is look up at the night sky. In urban areas, the sky is a blanket of nothingness. You might see only the brightest stars, and that’s if you’re lucky.
If you’re shooting astrophotography from your backyard in the city or suburbs, a light pollution filter is a vital piece of equipment. It cancels out the light waves emitted by street lights and other light emitters from earth, giving you a clear shot of the cosmos above.
They are called broadband light pollution filters because they allow a broad scope of wavelengths of the light spectrum. It allows more natural light waves to pass through, giving you more color and contrast in your photos. This means the filter cancels out nearly all light waves emitted from artificial lights in city areas.
While blocking city light pollution, a light pollution suppression (LPS) filter still allows the nebulae emissions to pass through. This gives astrological objects clear definition in your photos.
Even if you’re shooting from a remote location with no city lights, a broadband light pollution filter can still be beneficial. You might have a wonderfully clear sky that’s rich with stars, but you’ll still experience some light pollution.
Using a light pollution filter allows you to go further into the galaxy. Even with standard DSLR cameras, you’ll be able to capture superb photographs of deep space.
A city light suppression (CLS) filter works in much the same way as an LPS. But a CLS filter blocks light wavelengths from mercury and sodium-vapor light. These are the main light waves you’ll find in cities.
CLS filters are less effective than LPS filters. But a CLS will still make a considerable improvement to your astrophotography images. Our top pick is the SVBONY CLS Clip-On Filter.
How to Use a Broadband Light Pollution Filter
In terms of attaching the filter to your camera, there are two different types you’ll find. The first is a clip-in filter, which you clip into the camera body. It sits in front of the shutter and the sensor. The camera lens sits on top.
The other is the lens-mounted or threaded filter. These fit onto the end of your camera lens. They’re easy to put on and take off, but you need to get the correct one for the lens you have. And if you want to use lenses of different sizes, you need a filter for each one.
You can find light pollution filters that work with standard DSLR cameras. And by standard, I mean DSLRs that have not been specifically modified for astrophotography.
The ideal targets when using a broadband filter are galaxies and star clusters. And they’ll pick up reflection nebulae too.

2. Narrowband Filters
Narrowband filters work in the opposite way to broadband filters. Rather than letting in a broad bandwidth of light, a narrowband filter only lets a small selection of light waves pass through.
These filters select the main emission bands from nebulae, allowing only them to pass through to the sensor. All other light wavelengths are blocked.
One of the most common targets in the night sky is an emission nebula. These are comprised of four main gasses. These are hydrogen alpha (H-a), oxygen III (OIII), sulfur II (SII), and hydrogen beta (H-b). Each of these gasses emit a light line with a specific location on the spectrum, known as the emission line. The narrowband filters pinpoint these emission lines and block light from other areas of the spectrum.
Most narrowband filters focus on H-b and OIII, both of which are on the blue/green side of the spectrum. You’ll find that stars have a blue or green tint in your images when using this filter.
Narrowband filters are also referred to as Ultra-High Contrast (UHC) filters. The contrast is between the blocked light and the light from the selected emission lines.
UHC filters are best for shooting emission, planetary nebulae, and supernova remnants. Our recommendation for a narrowband filter is the Optolong Dual Narrowband Filter.
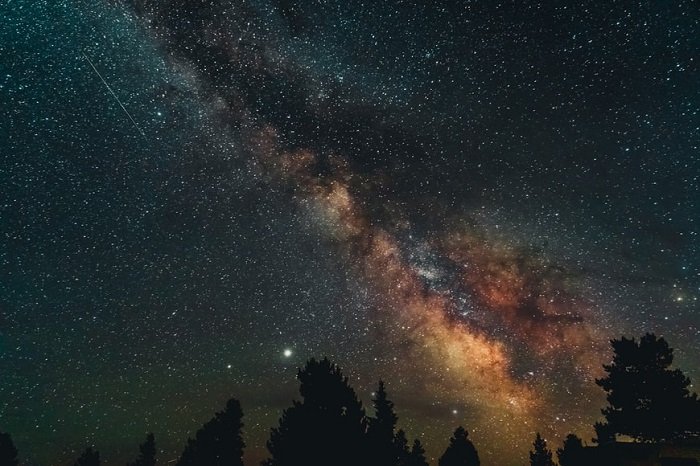
How to Use a UHC Filter
You can use UHC filters with DSLR and mirrorless cameras. They’ll also work with CCD cameras, which are commonly used in astronomy.
You can find clip-in UHC filters that will fit in Canon or Nikon DSLRs. But they usually need to be applied to a camera that has been modified for astrophotography.

3. Line Filters
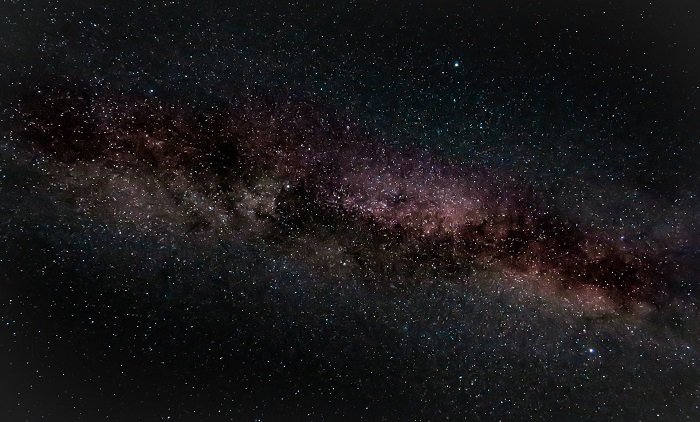
Line filters work in much the same way as the narrowband filter. They exclude all light emissions caused by artificial light and reduce noise in the atmosphere. But unlike the UHCs, line filters are sensitive to only one emission line.
UHC filters can be dual, tri, or quad-band. This means it’s sensitive to more than one emission line of light. But a line filter selects just one emission line and allows no other light to pass through. Our favorite line filter is the SVBONY H-Alpha 7nm Filter.
How to Use a Line Filter
They attach to the lens in the same way the UHC filters do. But you will need a special astronomy camera. Or a camera that has been modified for astrophotography. There are no clip-in options for line filters.

H-a
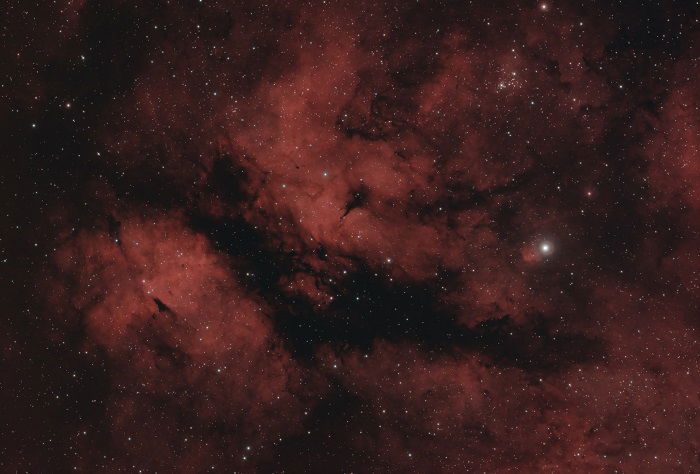
A hydrogen-alpha filter only allows the hydrogen-alpha emission line of light to penetrate. All other light is blocked from the sensor.
The H-a emission line sits at the red end of the spectrum. It enables viewers and photographers to see detail from emission nebulae. It also helps identify details from our sun’s atmosphere.
H-b
H-b filters zone in on the light from hydrogen-beta, which is found in the blue zone of the spectrum. These are the narrowest and most selective of the line filters. And they’re used to observe faint and distant objects and nebulae.
The H-b wavelength is essential for astrophotography. CMOS sensors and CCD are particularly sensitive to this wavelength, so it gives you the most detail in your images.
OIII
OIII filters pick up light emitted by oxygen III. This light is green and one of the most common in astronomy. OIII filters are used to view planetary nebulae and supernova remnants.
OIII filters let very little starlight pass through, so stars often appear faint in your images. They might have a green tint to them as well.
4. Solar Filters
I’m sure you’ve been told to never look directly at the Sun. Or maybe you had to learn the hard way, like Galileo. It’s also true that you should never take a picture of the sun with your camera. You’ll blind yourself and break your camera sensor.
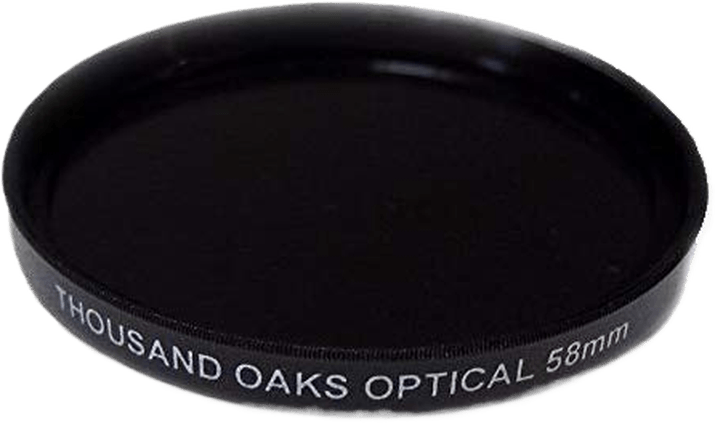
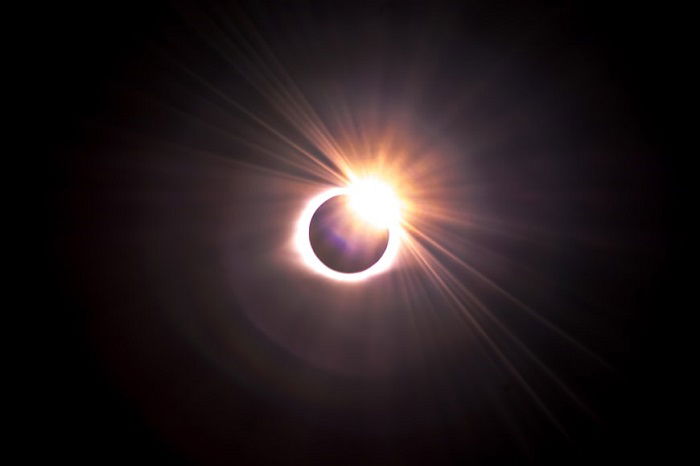
Solar filters make solar photography possible. They limit the power and the light emitted from the sun, allowing you to get a shot. They’re ideal for shooting events like a solar eclipse. Our top pick is the Thousand Oaks Optical Solar Filter.
How to Use a Solar Filter
A solar filter attaches to the end of your lens. It’s important to remember that a solar filter must never sit between the lens and the sensor. The light from the sun is too powerful, so you need to protect the lens and the camera sensor.

5. Diffusion Filters
Diffusion and UV filters are excellent for shooting the sky at night. They remove a lot of noise from the atmosphere and make stars more prominent in the dark sky. This can help you pinpoint and identify planets and constellations.
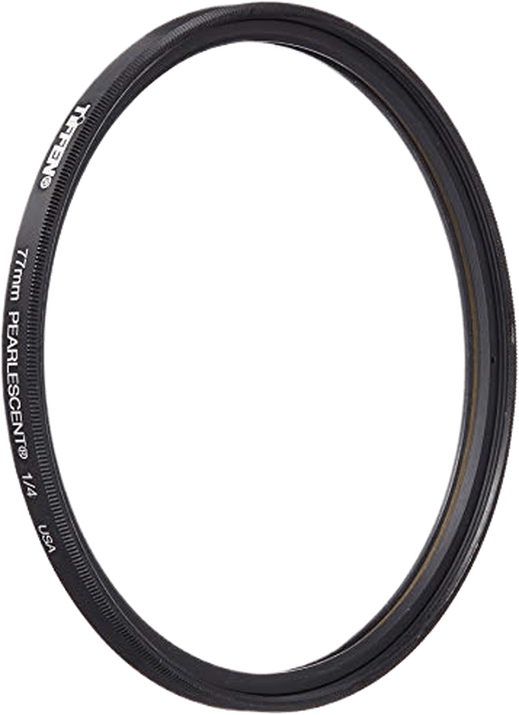
They are not so much used for deep-space photography. But they will enhance your night sky photography. Our favorite is this Tiffen Diffusion Filter.
How to Use a Diffusion Filter
Most diffusion filters will thread onto the end of the camera lens. Make sure you buy the right size filter for your camera lens.
Alternatively, you can use a filter mount that attaches to the end of your lens. But you have to buy the mount and filter separately.

6. Graduated Neutral Density Filter
Graduated ND filters aren’t often associated with astrophotography. And like diffusion filters, they’re not used to shoot deep-sky objects.
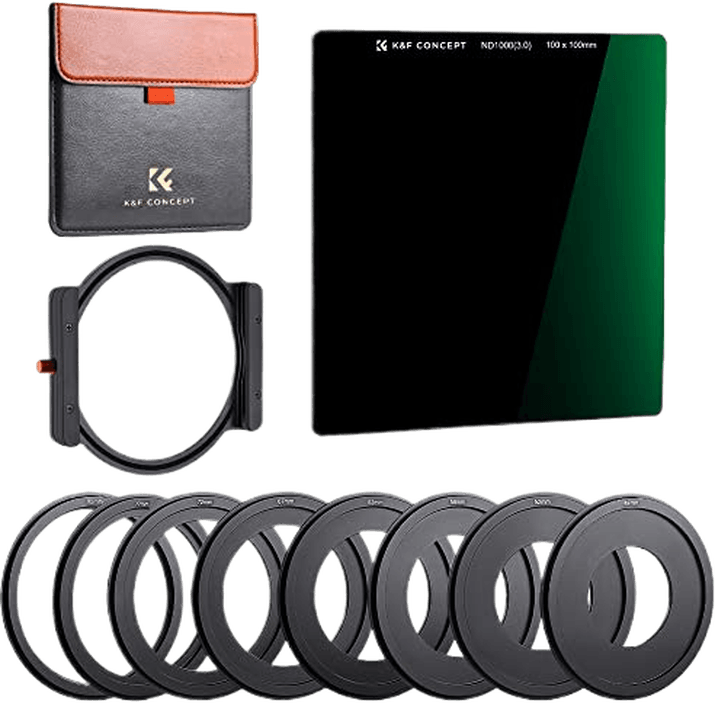
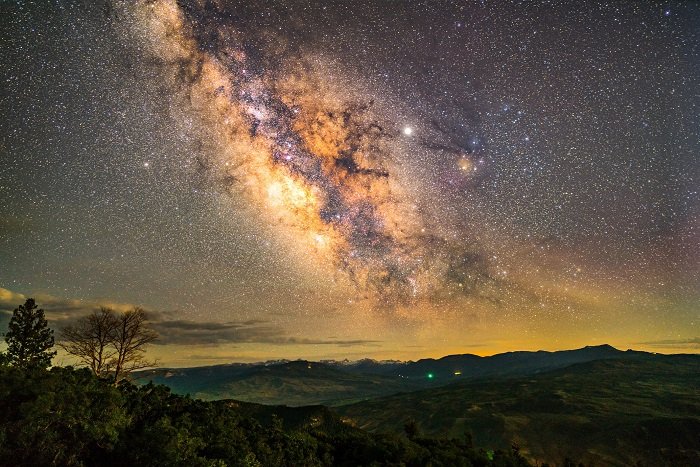
You use ND filters for images that include the night sky and some earthbound features, like mountains or buildings. You might need an ND filter over the earth section to get the correct exposure for the whole image. Even if you have bright stars in a clear sky, the light from the terrestrial objects will still be brighter. The ND filters allow you to compensate for the discrepancy. Our top pick is this K&F 10-Stop Filter Kit.
How to Use a Graduated ND Filter
You can get ND filters that screw onto the lens with a threaded attachment, but this allows little to no room for adjustment.
You can also find ones that clip onto the end of the lens. And there are filter mounts that hold the filters in front of the lenses.
You use the filter to block various amounts of light from sections of your image. You can adjust the filter, covering the brighter section of the image.

Conclusion—The Best Astrophotography Filters
Science plays a big part in photography. And that’s no more apparent in astrophotography. As soon as you ask about filters, the physics becomes unavoidable. But that’s not to say astrophotography is only for astronomy graduates.
Once you know the filter you need to get the shots you want, life becomes easy. There are light pollution filters for urban star-gazers. And there are UHC and line filters for nebulae enthusiasts. Then we have diffusion and ND filters for casual night sky photographers.
