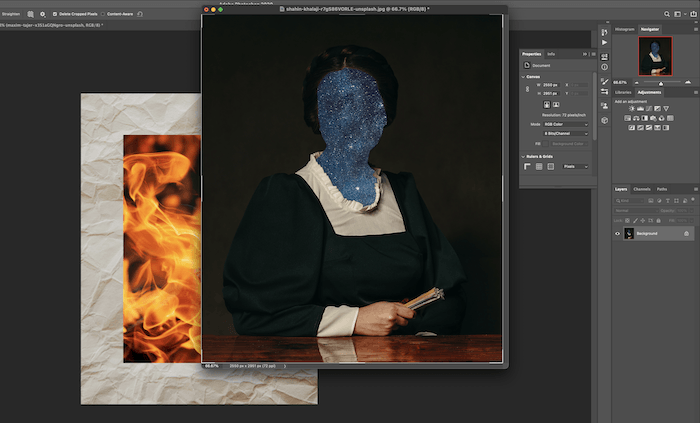
Capturing motion can be tricky. Photographic techniques like panning will give you a better sense of motion and speed. But, this technique can be hard to master. Today, we’re going to show you how to show motion in your photographs. This is done through the simple use of motion blur in Photoshop. Follow this step-by-step guide, and you’ll be able to create an excellent motion blur effect for yourself using Photoshop’s Motion Blur filter.
Understanding Motion Blur In Photoshop
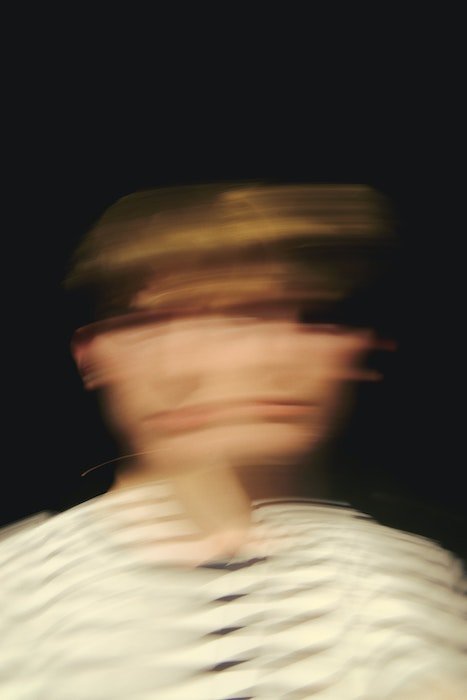
Motion blur is associated with movement. Before we had the capabilities of a fast shutter, everything would have to be still in the image to be sharp. In portraits, people had to stay as still as they could not to cause a blur.
So, motion blur is caused by a subject moving faster than the camera’s shutter speed. As the subject moves in the frame, the camera sensor records the subject’s movement. The result consists of faded and blurry areas in your picture of where your subject has moved.
This process can be made clear by taking photos at night. It’s most noticeable with light painting. The camera sensor records how you move light, therefore recording a motion trail.
Adding a motion blur filter can dramatically change the image. It helps indicate movement or the direction the subject is moving in. Plus, the contrast between the blurred parts and the still parts can make the subject look even sharper.
How is Motion Blur Different from Others?
Photoshop‘s blur filters all work in unique ways. The Motion Blur filter is for a directional blurring effect. This means that the filter will distort the subject to suggest the camera is moving past in a swift motion.
The Motion Blur filter is usually grouped with the Radial Blur filter on Photoshop. The Radial Blur filter also deals with a directional blurring effect. But, it will circularly distort your image. Think of your camera being placed at the center of a spinning turntable. Radial blur mimics this same effect in Photoshop.

How to Create a Motion Blur Effect
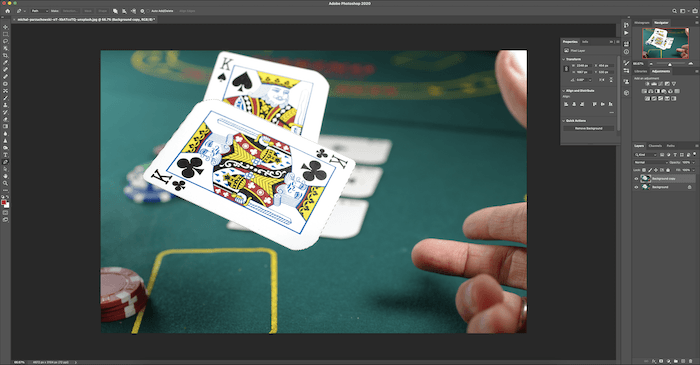
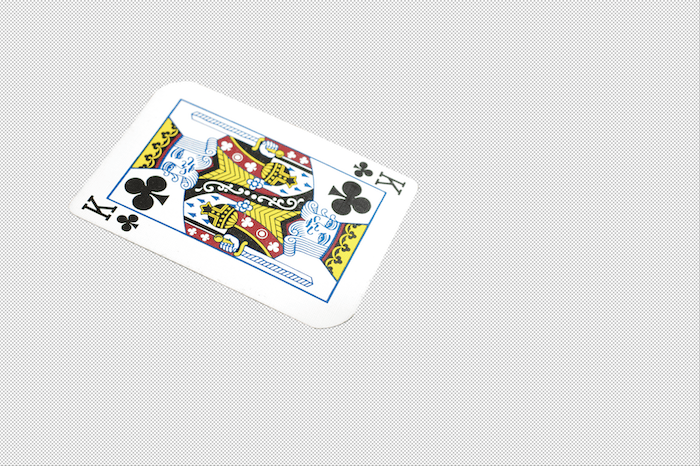
First of all, you want to decide what you want to blur. In this example, we will be blurring a single subject—a playing card—moving across the frame. We’ll use a Motion Blur filter.
Step 1: Separate the Subject from the Background Layer
Open your image in Photoshop and make a duplicate layer. Click Layer > Duplicate or right-click your image in the Layer panel and choose Duplicate Layer.
Next, separate the subject using the Pen tool. Find the Pen tool in the toolbar to the left of your workspace. And trace around the object and make it a selection.
Click and then drag the pen along the lines you want to follow. Remember to drag after you have clicked to get the right curvature of the object.

Next, inverse the selection. Either by going to the top, Select > Inverse. You can also use Command (Ctrl) + Shift + I as a shortcut.
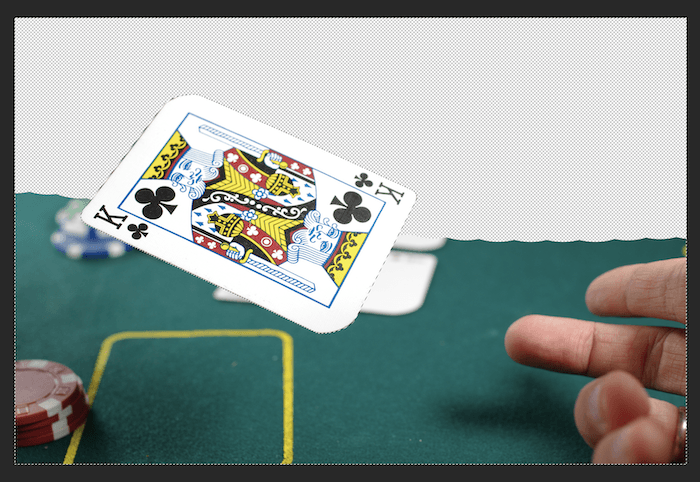
Then find the Eraser tool in the toolbar to the left of your workspace. And erase the background from your selection.
You can brush over the entire image without affecting your selection. Note, there’s another way to cut out an image with a Quick Selection tool, which you can find here.
Step 2: Apply the Motion Blur Filter
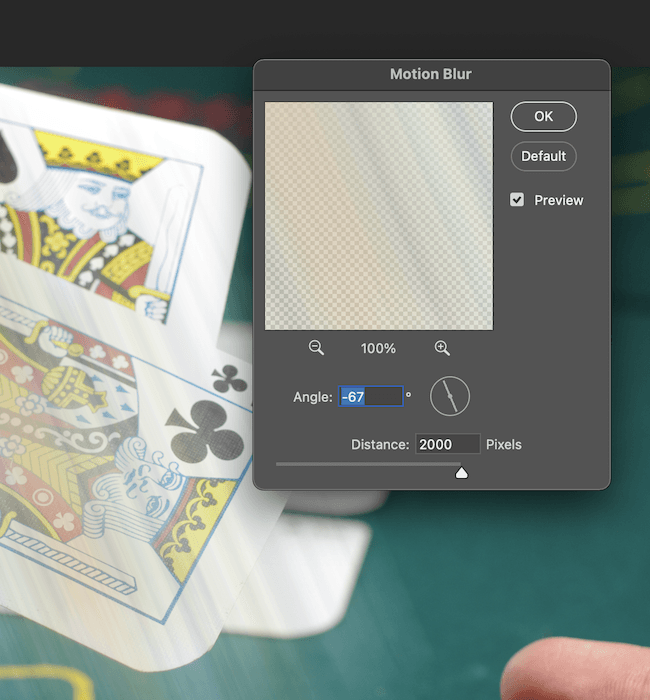
Go to the top bar in Photoshop. Click Filter > Blur > Motion Blur.
You first set the angle of the motion blur. You want the angle to follow the trajectory of the object. So, spend time perfecting this as it will make a big difference to your image.
After setting the angle, you set the distance.
This technique works better when you push the distance quite far. This is because the farther you spread it, the more it fades. And the fading is crucial, as it will look more believable across the entire image.
Finally, apply the Motion Blur filter by clicking OK.
Step 3: Duplicate and Merge the Layers
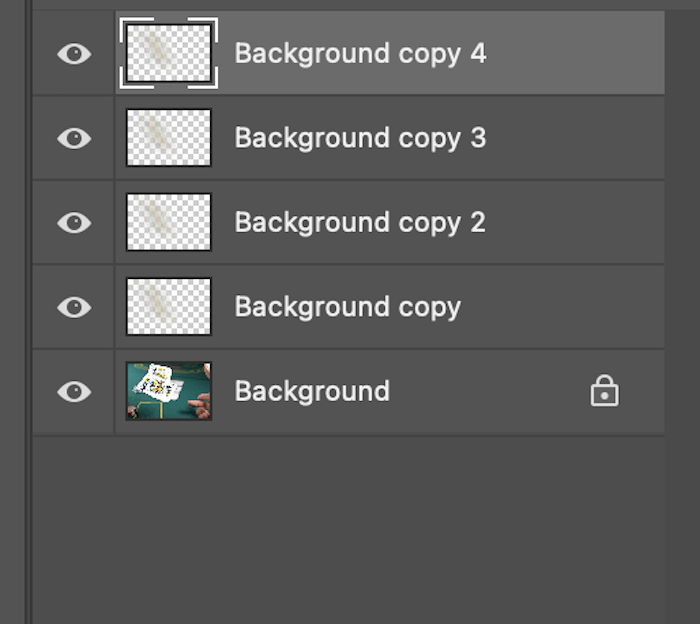
Now you want to make a few copies of the same image. This can be done by simply dragging your layer over the Create a New Layer button at the bottom (the plus sign). Again, you can click Layer > Duplicate or right-click on your layer and select Duplicate Layer. The copies make your blur denser, leaving you with an image like this.

After this, you want to highlight all these copies and turn them into one layer. You can do this by selecting the layers by holding Command (Ctrl) at the same time.
Then right-click on the layers and select Merge Layers.
Step 4: Add a Layer Mask and a Gradient
When adding the gradient, the first thing you want to do is add a layer mask. This can be done by highlighting your layer and clicking the Add Layer Mask button at the bottom. This looks like a rectangle with a circle inside.
Your layers should then look like this.
![]()
Find the Gradient tool in the toolbar to the left (under the Paint Bucket tool icon). And make sure the gradient pull-down option is on Black, White.
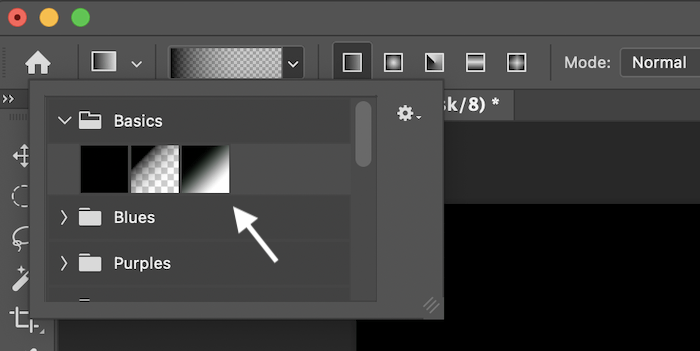
Play around with the angle and fade of the gradient with options in the top toolbar. Make sure it is fluid with the background layer.
This is where you control the motion blur. It will take some time to perfect. Remember, the longer you stretch the tool, the more gradual the gradient will be.
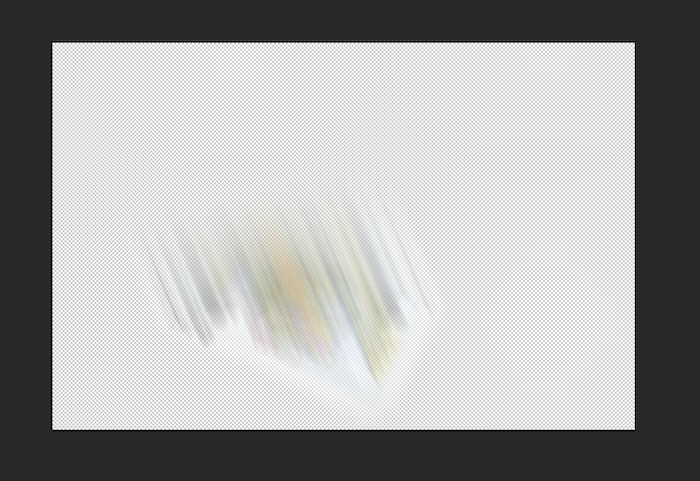
Try to follow the angle of the trajectory if you are struggling. This is what your layer should look like.

Conclusion
Now you know how to add an excellent motion trail in Photoshop to your images. When used subtly, this technique can be very effective.
Motion blur is one of those techniques that can even fool some of the best photo editors. There is also a lot of room to play with this technique. For instance, you could add a motion blur to the whole background while keeping the subject still.
You now have a speedy editing technique to show movement in your images using motion blur in Photoshop. The best way to let it stick is through practice. So go out, get some photos, and have some fun!
Want to know more? Check out our full guide on Photoshop Blur filters to know all the tricks!
Are you looking for ways to create unique compositions and tell whimsical stories? Watch our Fantastic Photo Adventures video course. It has easy-to-follow instructions and simple ways to use Photoshop!


