Butterfly photography is a great way to capture the color and grace of these incredible creatures. Combining the right techniques to shoot butterflies with the right tips to find them gives you the best chance of getting the best butterfly shots.
Continue reading for everything you need to know about photographing butterflies!

- Learn to take stunning photos without stepping outside.
- Discover affordable ways to convert any lens for macro shots.
- Explore unique techniques for lighting and composing your subjects.
How to Master Butterfly Photography
Where to Find Butterflies
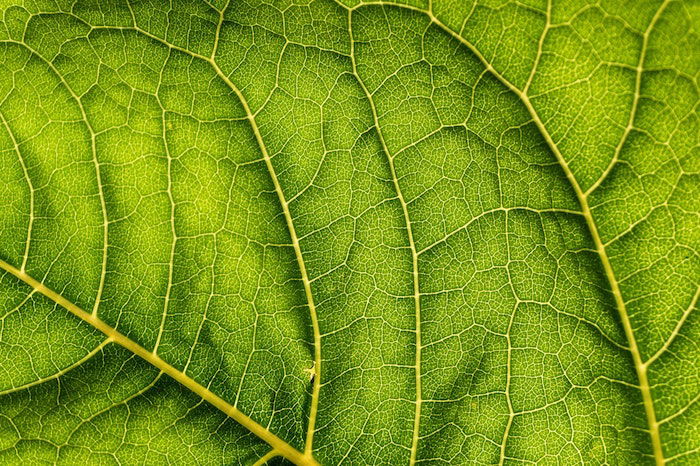
The best way to find butterflies is to look for plants that caterpillars feed on. To start, go online and find out the variety of species you can find in your area. You can take screenshots of the plants on your phone so you know what to look for.
Drive around your neighborhood and look for parks or open fields. Some of them will have some of those plants we mentioned above.
The seasons also play a significant role in finding these colorful critters. The best time to take great pictures of butterflies is during the spring and summer. Come fall and winter, you’ll find less of them flying around.
Use a Macro Lens to Get Sharp Details
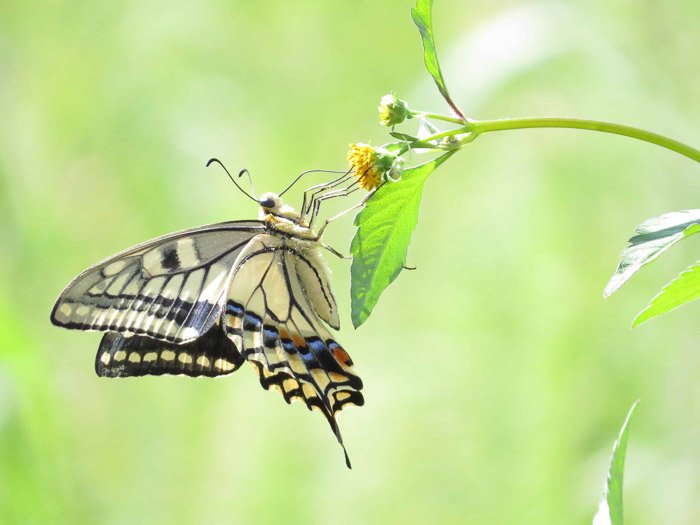
Taking close-up butterfly pictures with an ordinary kit lens can be difficult. Since it can’t focus at close distances, you’ll end up with blurry photos. But you can use a macro lens instead.
Macro lenses allow you to take extreme close-ups of small objects. The best options for butterfly photography are between 100mm and 200mm. These let you shoot macro photography without disturbing these cautious insects.
Some people might not want to invest in a dedicated macro lens yet. You can try using macro attachments that turn the lens you already own into a macro lens. The most common ones are reversing rings, extension tubes, and bellows.
To use bellows and extension tubes, simply attach them to the camera and the lens. A reversing ring works almost the same way. The only difference is you’d need to connect your lens backward to achieve magnification. The downside is that adding these accessories will disable your autofocus. That’s why it’s best to use manual focus.
What Are the Best Settings for Butterfly Photography
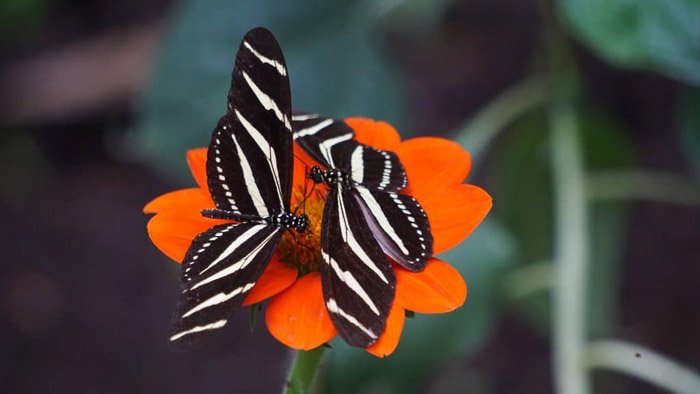
Insect photography can be tricky. You don’t have control over your subjects. And it’s easy to scare the butterflies away. So you’ll need a fast enough shutter speed and a deep enough depth of field from the aperture.
But let’s first start with the ISO. Use an ISO between 100 and 400. Sticking to your lowest ISO setting as often as possible helps avoid noise in your image. If you’re in a lower-light setting, you can increase the ISO. Anything up to ISO 1600 tends to be high enough to compensate for the lack of light but low enough not to introduce distracting grain.
Now let’s move on to aperture size. Since you’re shooting macro photos, your background is going to be blurry no matter what aperture you use. Avoid using values such as f/1.8 or f/2. They make the depth of field even shallower and might make it hard to focus.
Instead, select anything between f/8 and f/22. The deep depth of field they produce will help keep your entire subject in focus.
Finally, let’s talk about shutter speed. Since insects move fast, it’s best to shoot at 1/180 s or faster. If you don’t shoot with a fast shutter speed, your butterfly will end up blurry. If you want to make sure the flapping butterfly wings look crisp, then shoot from 1/500 s or faster.
Try Different Focusing Techniques for Tack Sharp Images
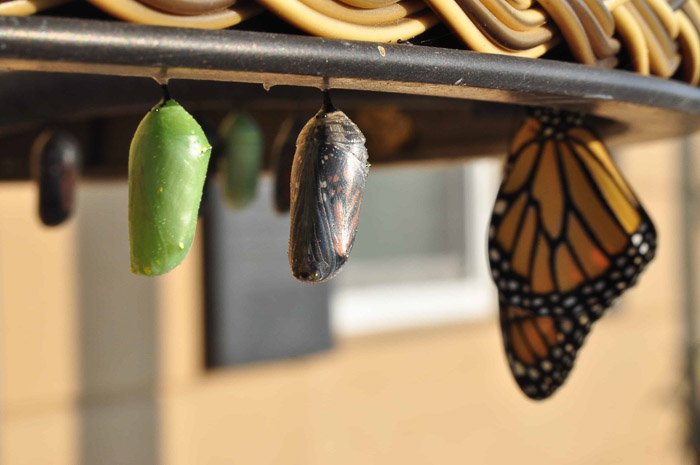
It can be frustrating if you don’t know how to focus while taking macro butterfly photography. You have to respond quickly to their movements or you’ll miss the moment. We’ll show you a few techniques you can try to help you nail the shot.
The first method is to use Continuous Servo AF mode. This autofocus feature allows your camera to track any movement in your frame and focus on that. Point your lens at the butterfly while half-pressing the shutter button and your camera will do the rest.
The only downside is that it may not always focus on the areas that you want it to. If you don’t trust your camera to focus for you, you can try doing it manually instead. It’s a slower process, but at least you have full control over your device.
The final technique is a bit unusual, but it works well, especially for macro photography. Sometimes the depth of field is too shallow to focus manually. If so, move your camera farther or closer to your subject without moving the focus ring. This can be faster than trying to focus manually.
How to Stabilize Your Shots
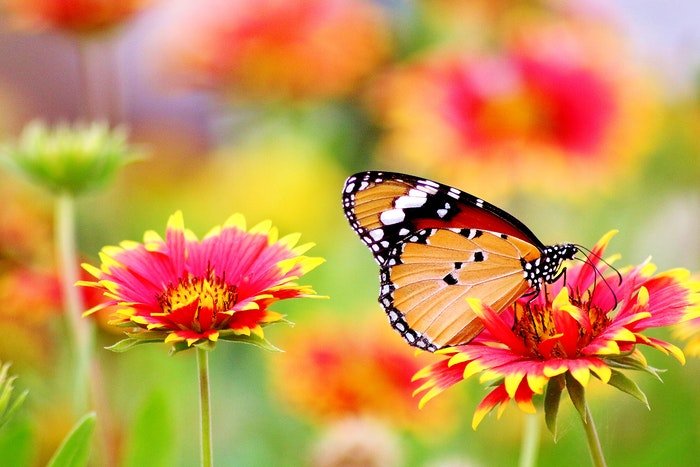
Stabilizing your shots can be difficult because you’re dealing with long lenses and a shallow depth of field. Using image stabilization, if you have it, will help prevent camera shake.
But the best way to stabilize your butterfly photography shots is by using a tripod. Set it up near a flower bed and point your camera somewhere you may think a butterfly will land. Wait until one does, then use your remote shutter to snap some photos.
If you want more freedom to move, then use a monopod. It lets you get closer to the scene just by shifting your weight. But also it’s sturdy enough to hold your camera and keep it steady while shooting.
For low-angle shots, consider getting a Gorillapod or a tabletop tripod. They’re small enough to let you shoot just above the ground and still keep you stable. And they’re lightweight, making them easy to move when you need to.
How to Avoid Spooking the Butterflies
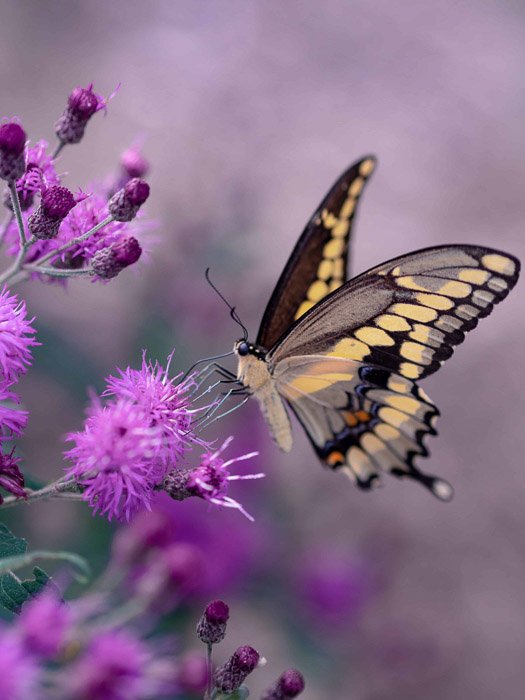
Patience is a virtue in nature photography. Everything is a waiting game, even when it comes to photographing butterflies.
Like many other insects, butterflies are restless creatures. If you want to photograph them, it’s best to stay in one spot and let them come to you. You can’t just walk up to them and take pictures right away. You have to be stealthy and move at a slow pace. If you let them know that you’re not a threat, they’ll stick around for your photos.
Crop Your Butterfly Photos for an Even Closer Composition
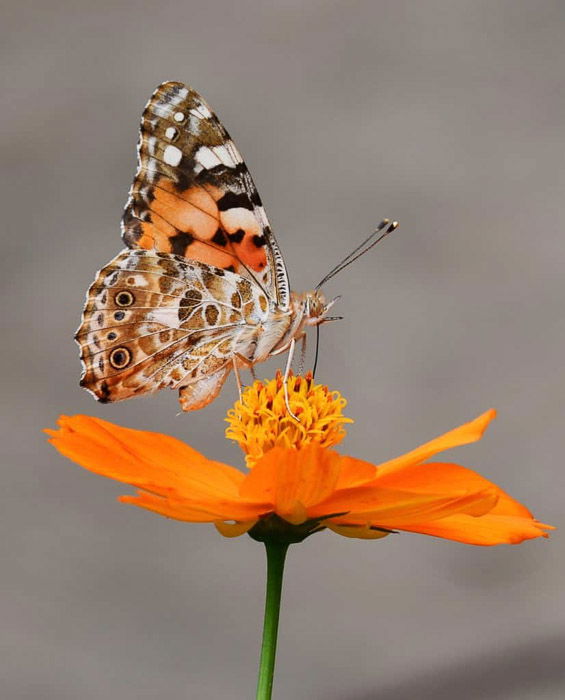
If you can’t get close enough to the butterflies, try zooming in and cropping your images.
To crop your photo, first, open your file using your favorite editing software. Then click the Crop tool and select the area that you want to keep. Once you confirm the crop, the rest of the image will be cut out.
Remember to recompose your image while cropping. Turn on your editing suite’s gridlines to help you. For example, if you want to use the rule of thirds, put your subject where the lines intersect.
Most modern cameras have a high enough pixel count that cropping isn’t much of an issue when it comes to retaining image quality. But if you want to zoom in a lot, it’s best to have a top-of-the-line camera.
Conclusion—Butterfly Photography
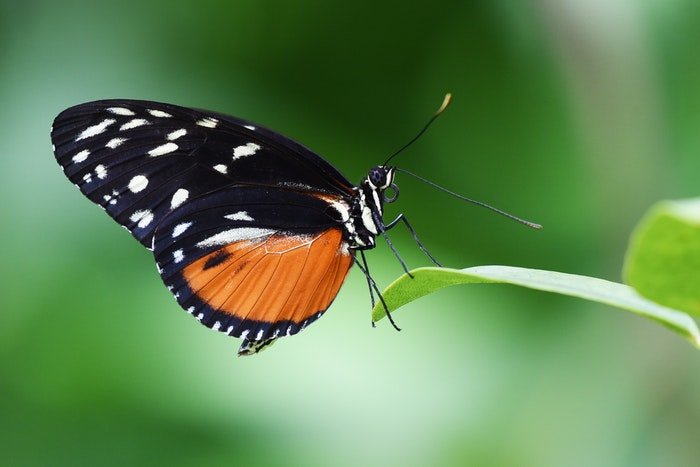
The primary challenge of butterfly photography is capturing these elusive insects before they fly away. But if you use the techniques above, your patience will pay off with some incredible butterfly photos.

- Learn to take stunning photos without stepping outside.
- Discover affordable ways to convert any lens for macro shots.
- Explore unique techniques for lighting and composing your subjects.
