Color contrast in photography is one of the most important aspects to consider when taking pictures. This is because it can add visual interest and impact to your images. In order to make the most of color contrast in your photos, here are some tips to keep in mind.
Understanding Color Contrast in Photography: A Comparison of Tonal and Color Contrast
What is contrast in photography? We can talk about two types of contrast in photography.
There are tonal contrast and color contrast. The first one deals with the difference between the lightest and darkest tone in the image regardless of the hue.
It’s the contrast between white, black and shades of grey. Color contrast refers to the difference between different hues. That is to say, it’s responsible for the way colors interact with each other.
It’s a good tactic to rely only on one type of contrast in your image and use another as a secondary tool.
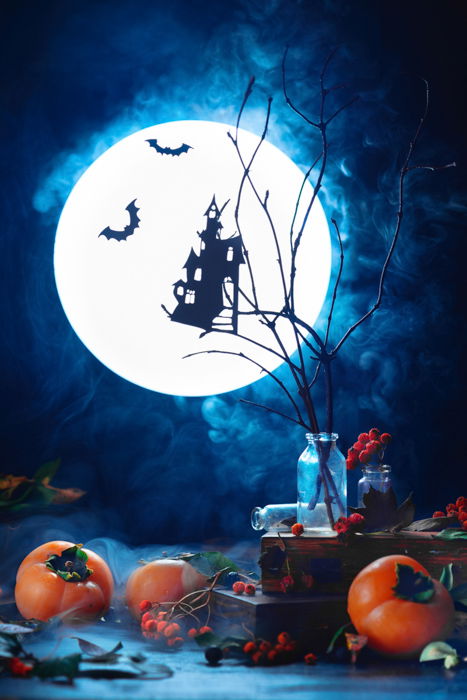
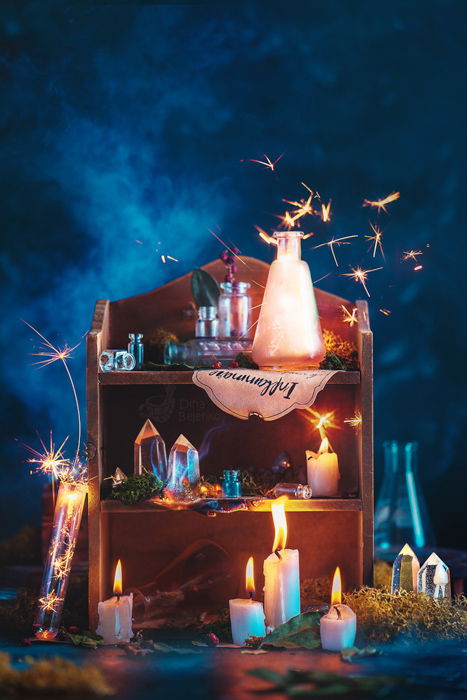
- For example, this image relies on the tonal difference between the shining white moon and a pitch dark silhouette of the haunted mansion and bats.
So the color contrast between the orange persimmon and the blue smoke (plus the dark blue background) is secondary. It adds to harmony but isn’t the main thing that holds the image together.
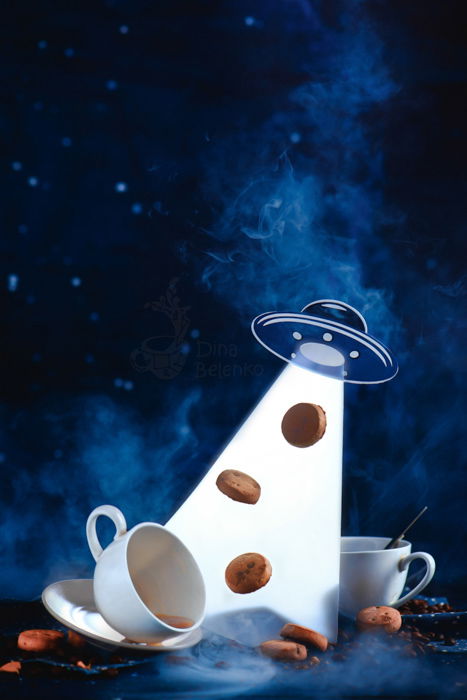
The orange and teal image below (Fire collection) is all about color contrast.
Sure, there’s a tonal contrast between bright fire and dark background. But it takes a secondary role by comparison to the color contrast between warm orange of sparks and cold blue of the background.
Build Contrast With Complementary Colors For Better Images
Knowing pairs of complementary colors is one thing. Making them a part of your internal knowledge is another.
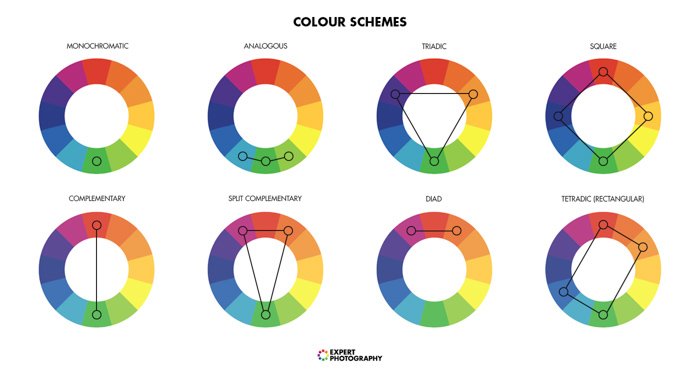
Dedicate some time to explore the mechanics between pairs of opposite colors. Understanding the color wheel is essential for color contrast photography.
- Colors on directly opposite sides of the color wheel are complementary colors. They naturally create the strongest contrast
We have a detailed article to help you understand complementary colors in photography. But in short, complementary colors oppose each other on the color wheel.
They are as different as it gets, so they produce maximum contrast reinforcing each other. That’s why we say that complementary colors make the image “pop”.
Start With Two Colors for an Eye-Catching Image
Managing opposite colors can be tricky. So it’s better to start with something easy and reliable. The fewer colors in the image, the easier it is to get an eye-catching photo.
Start with two colors. A splash of red on a green background is hard to miss. For example, a strawberry on a green plate or a girl in a red hood in a forest. You can get the viewer’s attention instantly.
Start simple. In fact. Let’s divide it into three easy steps.
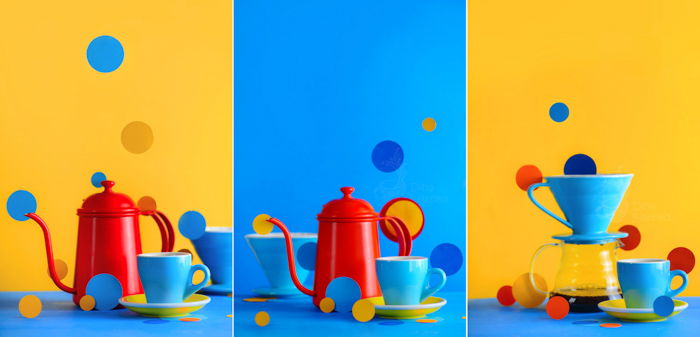
Step 1. Pick an object with a solid and bright color. Say, a red kettle.
Step 2. Find a background of contrasting color. Our red kettle’s complementary color can be green or cyan, depending on the color model you use. I prefer a light shade of blue. It’s not a pure cyan, but that way the contrast is more harmonious.
Step 3. Combine and add details! Put your kettle against a background of your choice and add a couple of bright details to make the image more lively. Voila!
Do this exercise several times and pay attention to color interaction. Soon, you’ll be able to find an eye-catching palette without really thinking about it.
And, stepping more and more away from a traditional color wheel contrast, you’ll find more subtle ways to combine color hues.
Make Your Entire Image About Two or Three Colors
Color blocking is another great way to understand how colors work together. Put blocks and large surfaces of solid color next to each other. Stick to simple shapes and bold color tones.
If you are shooting a portrait, discuss with your model an outfit which combines multiple solid colors. Say, red jacket with a blue top.
And pick a location with a large wall of a solid color or a vivid graffiti.
If you prefer still life, prepare several backgrounds of different bold colors and pick objects. Keep in mind that it is opposite on a color wheel to your chosen background.
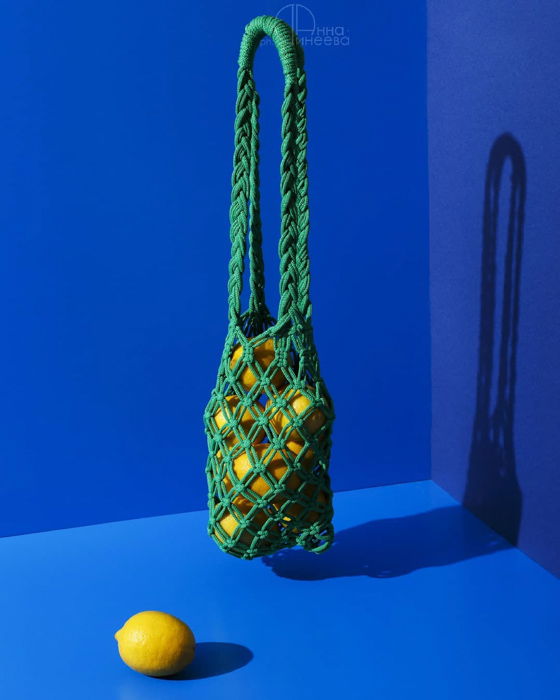
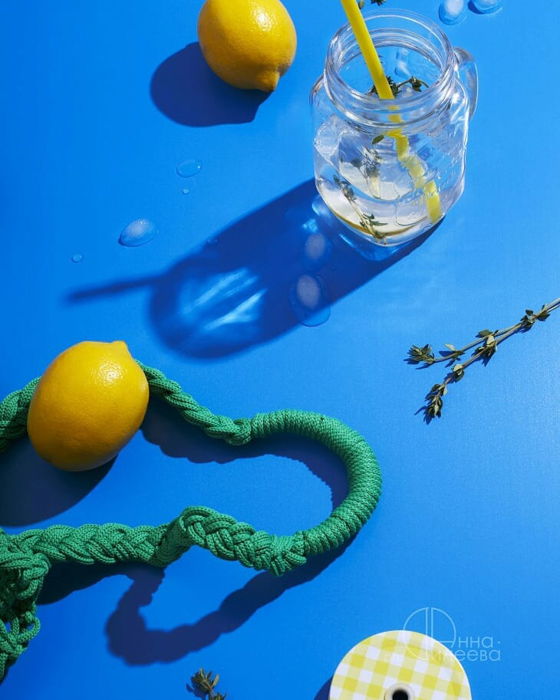
Let’s look at an image of Anna Dineeva as an example. Yellow lemons would look fantastic on deep blue background. Especially with hard light and pronounced shadows.
Green string bag supports minimalistic color palette but also brings variety of tones.
I suggest trying your own strength in a similar project. Decide how many colors you want to use. Start with no more than three. Choose your objects with care. And do everything else in the most comfortable way possible.
Trying a new palette is already hard enough. So let any other parameter rely on your strengths. For example, if you are good at shooting flat lay photos, shoot a flat lay.
If your go-to angle is 45 degrees, do that. Make everything else the usual way. So you can concentrate on the changes that color makes and study them.
Use Contrasting Colors to Highlight Your Subject
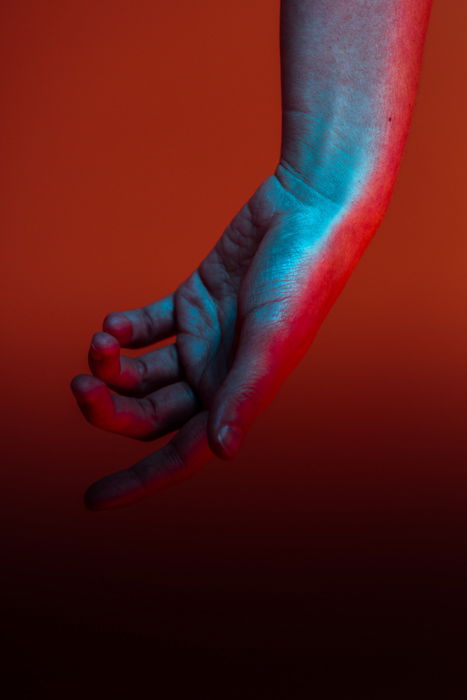
The prime use of contrasting colors is to capture the viewer’s attention and direct it to the subject. That’s why you can make your objects stand out using complementary colors.
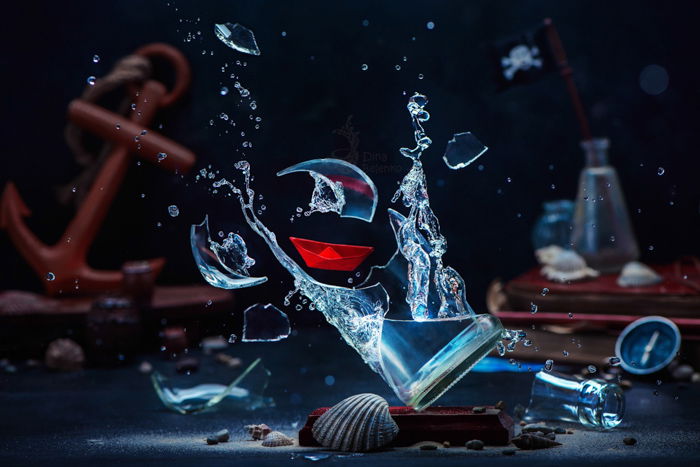
Here’s a red paper boat in a still life composed with cold blue tones. It stands out and tells the viewer that it is the hero of this story.
This technique works even in low saturation. In the picture below the yellow is not an eye-burning neon yellow. But it stands out against the bluish background anyway.
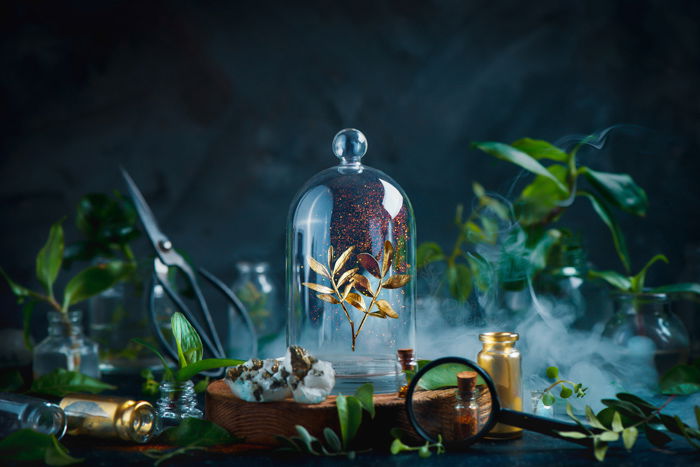
Use color contrast to highlight the main object or important details in your image. But keep in mind that warm colors are better for this trick.
Red or yellow objects against blue or purple backgrounds pop more than blue or purple against red or yellow backgrounds.
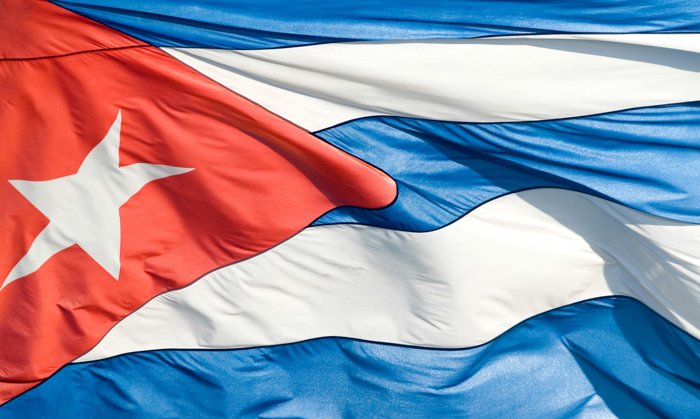
Look for Birds and Bugs With Natural Color Contrast
You can take a step outside your studio and try hunting down your favourite color. Pick one and arrange the entire series around it. They say that limitations drive more freedom for the artist, so let’s take advantage of that!
Take a stroll around your city and find interesting locations with solid colors. Often, you can find a red brick wall. Pair it with a model in a blue outfit. Or look for a green door.or a modern building painted with blocks of bright colors.
Find every street sign, post box, car, statue or a well-dressed mannequin colored in the tone of your choice. Combine it with an opposite color. Take a picture.
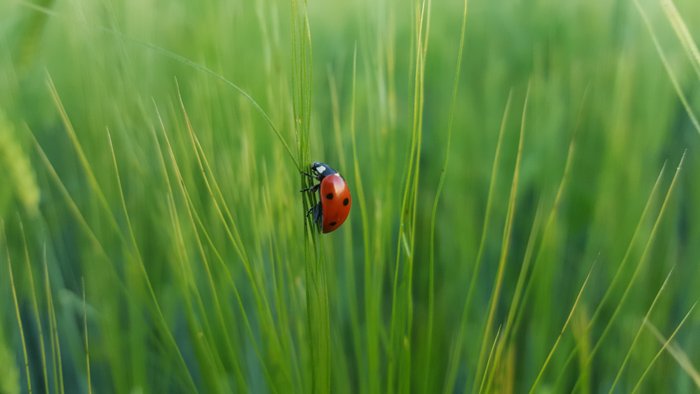
If you are not into street photography, try finding color contrast in nature. A lot of flowers, berries, and birds have natural color contrast.
Keep in mind all the pairs of complementary colors and look for something, or someone, that has both of them.
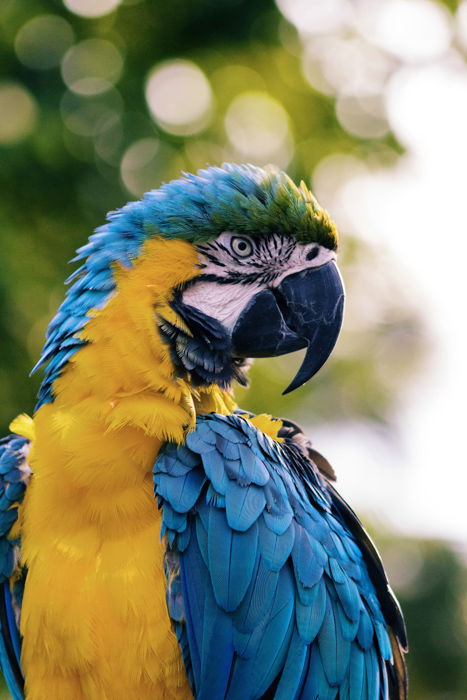
A red ladybug on a blade of grass, a yellow and purple orchid, orange leaves against the blue sky, a green frog with red eyes, Tickell’s blue flycatcher or any other bird with two opposite colors.
Stay alert to any opportunity and have fun!
Create Dramatic Compositions With Simple Shapes and Tones
One more fun exercise you can do to understand color contrast better is practising with paper figures.
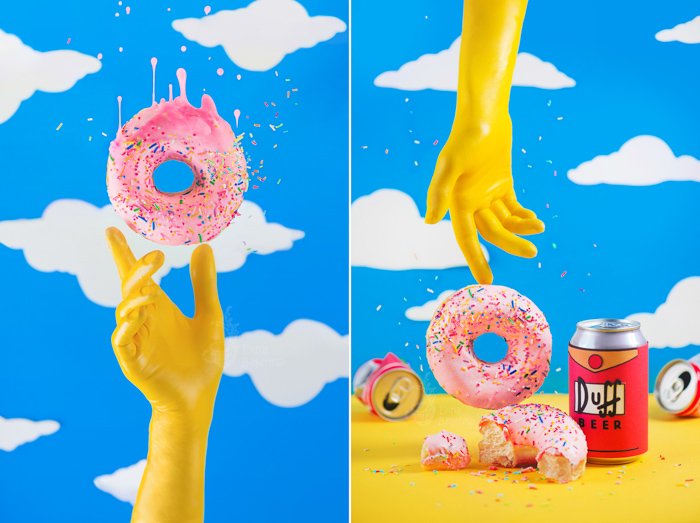
Choose a bright colored object: a donut with pink glazing, a flower, a lemon cut in halves, some modern kitchen utensils of solid colors, a grapefruit, a toy airplane, anything you find suitable.
Then take colored paper or vinyl and cut out some simple shapes: triangles, circles, squares. Make them vary in size. But limit your range of colors. You can use a lot of bold colors. But organize them in a harmonious palette.
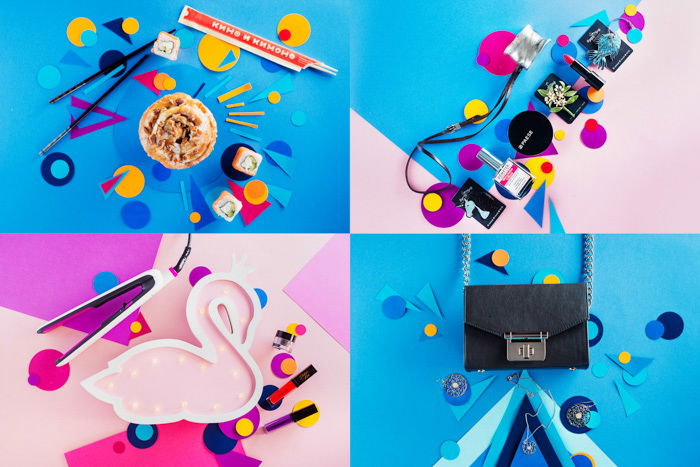
For example, you can choose two complementary colors (say, blue and orange) and add to each of them two variables. Add deeper or lighter tones of blue and orange, or colors next to blue and orange on a color wheel. These could be yellow and green or purple and red.
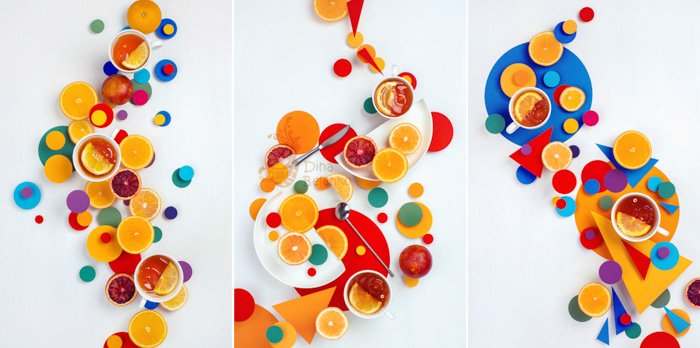
After you are ready with all the preparations, arrange a simple geometrical composition. Take some inspiration from Pete Mondrian and Kazimir Malevich.
Start arranging your composition from largest spots of color and most important objects. And then move to tiny details. Note how adding one more triangle or circle of color changes the dynamic of an image.
Repeat until you are happy withe result.
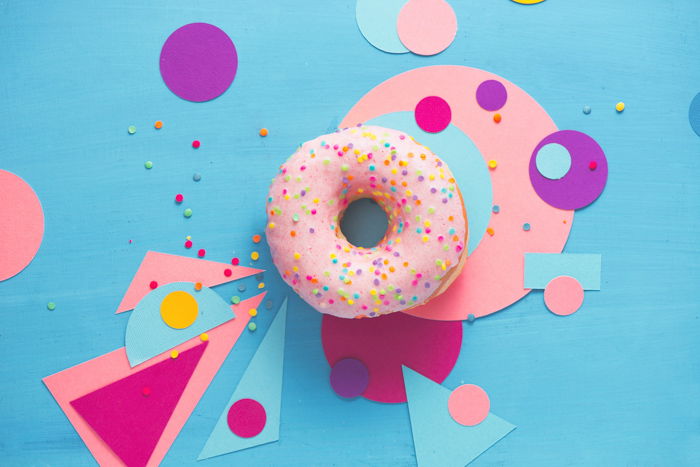
Break a Monochromatic Palette With Contrast
This is probably the simplest and the most effective way to use color contrast. Add a splash of the opposite color to a monochromatic palette.
Make one object stand out from the crowd. Take a shot about being weird and original. About being different. That’s very simple but has a profound effect.
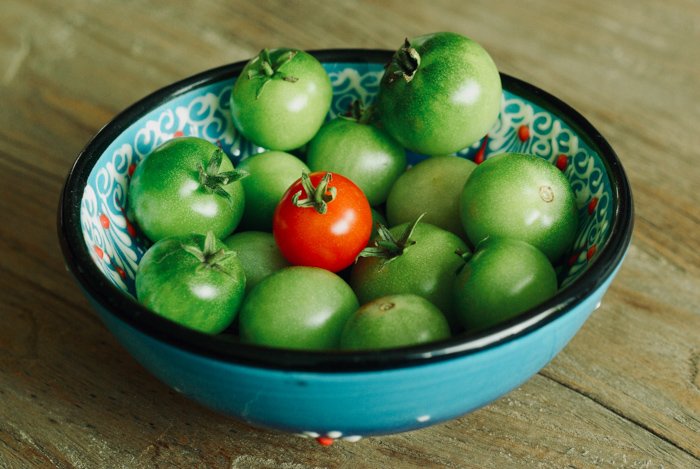
Often, a monochromatic color scheme removes any distracting colors and focuses the viewer’s attention on the texture and detail of the subject. There’s one primary color used in the subject, props, and background.
But if you add detail with the opposite color, the image starts to work completely different. You’re breaking the harmony with one rebellious element. And it will attract attention.
One red apple among green vegetables. One purple butterfly between yellow relatives. One orange coffee mug on an entire shelf of blue dishes and cups.
You can try this trick with a simple flat lay. But later move to more complicated images, where you can operate not only with color but with volume too.
Hide your special object, so that the viewer has to find it. Put it inside a reflection or in the shadows, hidden at first glance. Don’t make your task too easy. This way, you can create outstanding color contrast photography.
Use Contrasting Colors to Add Emphasis
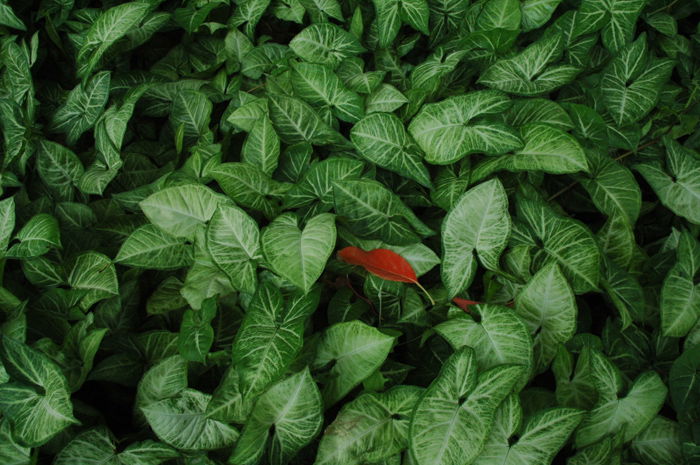
If you’re looking for a subtler way to use complementary colors, you can always use the complement as a highlight.
Don’t build an entire image on the conflict of two colors. Instead, use one side of a pair as your weapon of choice and another one as a shield.
So you have an image based on one color. But with details, which don’t attract attention themselves. But they make the main color work.
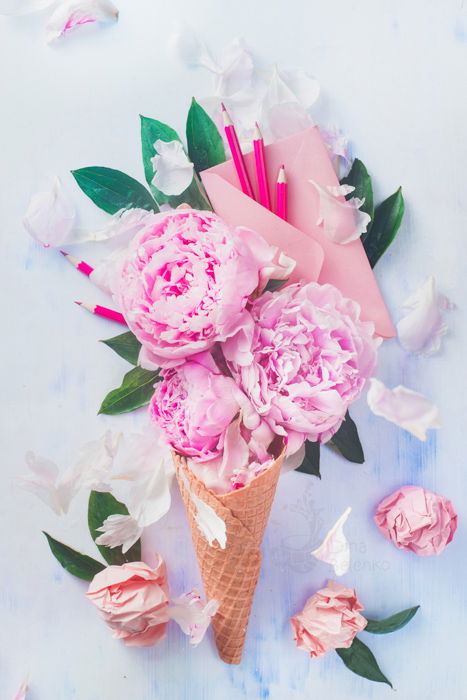
For example, in this series with pink peonies, I use green leaves to create a bit of color contrast in an image based on an analogous color palette.
They take up a very small part of the image but bring much-needed diversity.
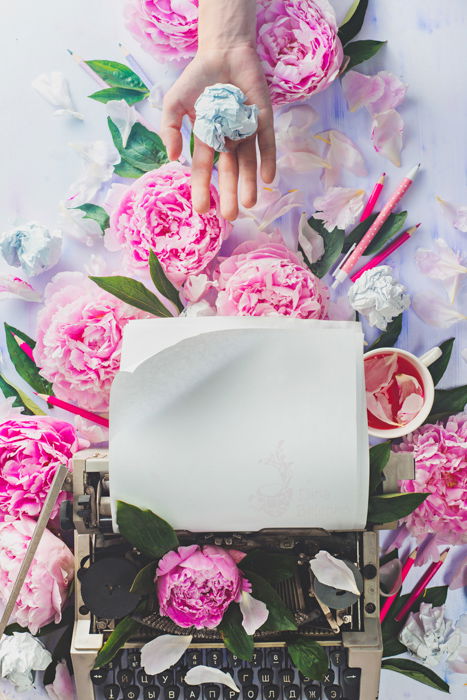
This is a great way to make an image based on an analogous color palette more lively. You don’t have to add a large amount of opposite color. Only a couple of details here and there.
This could be stripes on a linen napkin, a slice of lemon, a garnish on the dish, a part of your model’s make-up or an accessory like a belt or a scarf.
This little pop of color will help add interest to the main object.
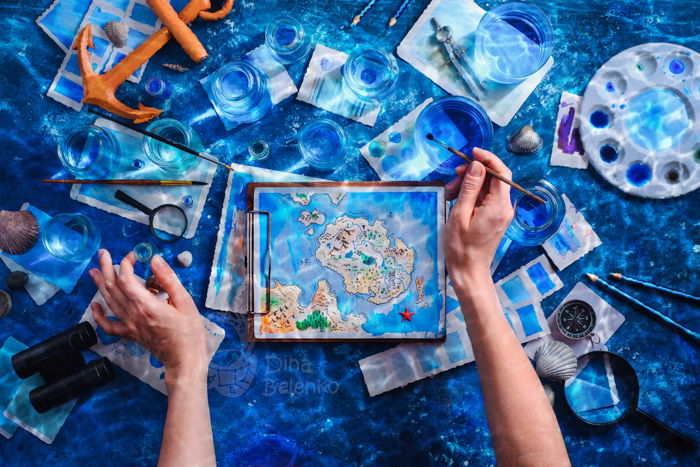
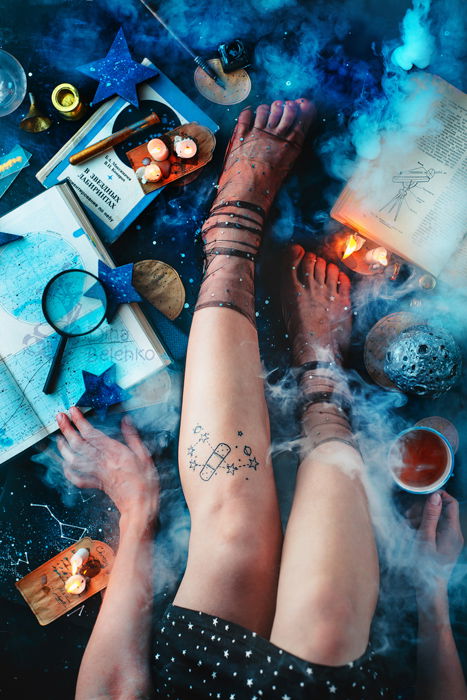
And remember, skin also has color. You can balance the image by adding some details with tones close to the skin.
I imagined this photo as a flat lay based on different shades of blue. I painted my own background and created a lot of color swathes with cyan and blue tones.
Before I put my hands in the frame and took a picture, I added some brown and beige details to balance the color of my skin. A wooden anchor and most of the brushes coped with this task perfectly well.
Make a Bold Statement to Express Your Unique Style
Bold is beautiful. So don’t be afraid to experiment. Find your own way to manage contrasting colors in your photos. Find the combinations and palettes you like, the colors that communicate your own vision.
Sure, you need to understand the rules before you break them. But embrace loud color combinations, vibrant hues, and strong graphic elements. Or the opposite, dive into pastel shades and subtle color contrast.
By all means, listen to experts and try different things. But stick with methods that bring you joy and fun. Color is a powerful tool, but that’s only one tool. Use it to express what you want to say.
Conclusion
I hope you can use some of these exercises and tricks to enhance your understanding of color contrast photography.
Make some of these tricks your own and find your unique way to deal with colors.
Keep practicing, stay inspired and good luck!
Learn how to create incredible still life photos with our Creative Photography Cookbook!
