Window light photography is one of the simplest and most beautiful ways to take portraits. By using natural light streaming in through a window, you can create stunning images that have a soft, dreamy quality about them.
But how do you shoot window light portraits? And what tips can help you get the most out of this simple but powerful technique? Read on to find out.
Understanding Window Light Photography: How It Works
If you see the window as a softbox, everything that you know about a softbox will be relevant to this lighting.
First of all, the larger the window, the softer the light. A large window provides a wider angle from which the light falls on to your face. It produces less shadows. This is very important to remember if you’re trying to take photos with hard shadows.
There are many ways in which a window is better than a softbox. They come in all shapes and sizes. They’re everywhere. They’re free to use. And they’re easy to experiment with.
The downsides are that the light is dependent upon the weather and time of day. You also have to move the model or subject, rather than just the light source (the window).
The soft nature of window light makes it very flattering for portrait photography. The shadows that appear on the face are very natural and don’t accentuate any features.
If there were any features that you would want to hide, you’d want to make the light harder. You do this by standing farther from the window, or using a smaller window.
A window is a great way to get an expensive look for free – how you use your window is up to you.
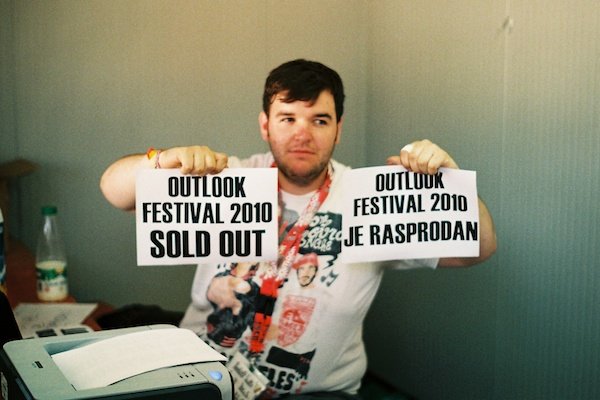
Firstly, the light is very directional. Unless the window is above you, it acts as a side light.
The closer you stand to the window, the bigger and brighter it is.
If you’re shooting with the purpose of using window light, it’s important to find a large room. You can move around and play with the light.
Make sure you choose a time of day where the sun is acting the way you want it to.
When the sun is out, the light is a lot harder, even through a window. When it’s overcast, the whole sky acts as a light source. Think of the difference between shadows on a sunny day compared to those present on an overcast day.
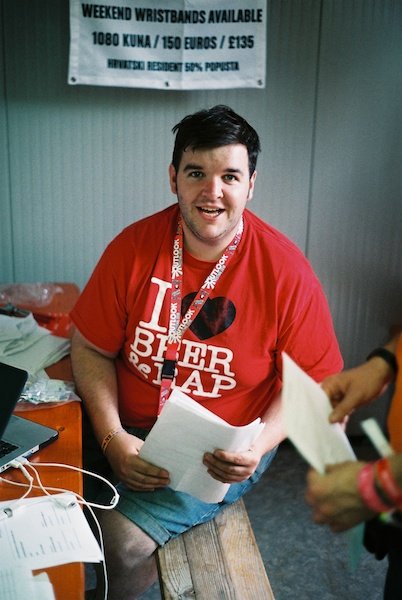
When you place your subject in the middle of a window, with the window to their left, you’re always going to light up the left side of the face a lot more than the right.
Because the center of the light source is reaching the left side of the face, there are less angles along which it’s possible for your light source to reach the right side of the face.
This creates a pretty cool effect with more shadows on the right side. Just remember to expose for the left, not the right, side of the face or the photo will be underexposed.
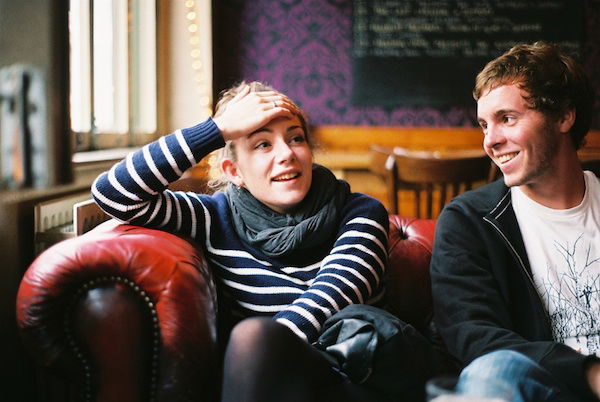
Move the subject closer to you with the majority of the window light behind them. The lighting on the face will become softer as the left side of the face starts to even out with the right.
Turn this the other way and the right side of the face will even out with the left, making for a more evenly lit subject.
It’s important to experiment and see which you like the most and whether it suits whatever you’re shooting.
Obviously there are more uses for window lighting than just models: still life, animals, etc.
When the subject is facing a window, you will end up with a very soft, yet rather flat, image with fewer shadows.
Yes, this will light the subject but it won’t look all that interesting compared to some of the other possible effects.
It’s also important to note any other light available in the room. You don’t want any of the lights to be on or you’ll struggle to set the right white balance; there is more than one light source.
When the window is behind the subject, you get the same sort of results as when you shoot into the sun: the camera will probably try to expose for the window, unless you’re using spot metering, causing a silhouette.
When you have the camera set to spot metering, you can overexpose the background to blow out the light, while exposing for the subject in the foreground. This can produce a very cool effect and it’s about the only interesting white/light background that I like to use.
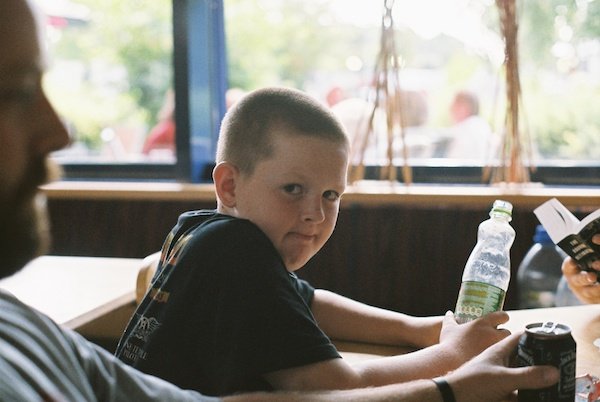
If you want harder light than would usually be made available by a large window, you have two choices: stand further back from the window or use a smaller window.
Standing further back will give light that is still quite soft, just not as soft; the light is further away and can’t reach the subject from the same angles.
Using a smaller window does something very similar to distancing yourself from a larger one. Instead of making the window appear smaller by being farther away, you’re using a light source that is actually smaller.
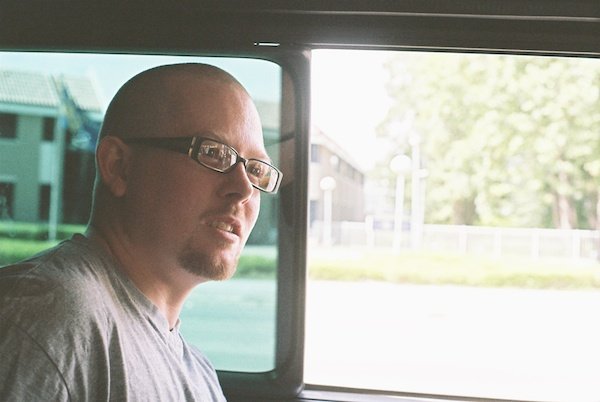 This will produce a harder light as, again, the light can’t reach the same angles as it would from a large window.
I personally like using smaller windows for photos of a persons upper torso and head, and larger windows for a full body shot.