Today we will guide you through the easiest way to transfer a Lightroom catalog to a new computer. It should be a fairly straightforward process, but there are certain elements people often need to remember.
Adobe Lightroom is crucial to many photographers’ archives. It can house all the photographs we have ever taken, so it is very important to transfer images properly. By the end of this article, you will be confident that none of your pictures or settings are left on your old computer.
Transfer a Lightroom Catalog To A New Computer in Lightroom vs Lightroom Classic
Adobe Lightroom now comes in two different versions: Lightroom and Lightroom Classic. Both versions have many of the same functions; what differs are the approaches to editing processes.
Lightroom favors a post-processing workflow that utilizes the cloud. This allows you to work from the same set of images on any device you want. This version also prioritizes simplicity and ease of use through a stripped-back interface. This may be easier for beginners to work through.
Lightroom Classic has an interface with which any photographer who has used the past versions of Lightroom would be familiar. It provides a wide range of features, some of which you may never need to use. You will find more in-depth controls and attention to detail in Lightroom Classic.
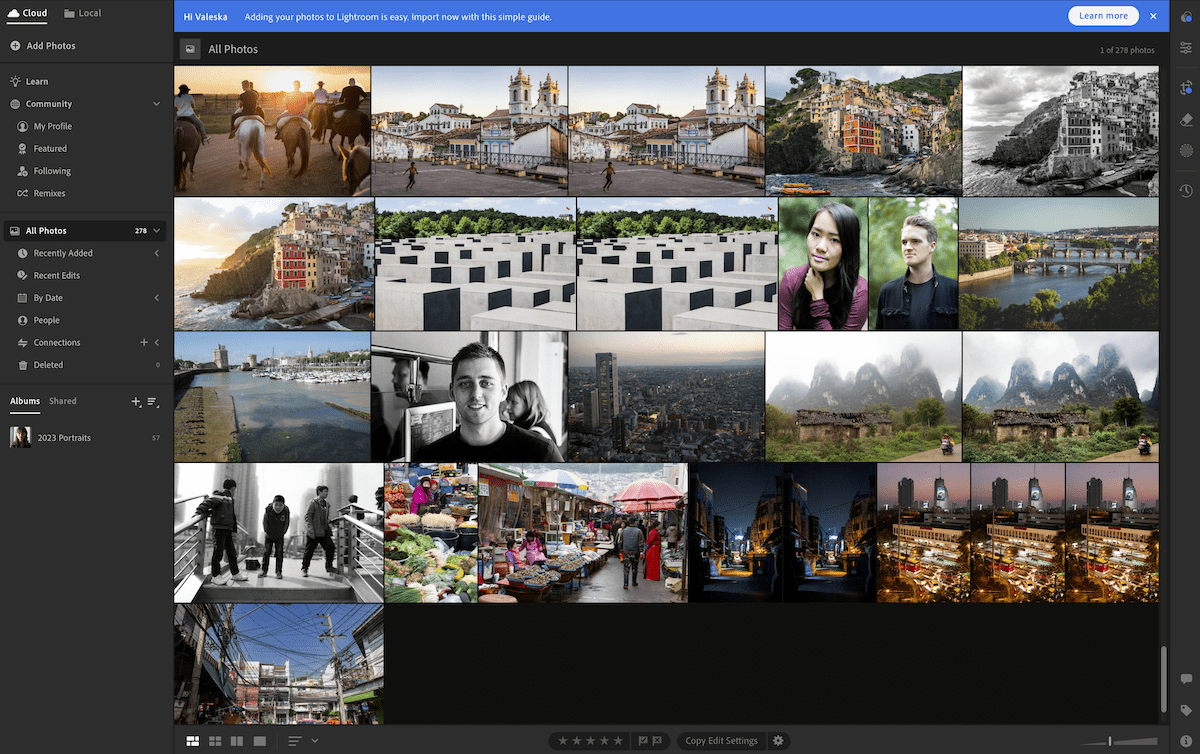
Lightroom doesn’t use a Catalog system. Instead, it favors saving your images to the cloud. This means you can access your files from any computer, making for a seamless transition to a new computer. Lightroom also allows you to save files locally.
Lightroom Classic uses a catalog system to manage your files. This is normally stored on your computer rather than in the cloud. This is the main Lightroom version we will cover in this article.
Step 1: Preparing Your Folders to Transfer a Lightroom Catalog to a New Computer
The most crucial step in this process is ensuring your files are conveniently stored on your computer.
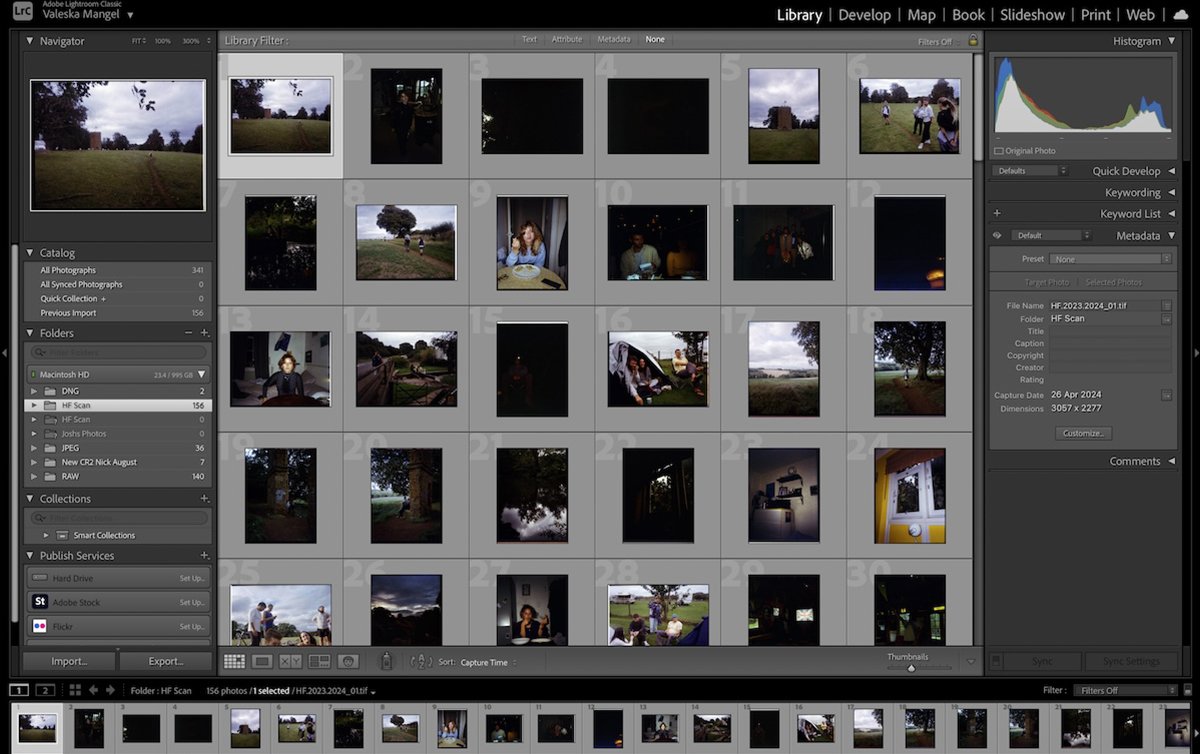
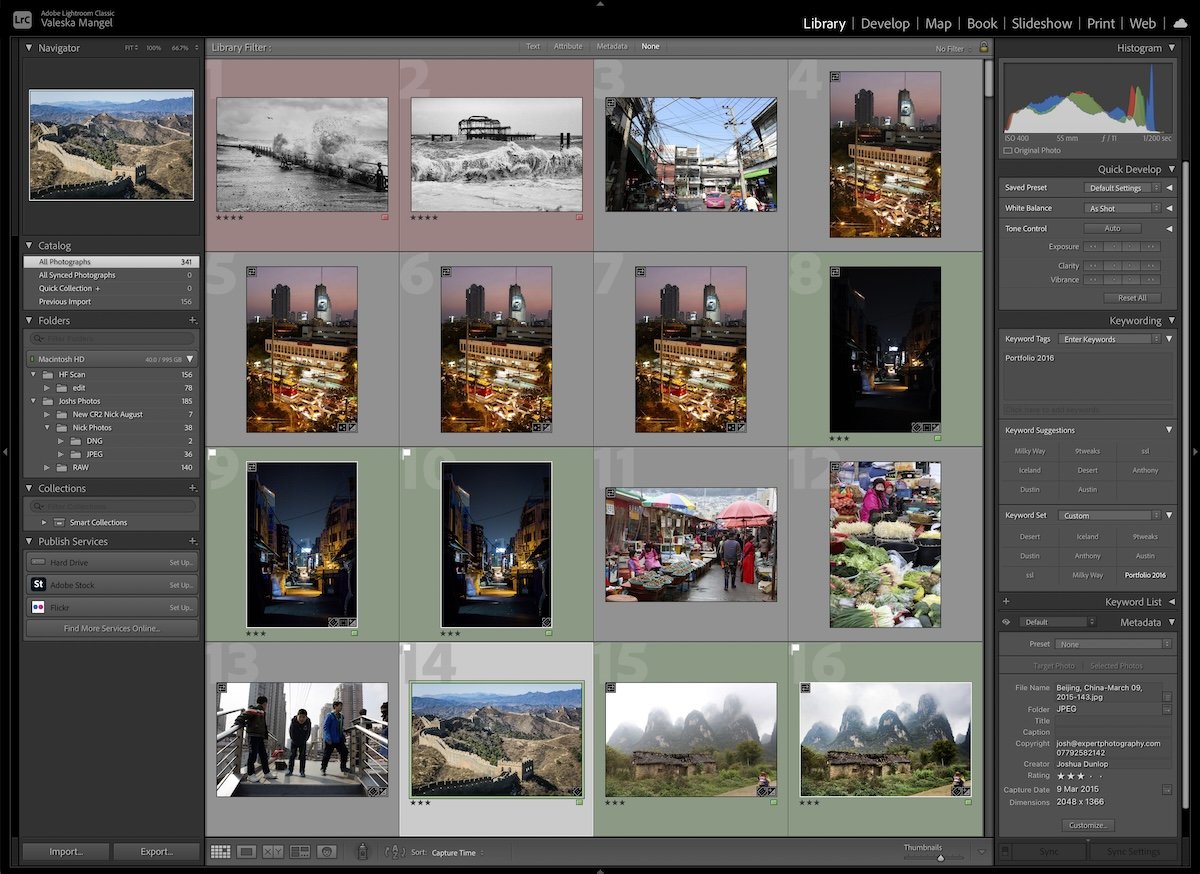
Lightroom Classic does not store your original files. Instead, it references them. Even if you upload photographs directly into Lightroom, Lightroom will create a place for the original files on your computer.
When you transfer a Lightroom Classic catalog to another computer, you must also transfer these original files.
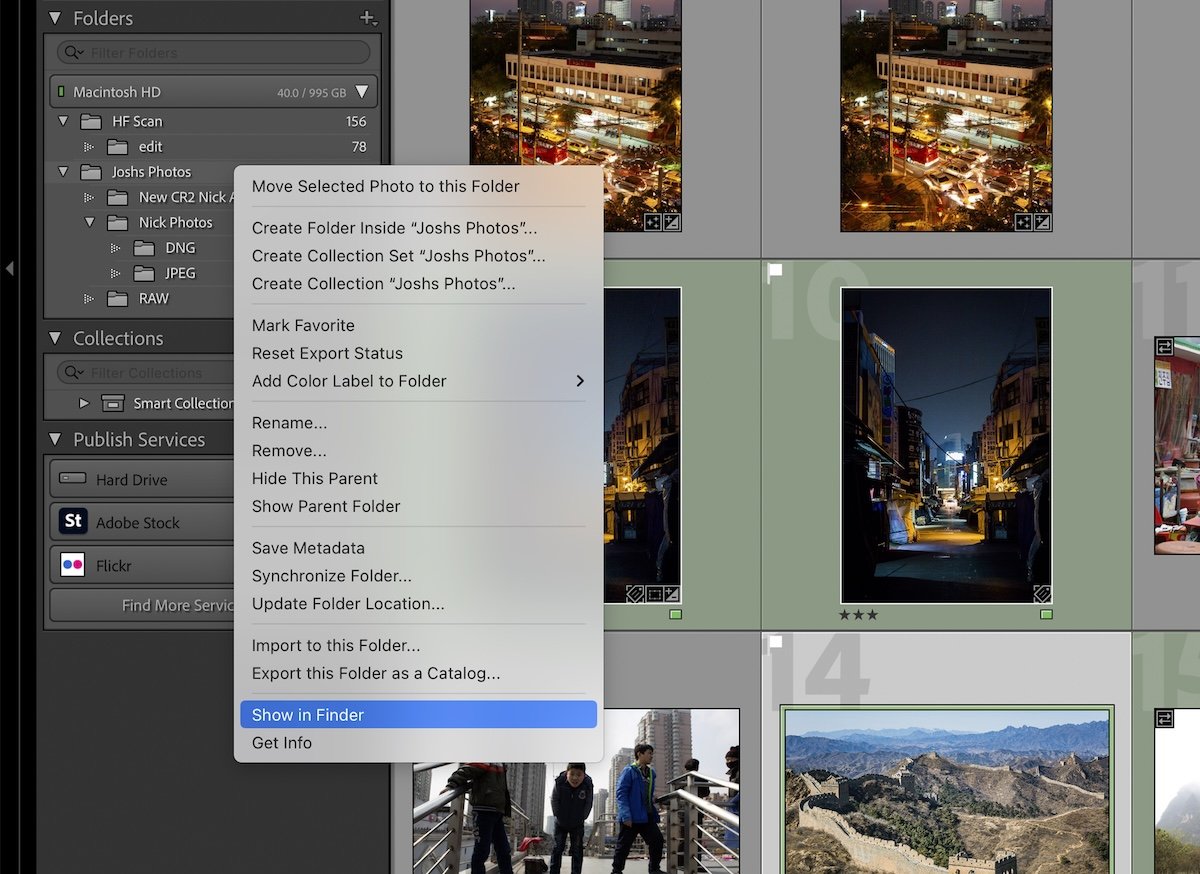
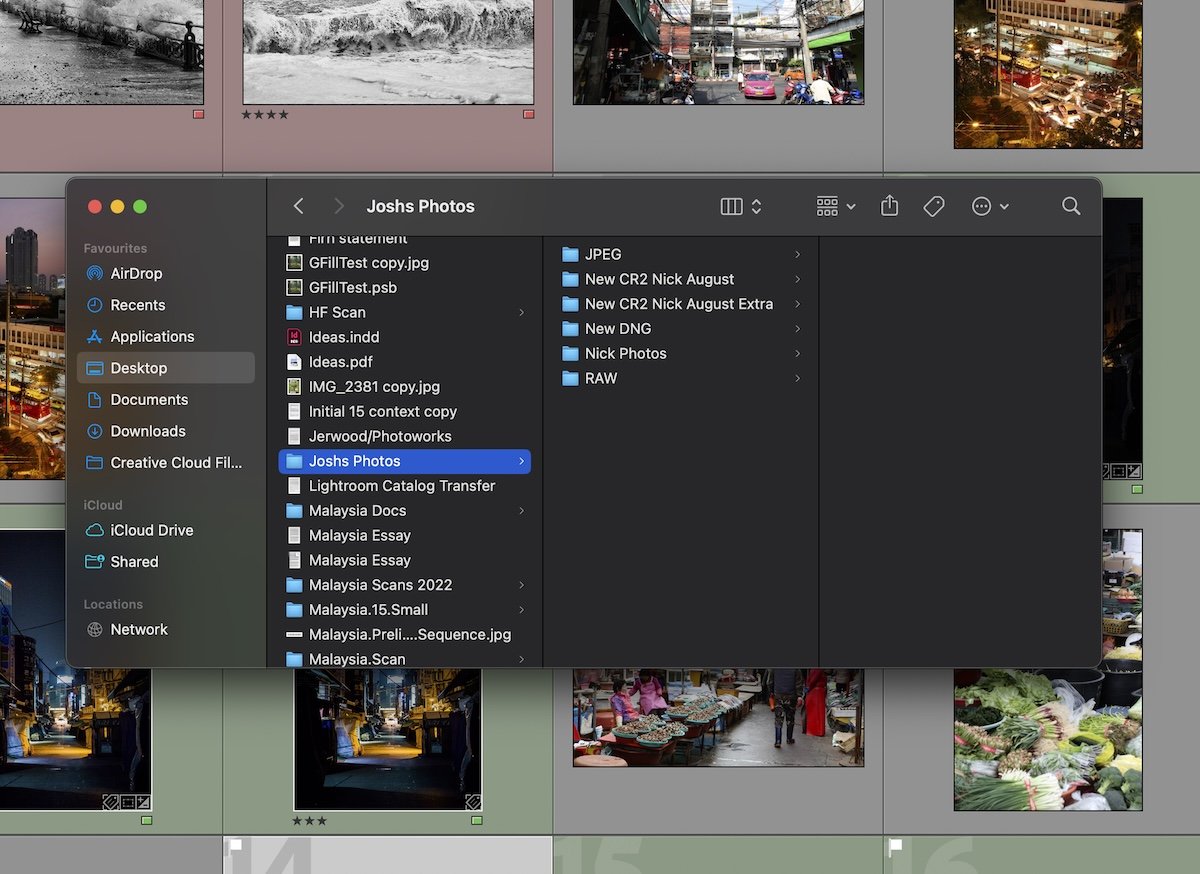
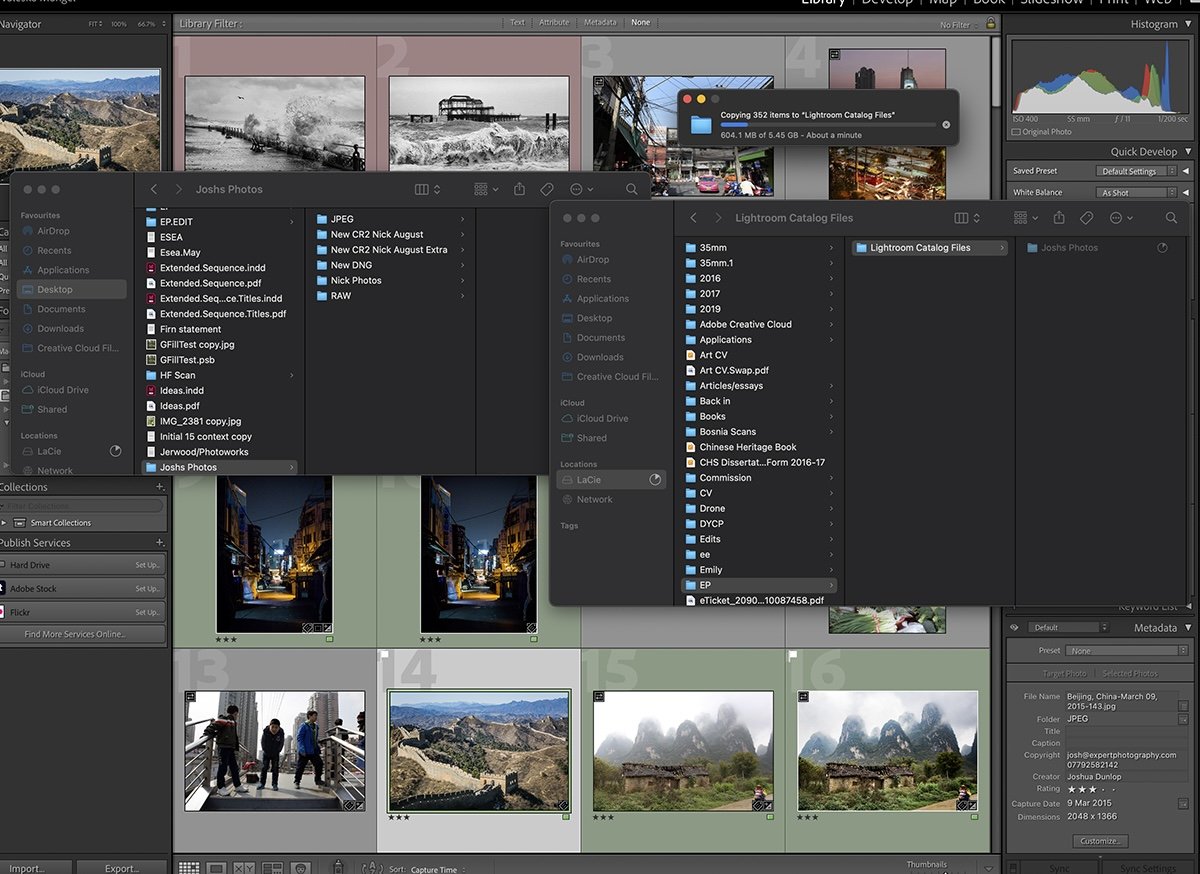
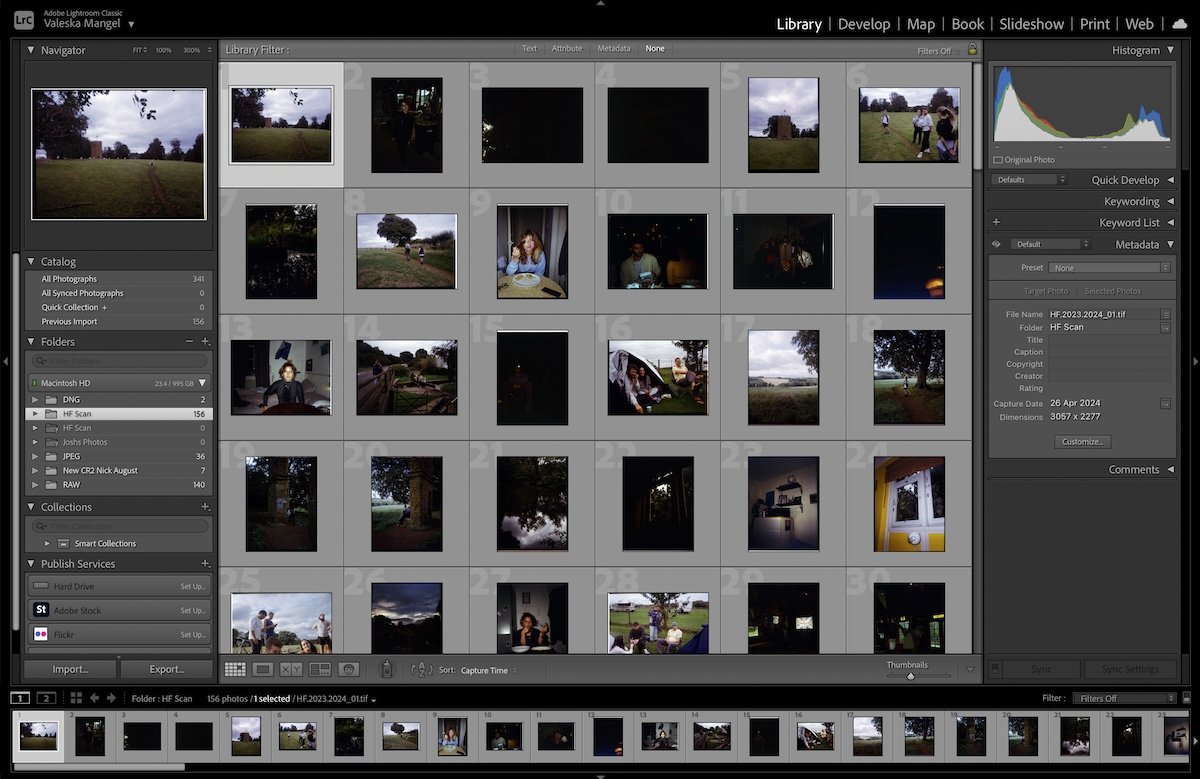
If you have not been keeping your computer organized, you can find the folder by right-clicking it in Lightroom. From here, you can select Show In Finder, which will automatically open the relevant file.
You can also right-click the folder and click Show Parent Folder. This is useful if multiple folders are under one larger folder structure.
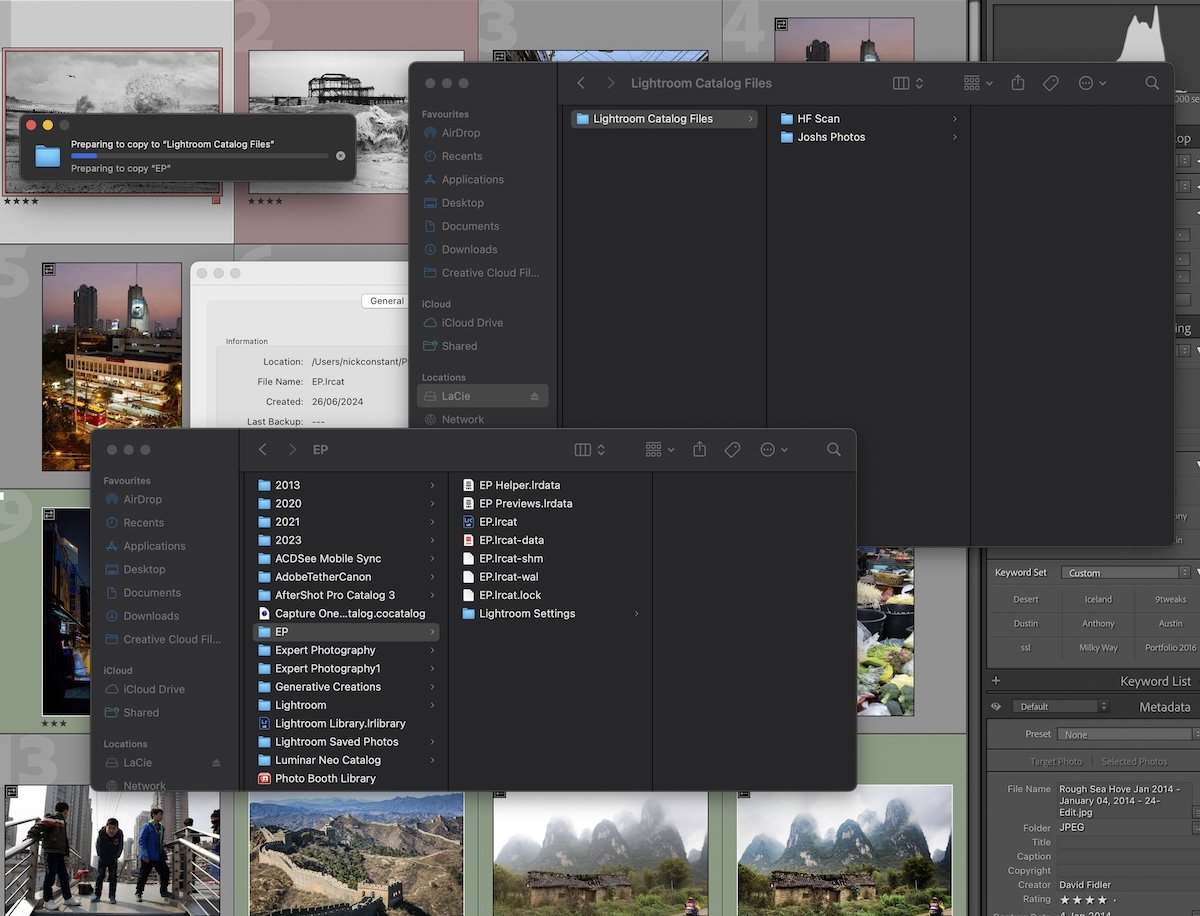
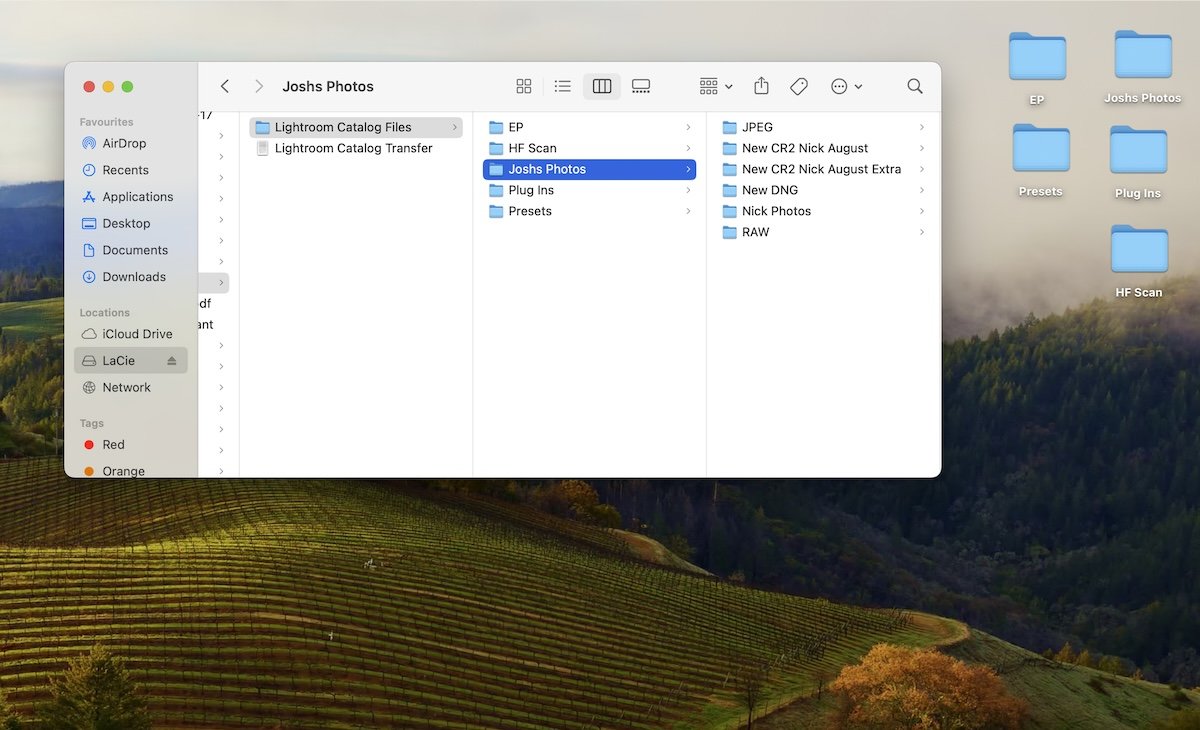
You can easily transfer the entire folder structure by copying and saving the parent folder. This will make it easy for Lightroom to relink all your photographs.
Step 2: Backup Your Lightroom Files and Settings
You will probably be familiar with the constant backup notifications Lightroom pops up whenever you close the application. Undertaking a backup is crucial to ensuring the edits and organisation in Lightroom don’t get deleted.
Photos
Your photos are the most important files to back up. Use the first step above to ensure all your photos are in the right locations.
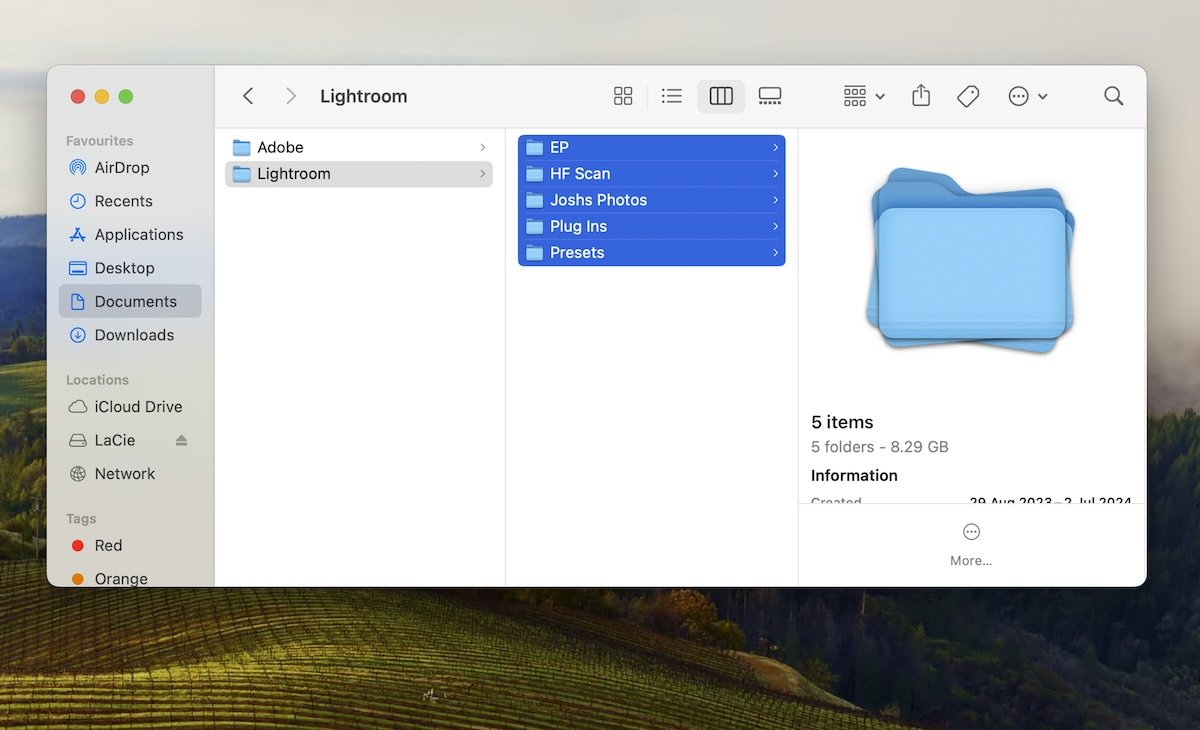
You will then want to transfer the relevant folders to an external hard drive or a cloud service. Keep the folder structures as similar as possible. This will make the process easier on your new computer.
This may be a good time to organize your archive if you have a messy folder structure. Having all your image folders neatly organized will make your life much easier in the future. This is especially relevant if you need to perform advanced edits in Photoshop or if you need to send RAW images to clients.
Catalog
The Lightroom Catalog stores all the information on the photos you have imported and your edits to them. Therefore, you must ensure your catalog is transferred, not just the photographs. If you transfer just the photographs, you will have to start all your edits again.
Your Lightroom Catalog will automatically set itself on a weekly rotation for a backup. Lightroom will notify you as you close your application if you want to back up your catalog.
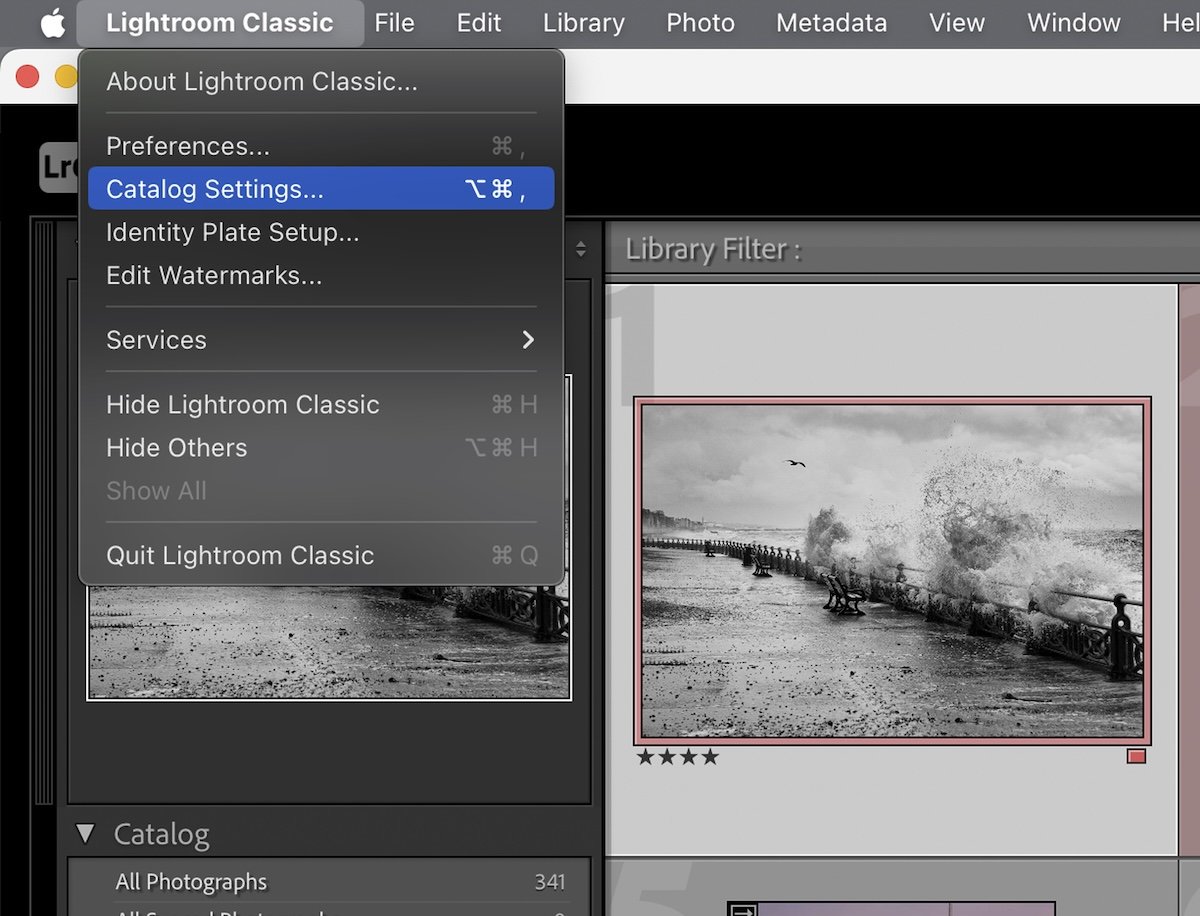
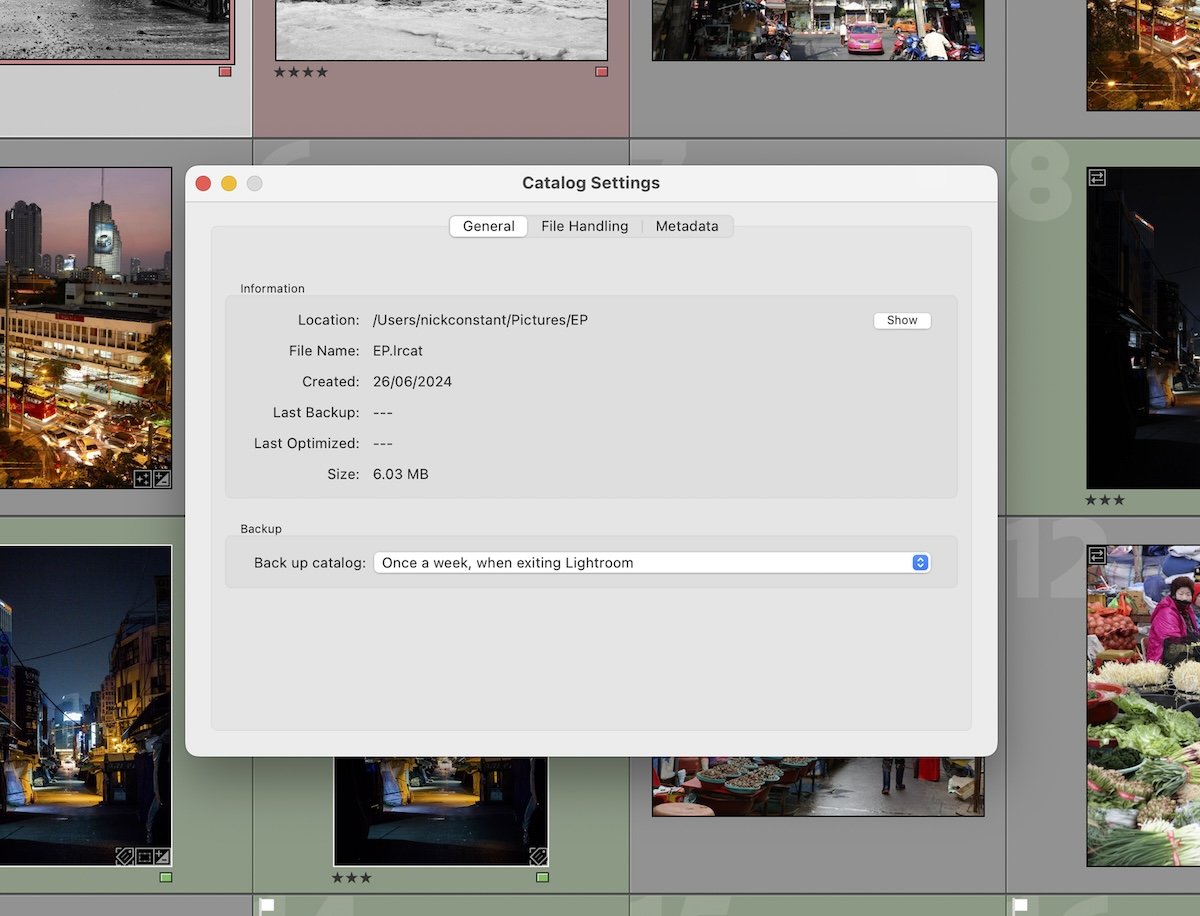
To locate your Lightroom Catalog or to change the backup rota, go to Lightroom Classic along the top toolbar of your computer and then to Catalog Settings. This section will tell you where your catalog is located on your computer.
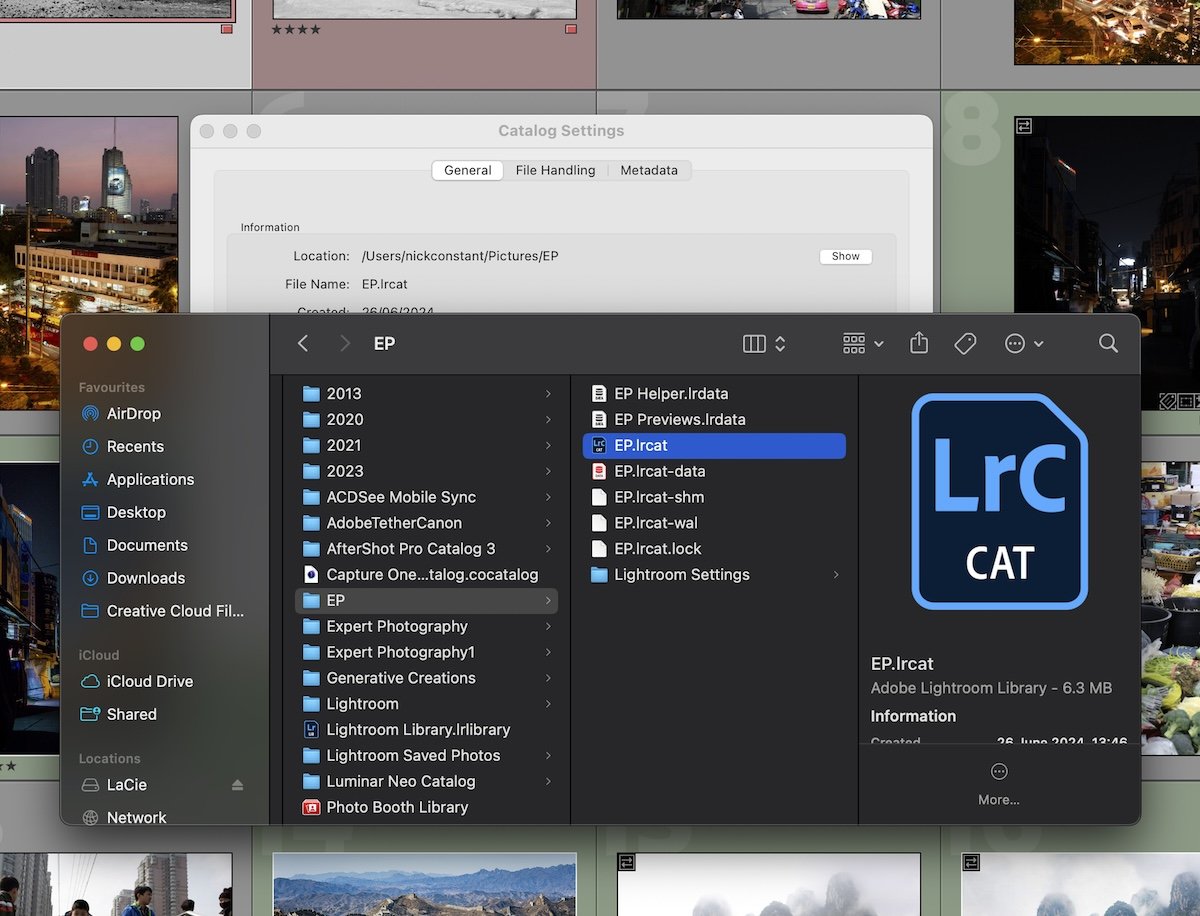
Click Show next to Location to open your catalog file in a folder on your computer. You can copy this entire catalog to an external hard drive or cloud service. The most important file is the .lrcat file. This is what you will open in the new computer.
Remember you can work with different catalogs in Lightroom. If you do this, ensure you have saved every possible catalog you need on your new computer.
Presets and Templates
Lightroom allows us to buy and create custom presets for photo editing. There are also metadata templates that help with the organisation of our photographs. You will also want to ensure that you save these customs elements.
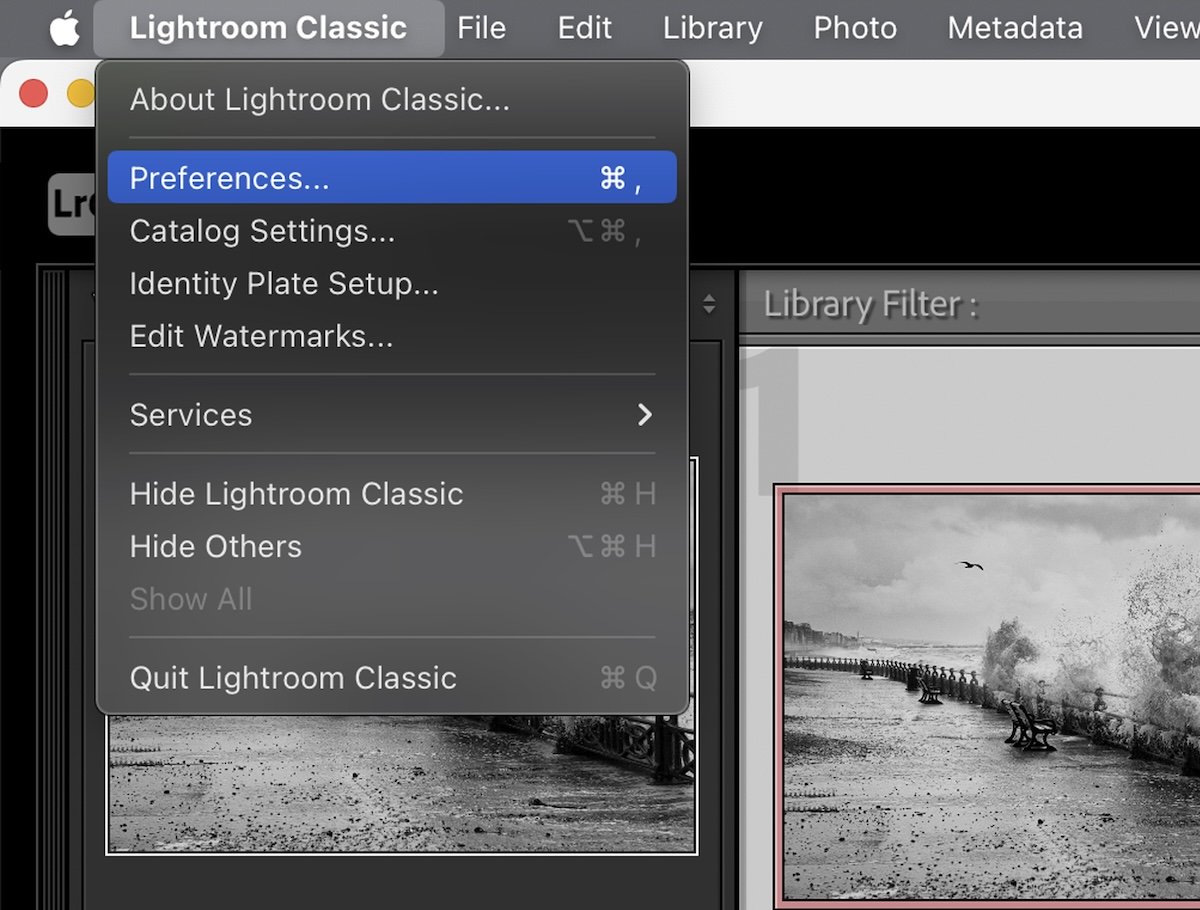
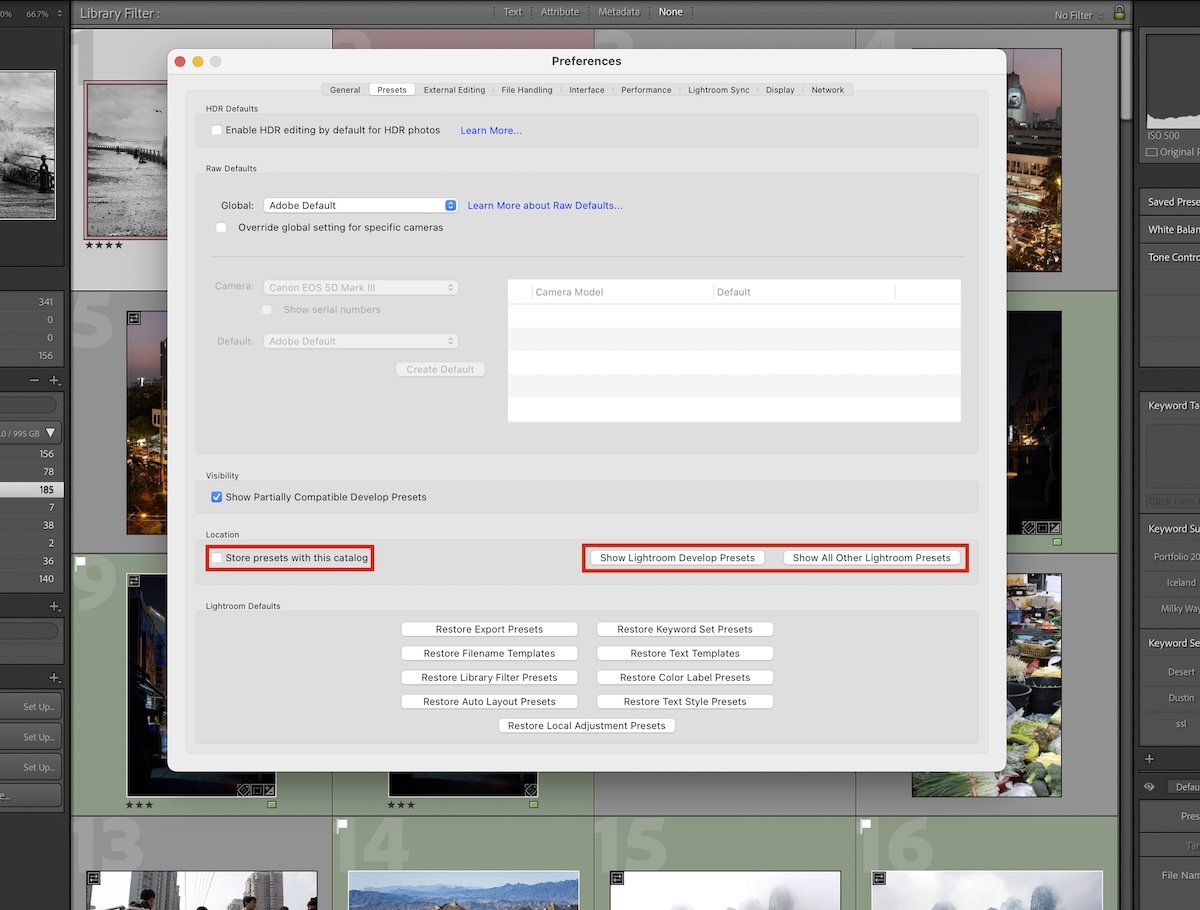
To find out where your presets are stored, go to Lightroom Classic, then Preferences. The Preset section is one of the main sections along the top. Under Location, you will want to tick the box ‘Store presets with this catalog.’
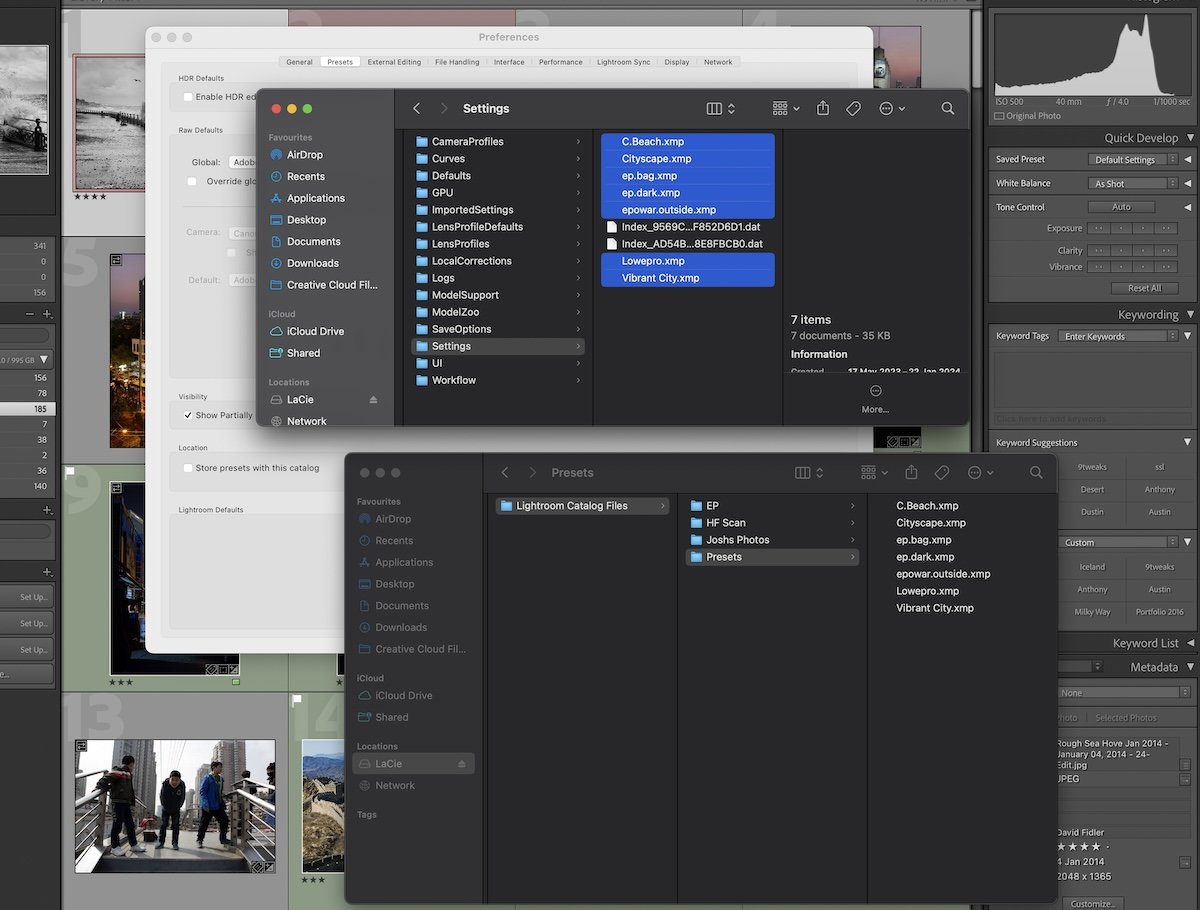
If you do not check this box, you can still locate your presets through the two alternate buttons Lightroom offers. ‘Show Lightroom Develop Presets’ and ‘Show All Other Lightroom Presets’ will guide you to the folder where these items are stored.
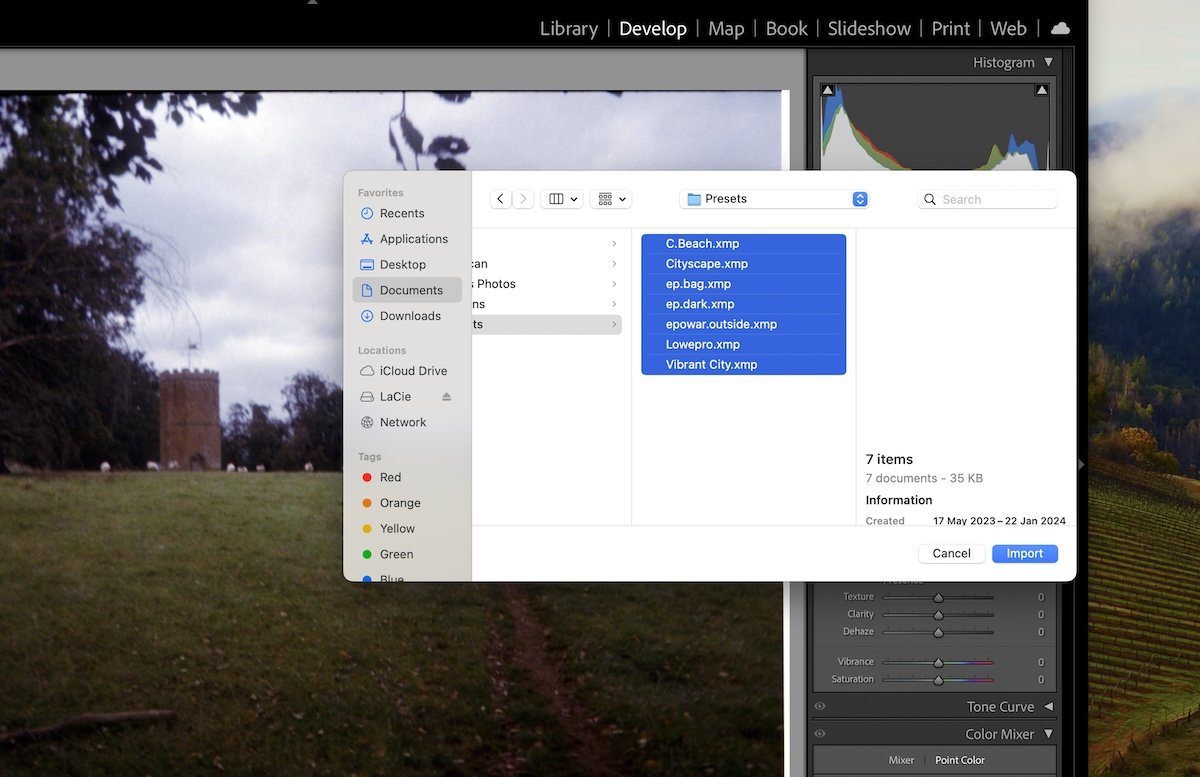
Presets save as .xmp file types. Make sure you copy all the relevant presets you want to take to your computer. Again, it is best to store the presets along with the catalog.
Plug-ins
Some photographers use special plug-ins in Lightroom to perform unique processes inside Lightroom. If you are one of these photographers, you will want to bring your plug-ins to a new computer.
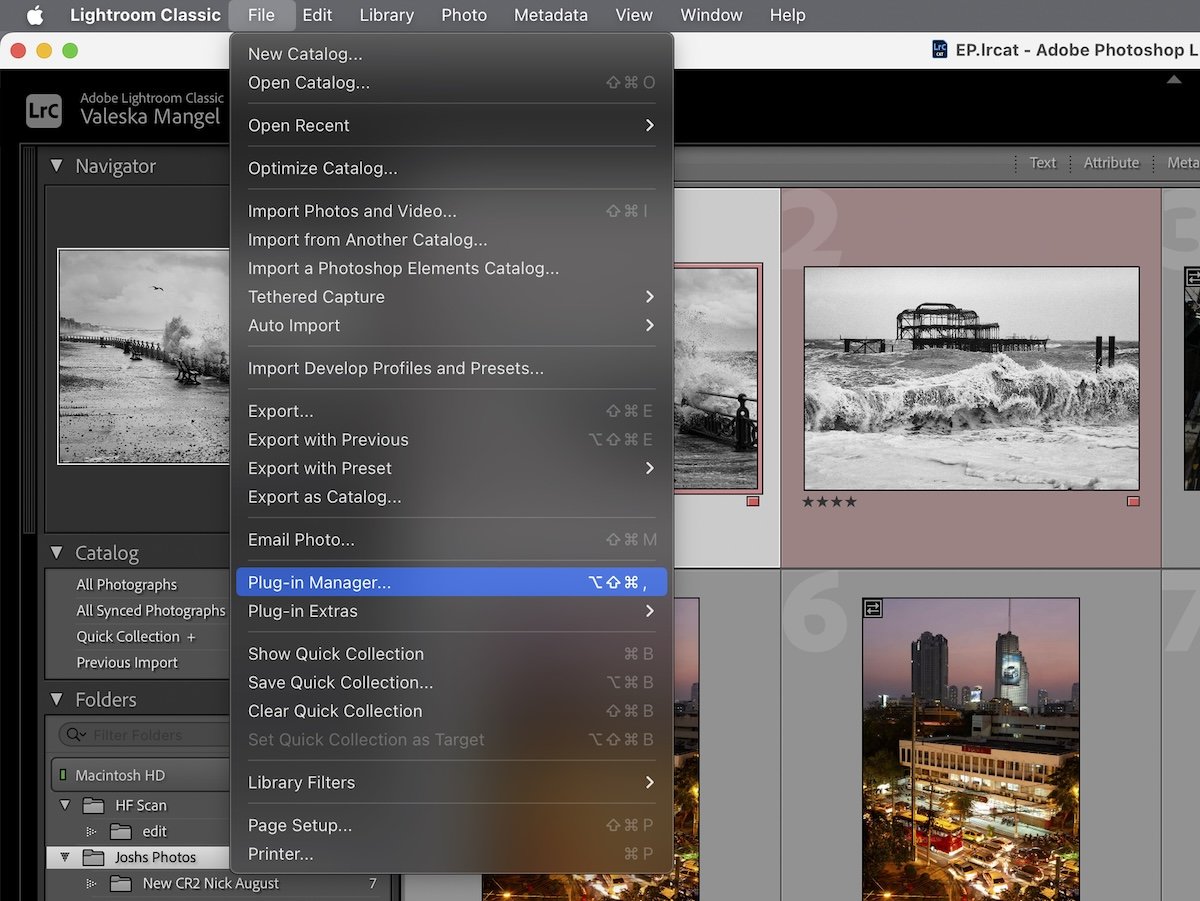
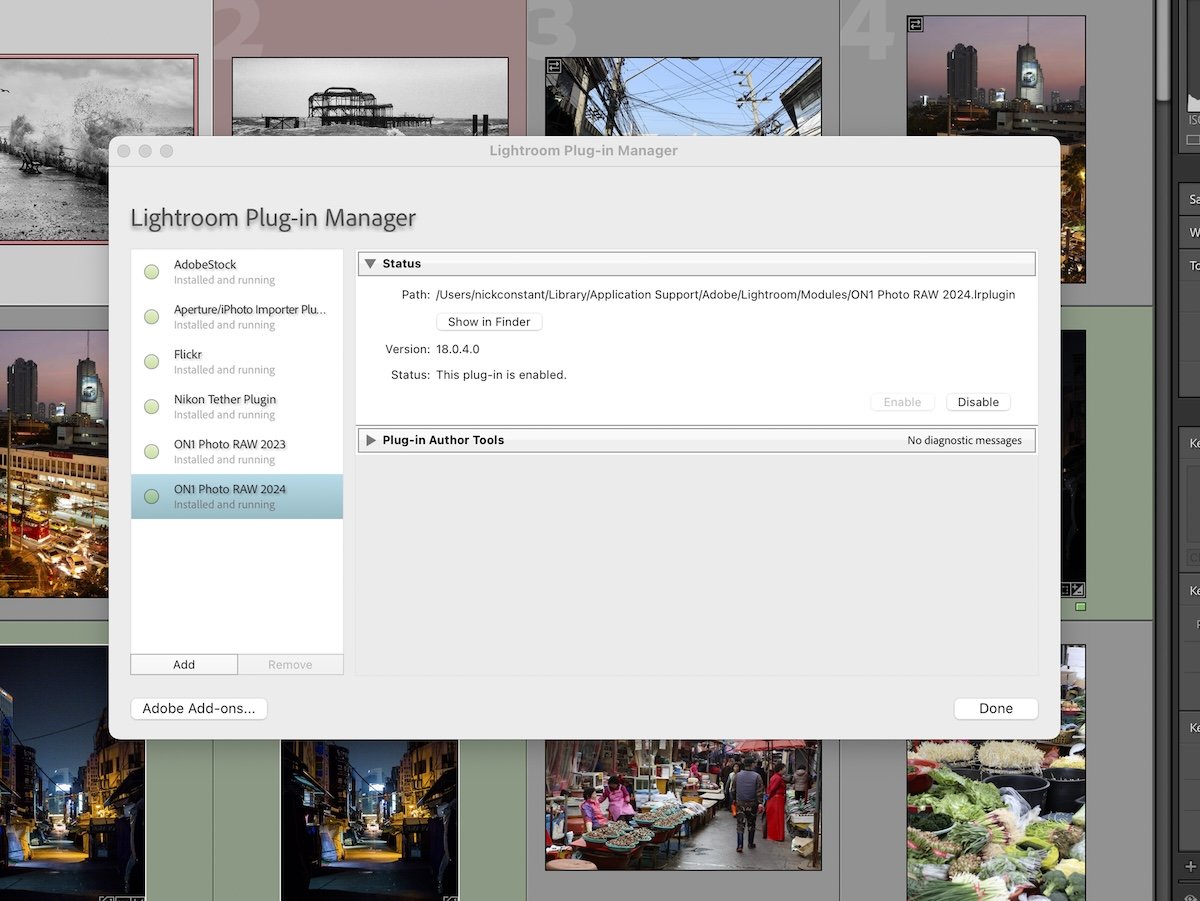
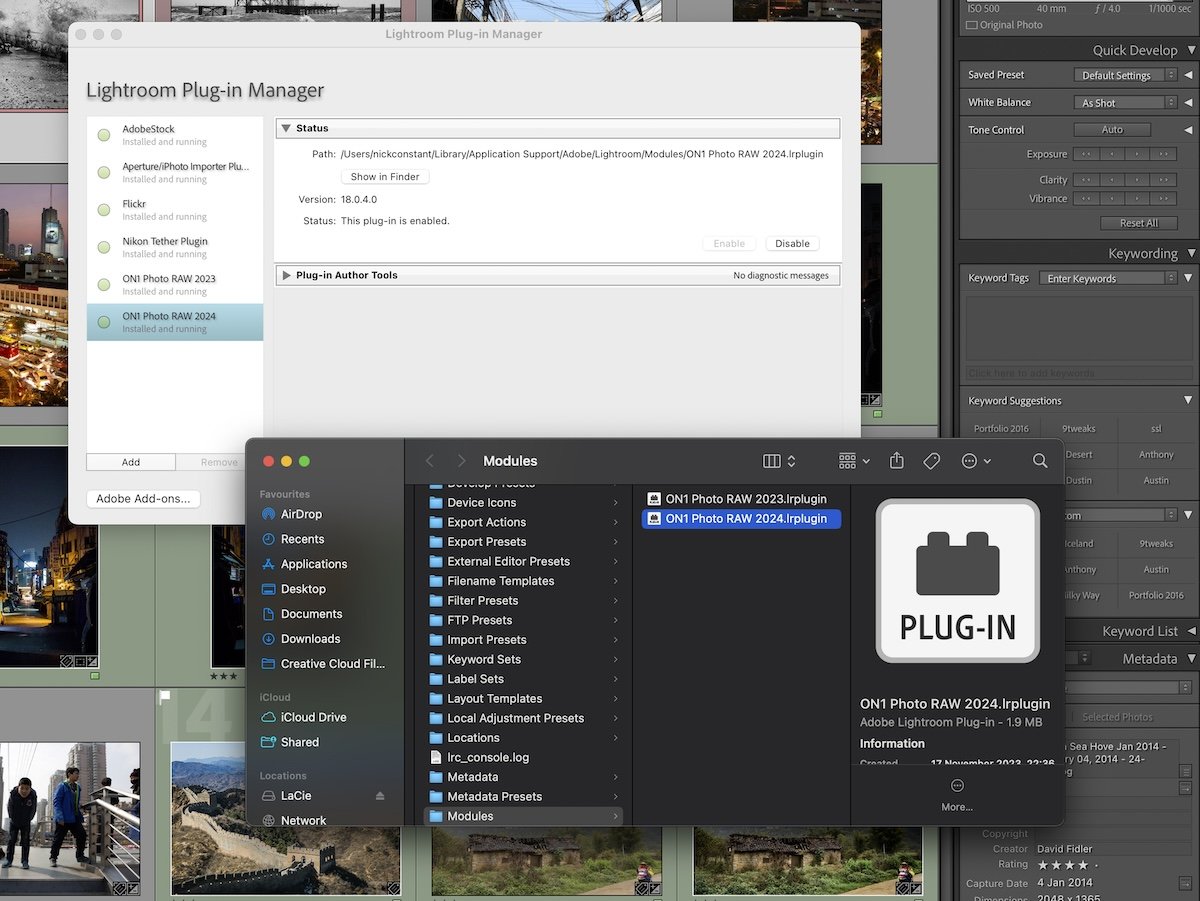
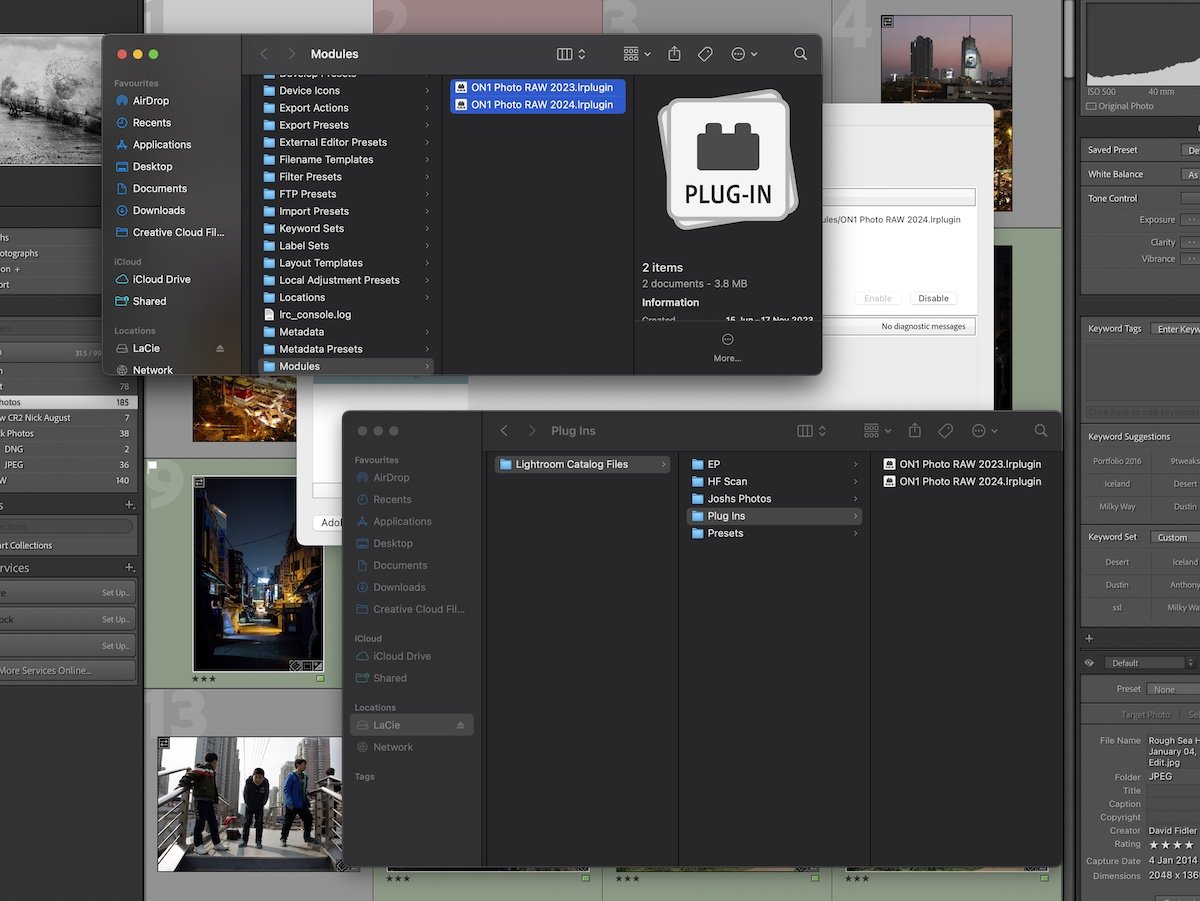
Lightroom makes this process easy. Go to File and then Plug-in Manager. You can then choose from the different plug-ins on the left of the dialog box. Under Status, each plug-in will have an option to Show In Finder. You will want to copy over the .lrplgin file types.
Step 3: Install Lightroom on Your New Computer
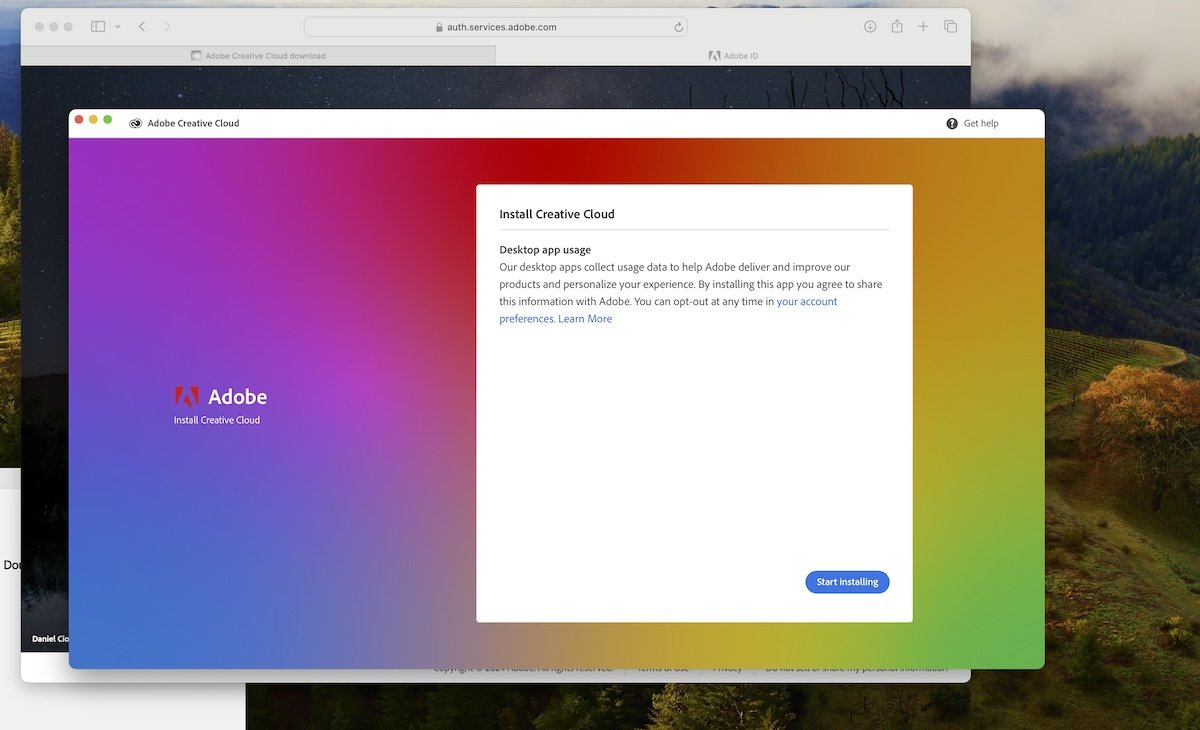
After ensuring everything is on a hard drive or a cloud service, you can go to your new computer and download Lightroom.
You can find the download for Lightroom on the Adobe website. You will first have to download Creative Cloud and then log in to your account to get access to your application.
If you have a Lightroom version that you bought on a disk, you can use this method to install the program. Remember to keep the serial number to activate the application.
Remember to transfer your files off your hard drive onto your new computer. If you do not do this then you will have to have your hard drive connect every time you edit.
Step 4: Transfer Lightroom Catalog to a New Computer
You will now want to make sure you transfer your file from a hard drive or cloud service to your computer. If you want to skip linking the missing files, ensure each folder has the same structure. Do not worry if you cannot do this, as you can link each folder manually in Lightroom.
If you use the cloud version of Lightroom, open it, and all your files should be there!
With Lightroom Classic closed, locate your catalog and double-click it to open it. This should automatically open Lightroom with your catalog in the same state as your last backup.
You can also open the Lightroom program and click Open Catalog. This will bring up a dialog box for you to search through your folders for your saved .lrcat catalog file type.
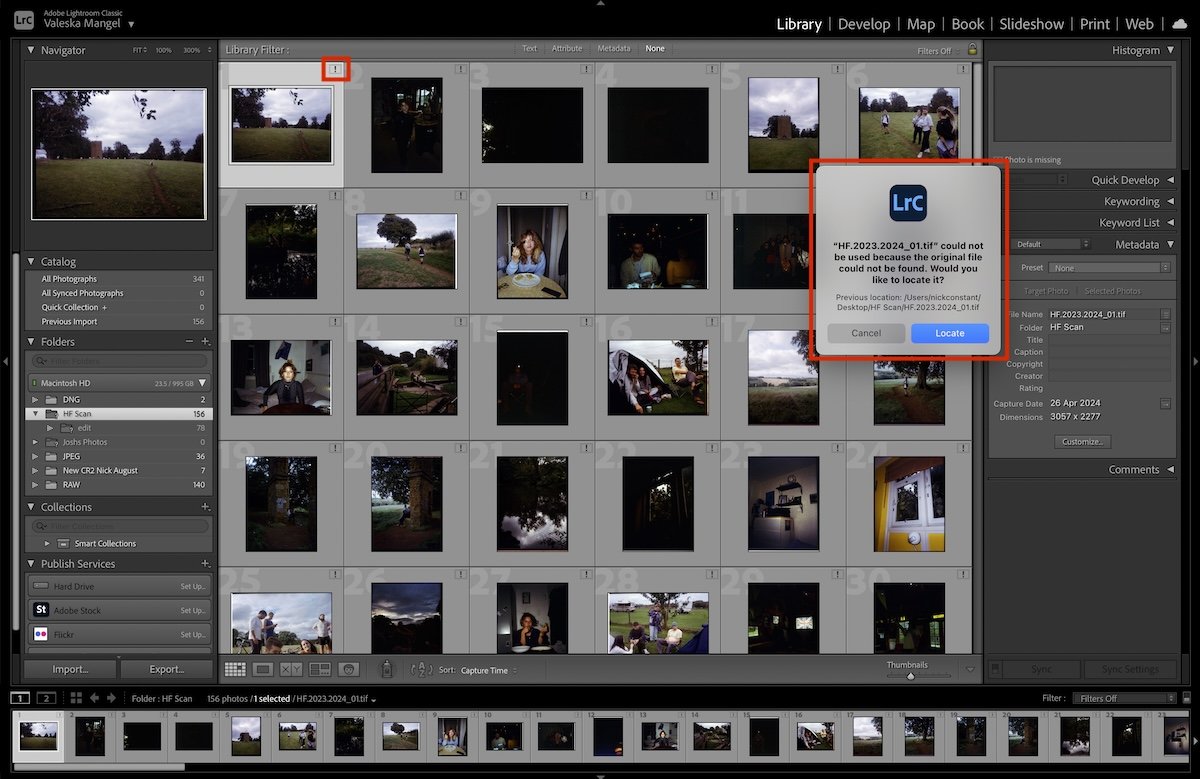
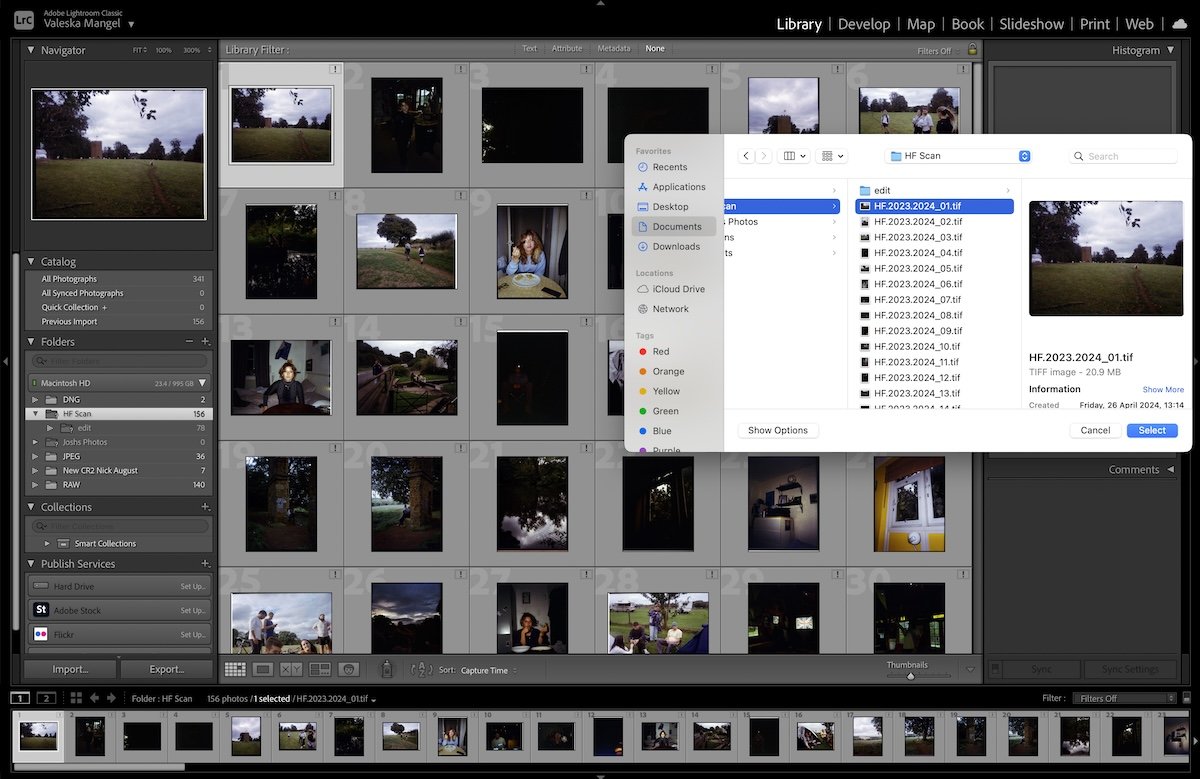
You will now want to go through each folder in Lightroom to ensure your photos are connected. If they are connected you will still see a preview of the photo but there will be an exclamation mark in the top right of each image.
Click this exclamation mark in a box to relink your photos. Once you have found the same photo Lightroom will ask you if you want to link all other photos in this folder. This means you will only have to find the link to a couple of photos to do a whole range.
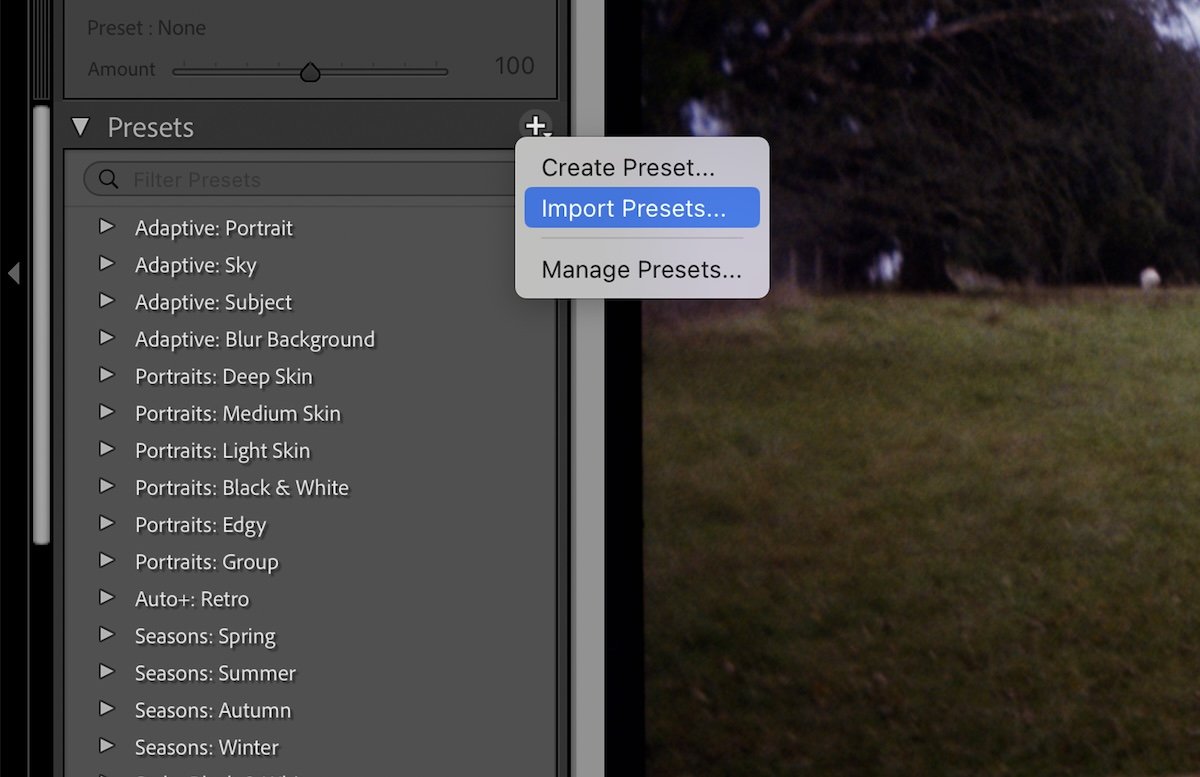
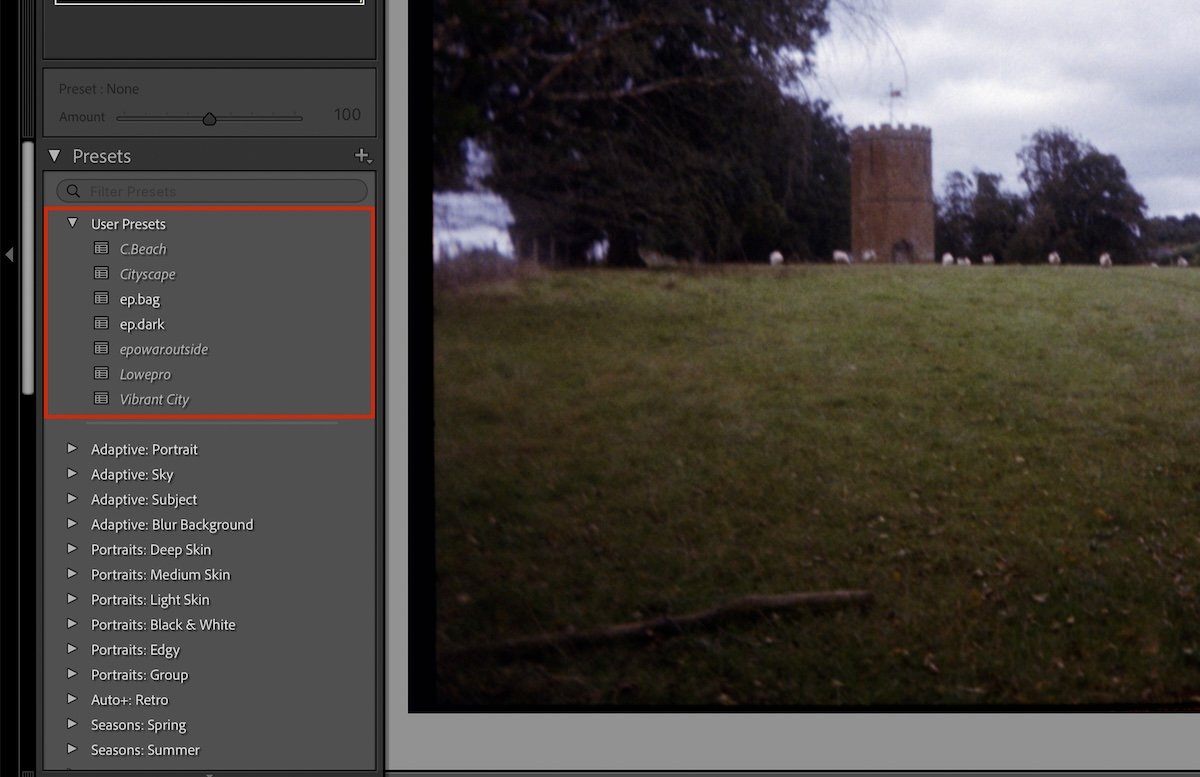
Last, you will want to ensure your presets and plug-ins are connected. Make sure the preset .xmp file types are in the right folder. If not, you can reimport the preset to Lightroom. Check out our guide on how to do this here.
Conclusion: Transfer Lightroom Catalog to a New Computer
The hardest part about transferring your Lightroom Catalog to a new computer is organizing it on your computer. If you know where all your RAW files are, this process is super simple. Adobe Lightroom does a great job of archiving the imported images, so they should be convenient to locate and sort through.
Ensure you have started the transfer process before deleting your files from your old computer. You may have missed out on some files; if you do this, getting the RAW images back will be impossible.

