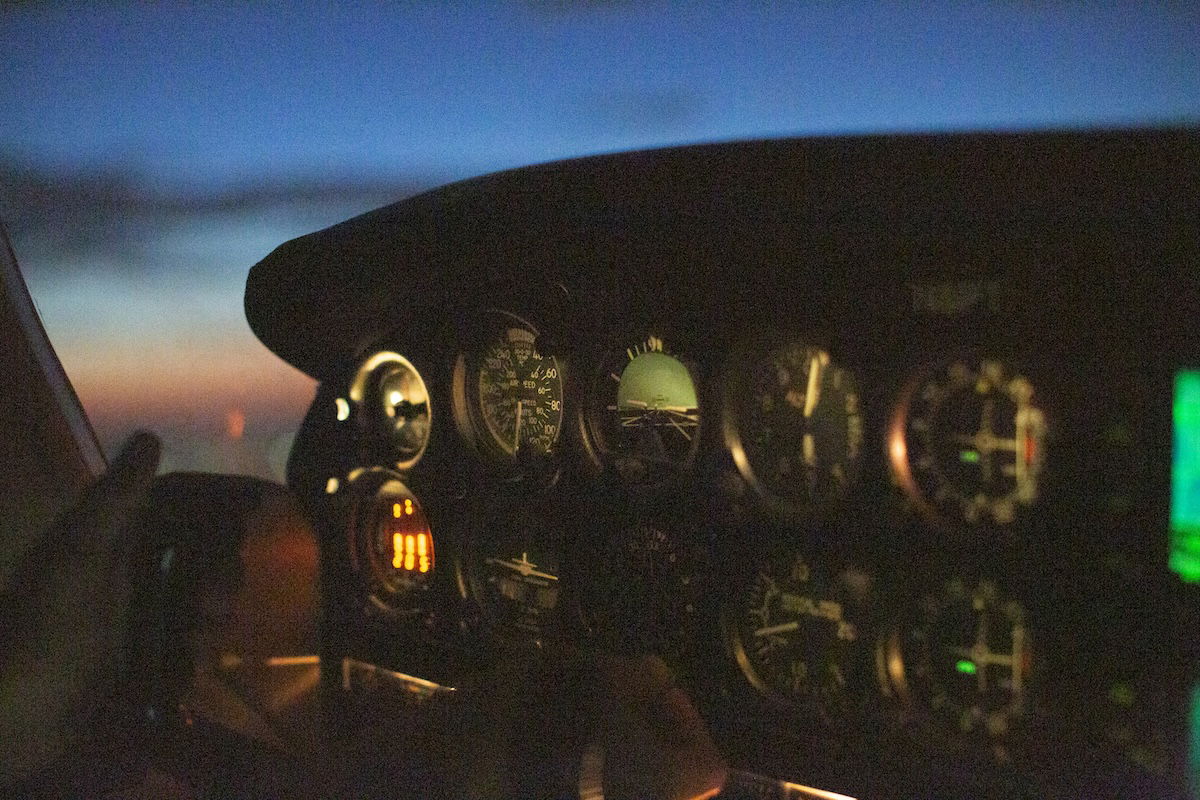
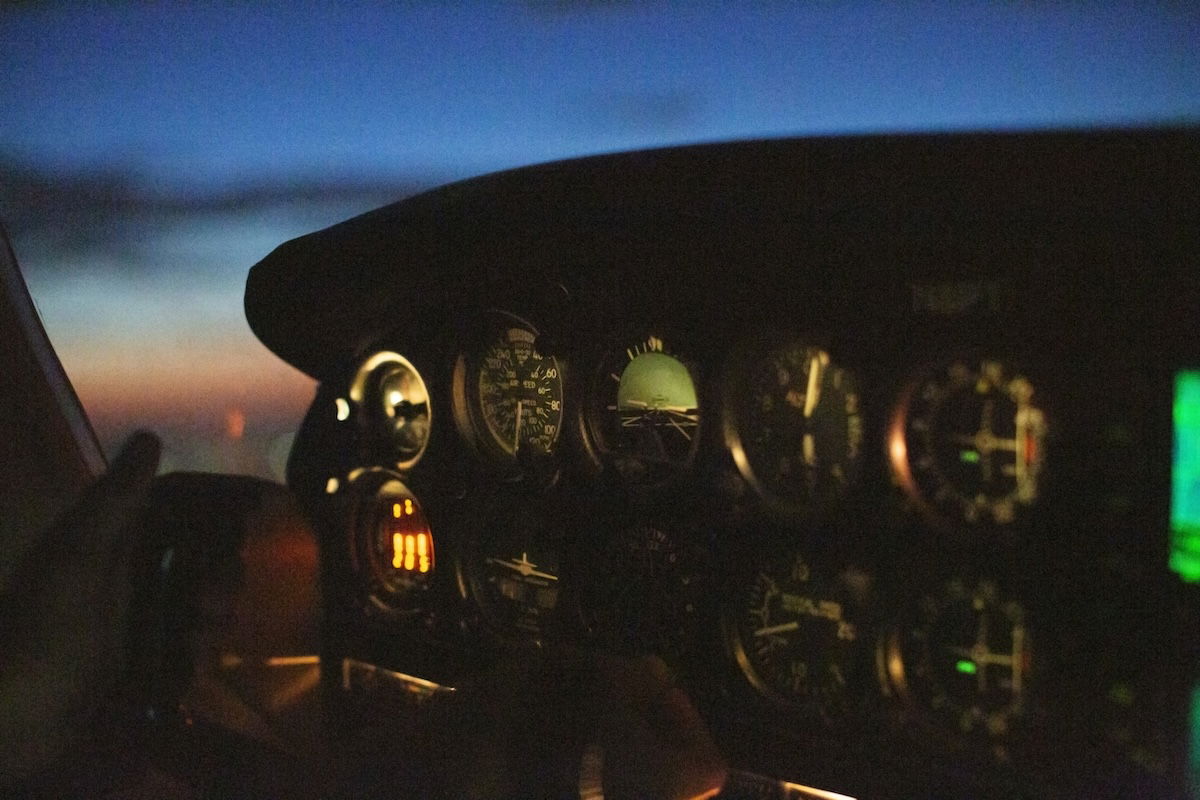
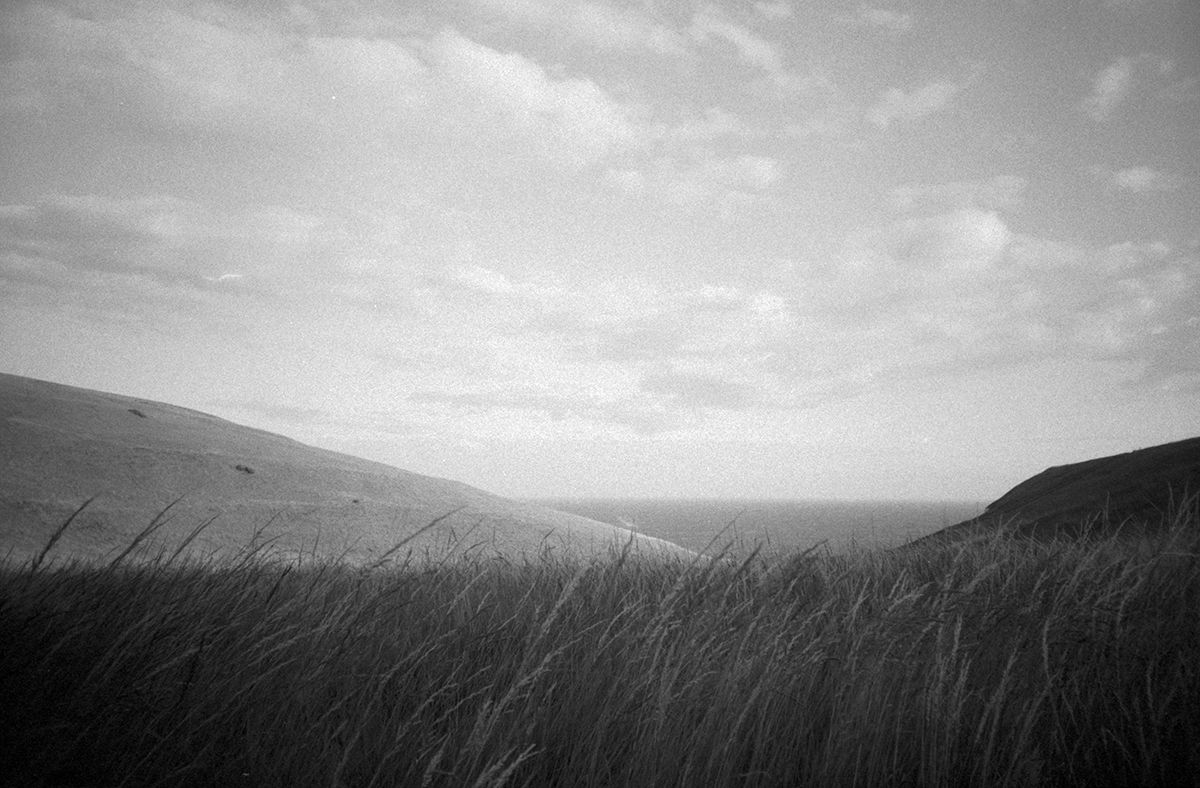
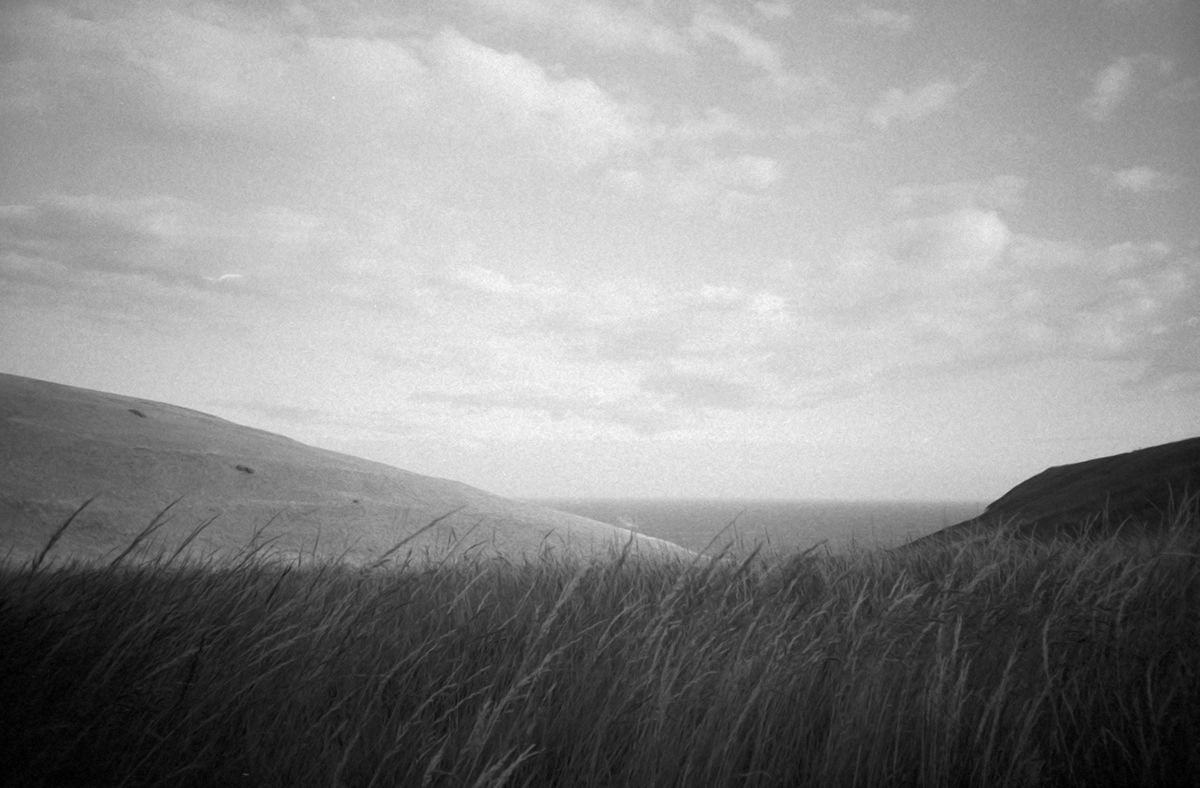
Today, we will examine how to fix grainy photos in post-production and explore several different approaches to making your images as sharp as possible. By the end of this article, photographic grain will no longer be an issue!
Grain can be a stylistic choice to add a certain feel to your photographs. The downside is that more grain means less clarity. Luckily, fixing grain has been a common issue throughout digital photography. This means that almost all digital editing software contains some form of grain reduction.
What Is Grain?
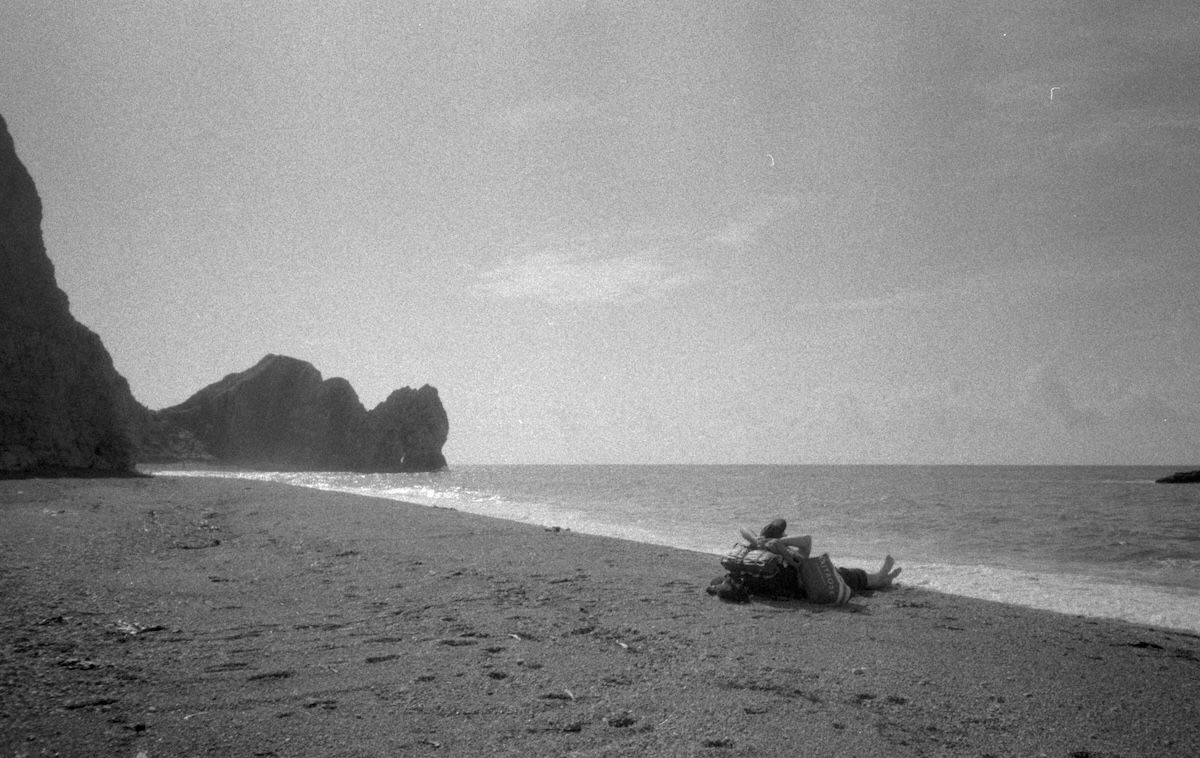
Grain has always been an issue in photography, even with film photography! Film grain comes from the chemistry that makes up photographic film. The larger ISO film that we use to shoot in low-light conditions has a larger grain.
In digital photography, grain is known as noise. Digital noise is often found in similar low-light conditions. The ‘noise’ is unwanted electrical signals that the camera’s sensor produces. These signals prevent us from obtaining our desired information.
Grain and noise are emphasized in low-light situations as the information is much harder to process in these environments. If we simplify the scientific understanding, fewer photons hit the desired location due to insufficient light.
How To Fix Grainy Photos in Lightroom
The best way to fix grainy photos is to use Adobe Lightroom. Lightroom is a digital editing software that can organize your photos and apply general editing adjustments.
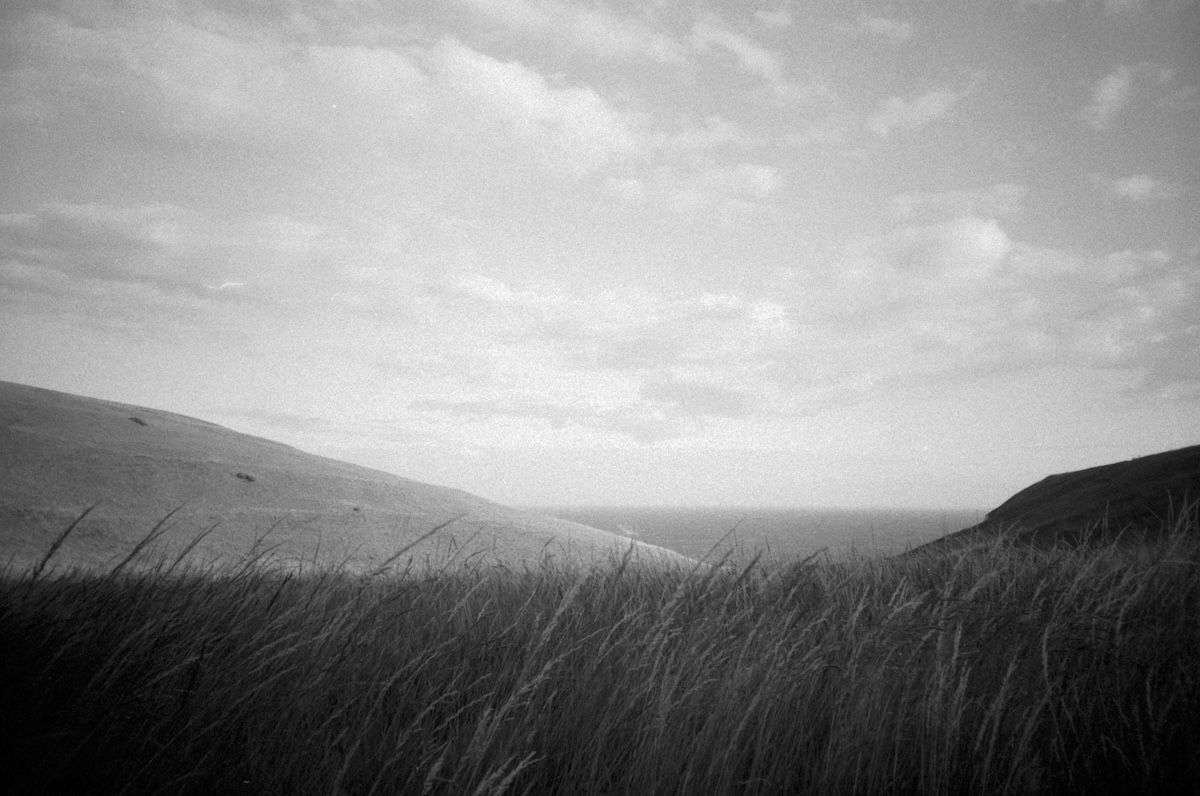
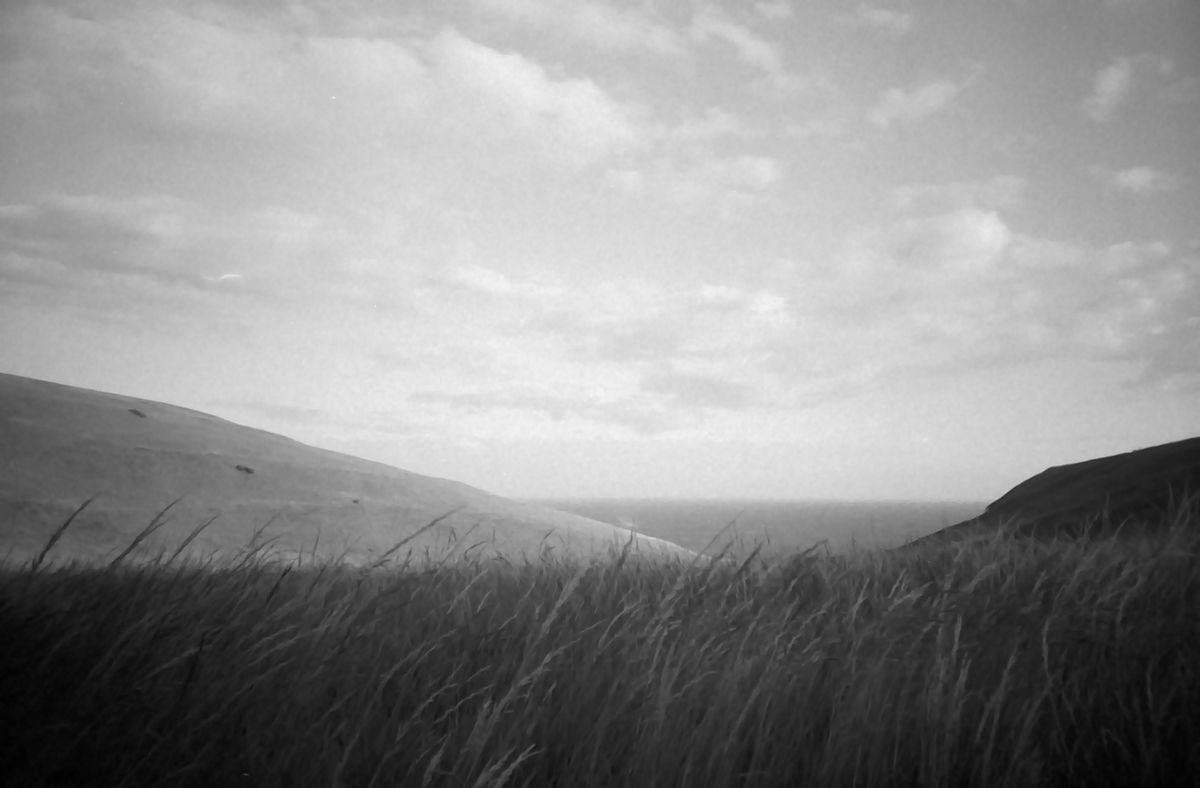
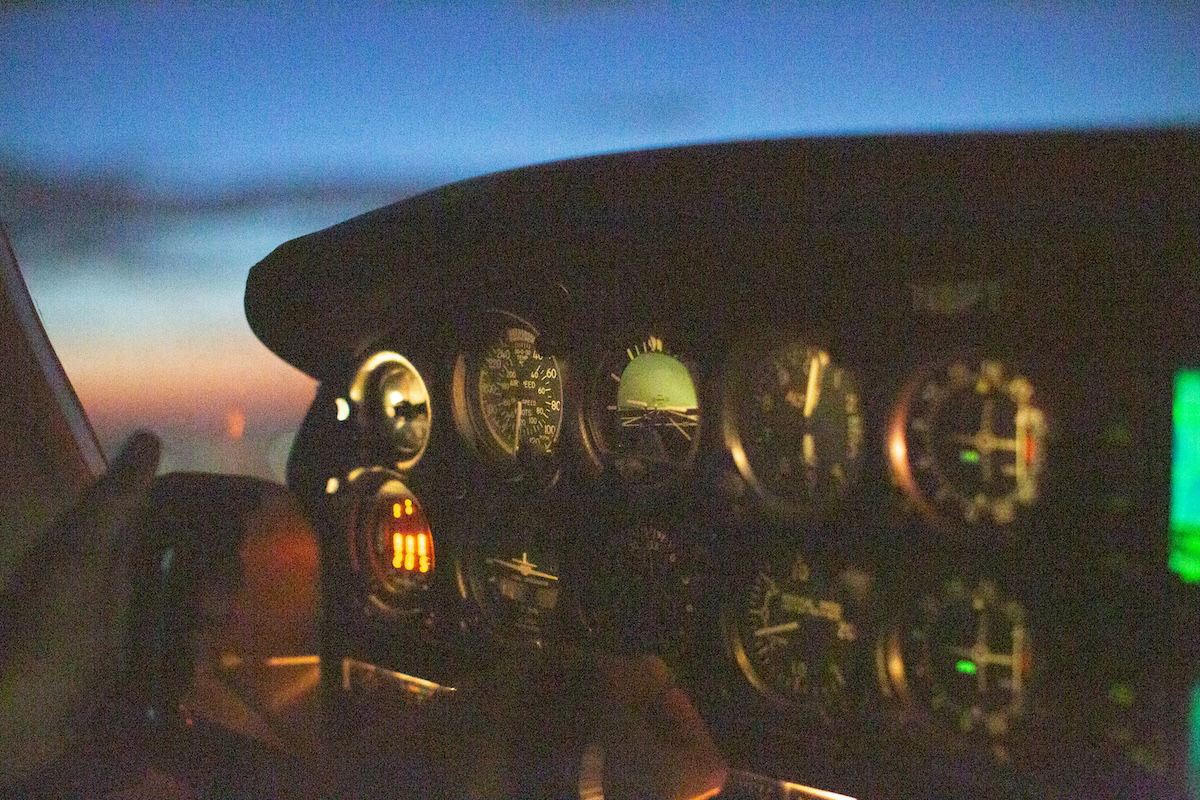
As Lightroom has progressed with the boom of digital photography, it has managed to fine-tune the shortcomings of digital photography. Let’s now look at a step-by-step guide to fix grainy photos in Lightroom. I will show examples of a film scan with grain and a noisy digital photo.
In these examples I am using Lightroom classic. You can perform all these same adjustments in the other version of Lightroom provided with your purchase.
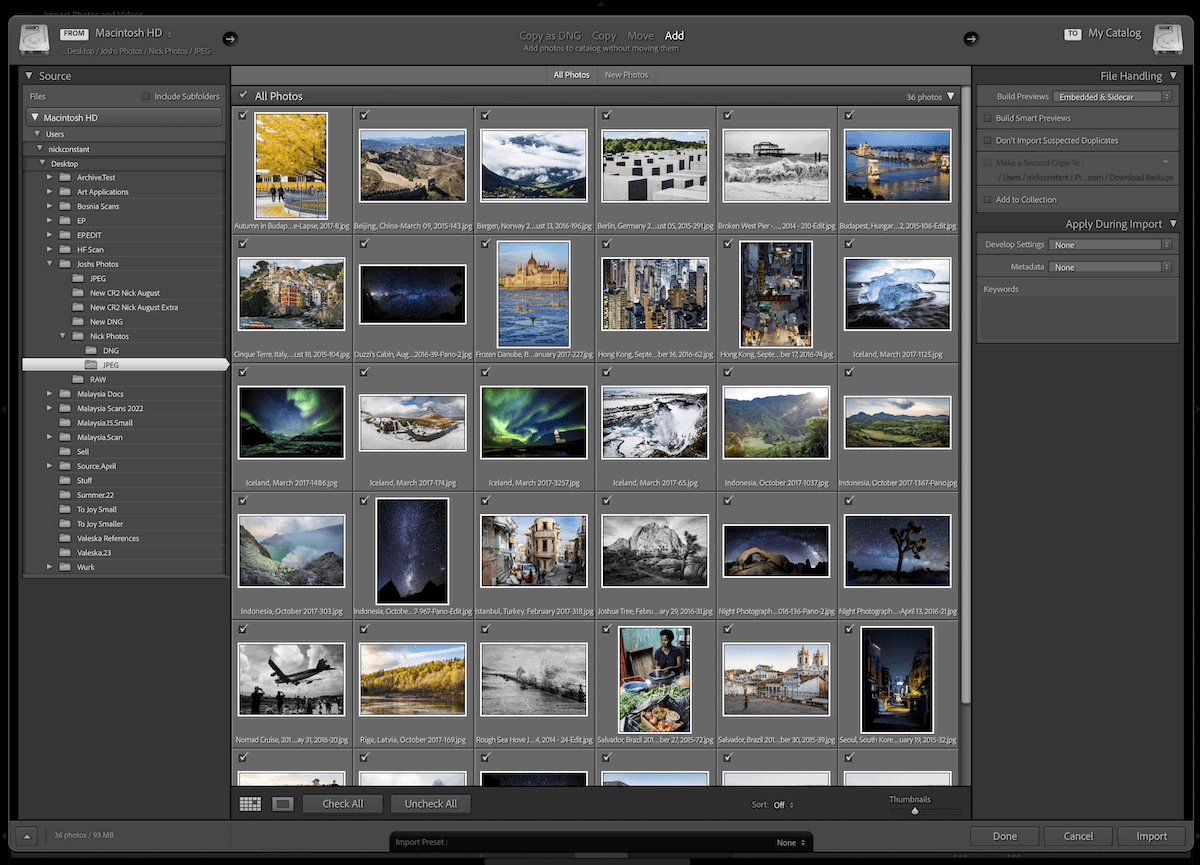
Step 1. Import your images
Once you have your images in Lightroom, you will want to find the Develop Panel. In the Develop panel, head down to the Detail section. Inside here, you will find how to fix grainy photos.
Step 2. Editing Detail
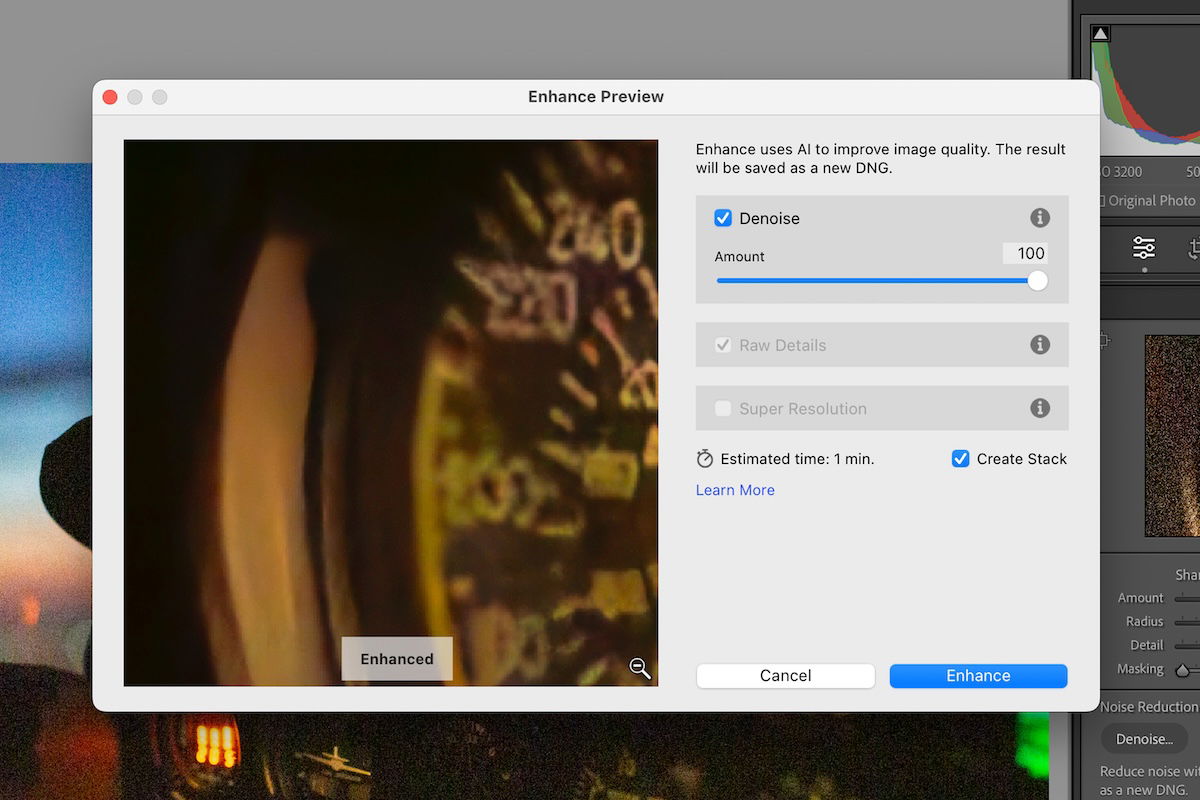
If you have a digital RAW file allowing for Lightroom Denoise, click the Denoise button for Lightroom to automatically provide its excellent noise reduction abilities. This is the best denoise software on the market.
If you have a grainy film scan, this adjustment will not work. Do not worry; you can adjust the grain through the Manual Noise Reduction panel.
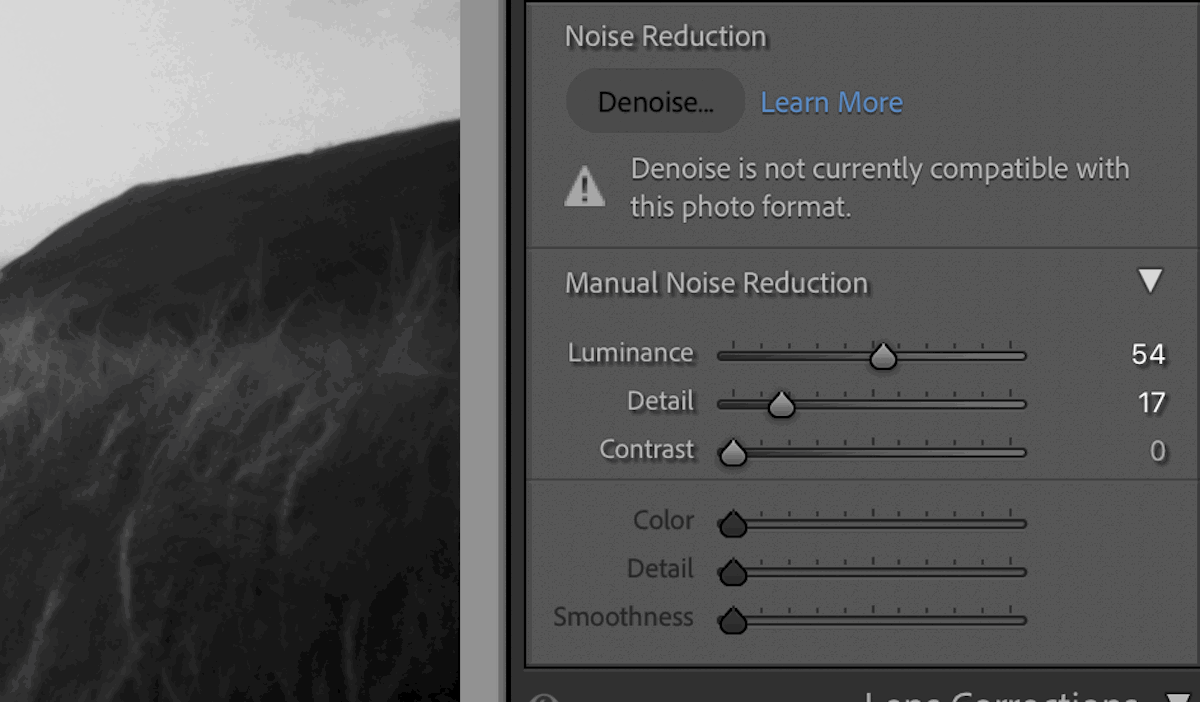
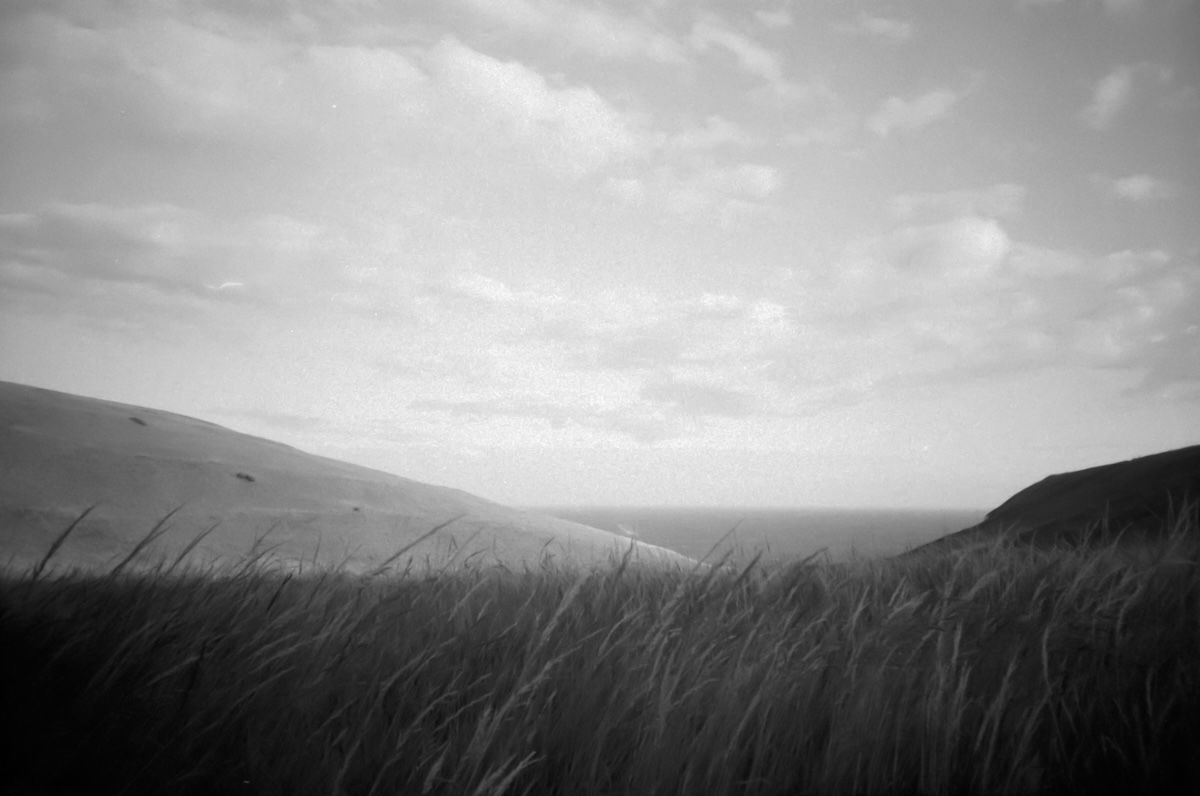
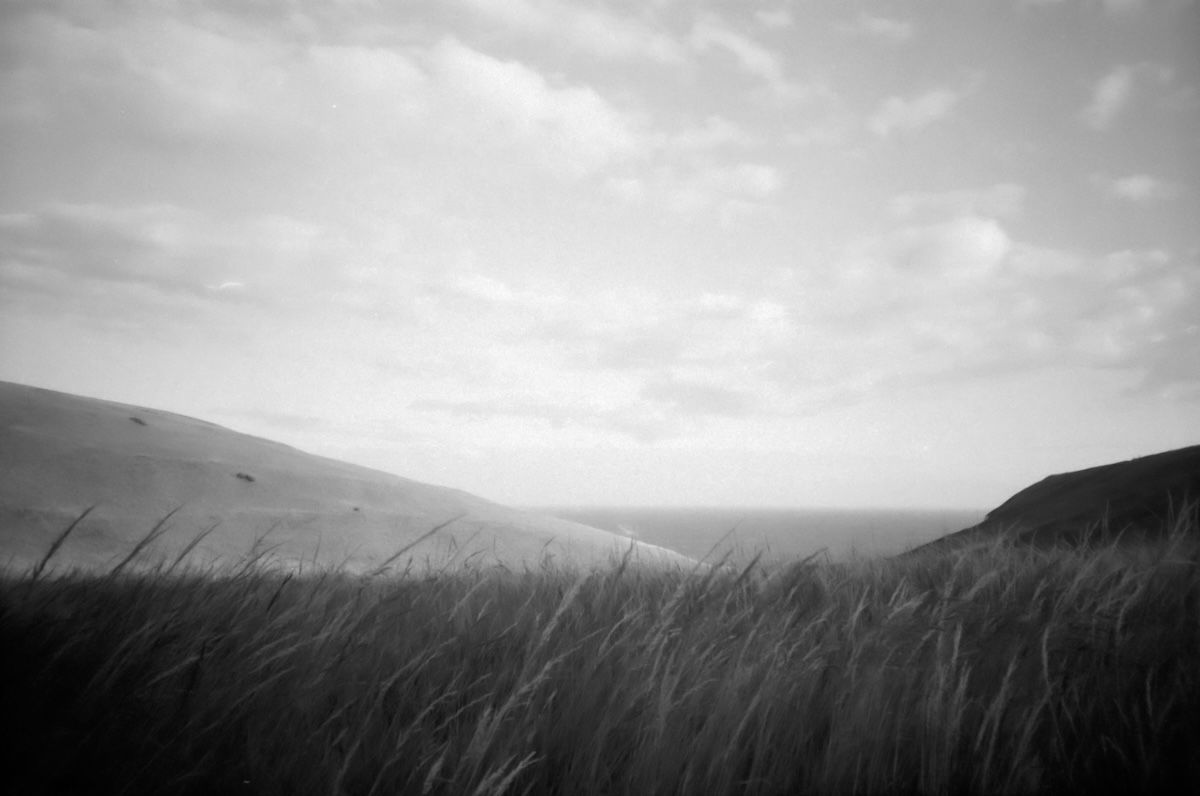
You want to move the Luminance, Detail, and Contrast sliders to your desired effect. The more Luminance, the less grain. This comes at a price, though, as the image will become much softer.
The Detail slider will combat the softness but also make the grain prominent again. This is a fine balance that you will have to play around with yourself. The Contrast slider will add contrast to similarly emphasized tones while also enhancing the grain.
Step 3. Editing Basic Adjustments
If the Detail adjustments are not enough, you can go to the Basic adjustment section. Here, you can increase the exposure if it doesn’t ruin the atmosphere of the photograph.
The most important adjustment is in the Presence subsection. You will want to reduce the Texture slider. Again, this will make the photograph softer, so you will have to find a good balance.
How To Fix Grainy Photos in Photoshop
Adobe Photoshop is another great editing software for fixing grainy photos. It is more advanced than Lightroom, so it may not be suitable for photographers who are not computer-literate.
Regardless, we will walk you through a simple way to fix your grainy photos in Photoshop.
Step 1. Import Your Image
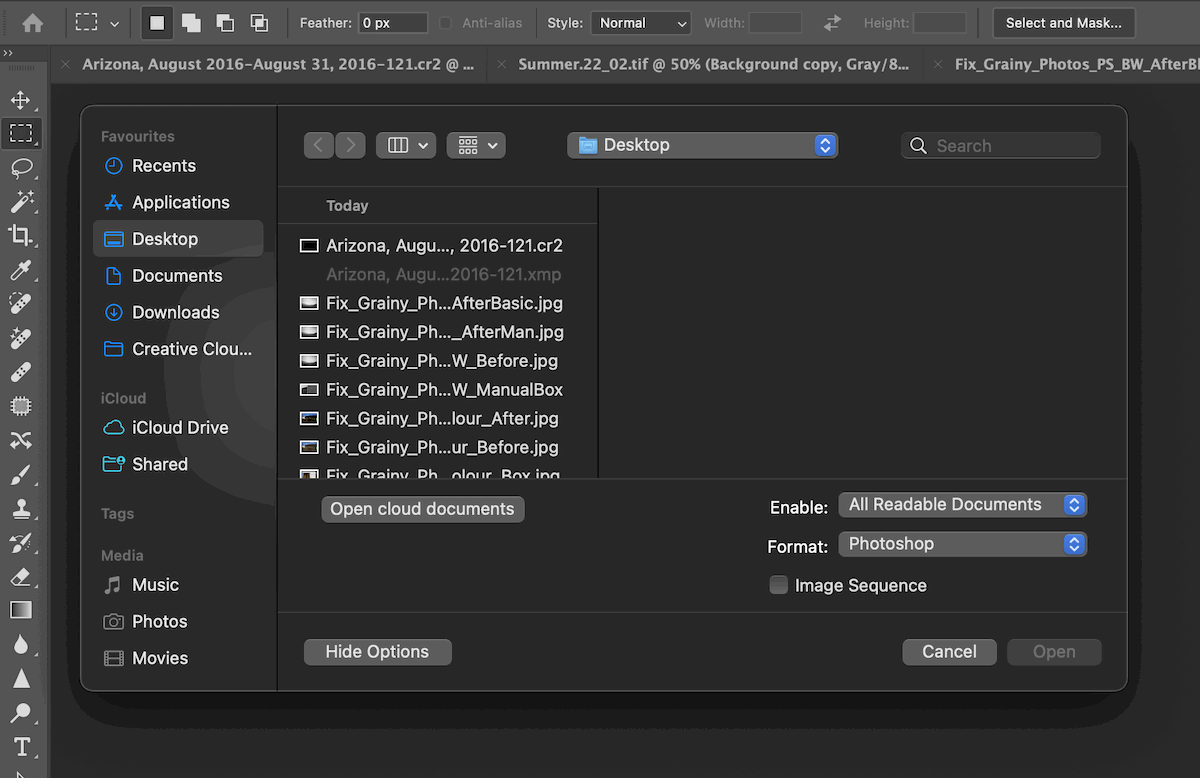
First, let’s open our image in Photoshop. We can do this by dragging our image over the application icon or by going into Photoshop, going to File > Open, and finding our image through the browsing method.
Step 2. Edit Your Image
As we are in Photoshop, you should start by duplicating your background image. This is important for this process as we will have to experiment. We don’t want to damage the original image.
The first thing to try is to reduce the Noise. You can do this by going into Filter > Noise > Reduce Noise. A new dialog box will open up. Play with the sliders until you have the effect you desire.
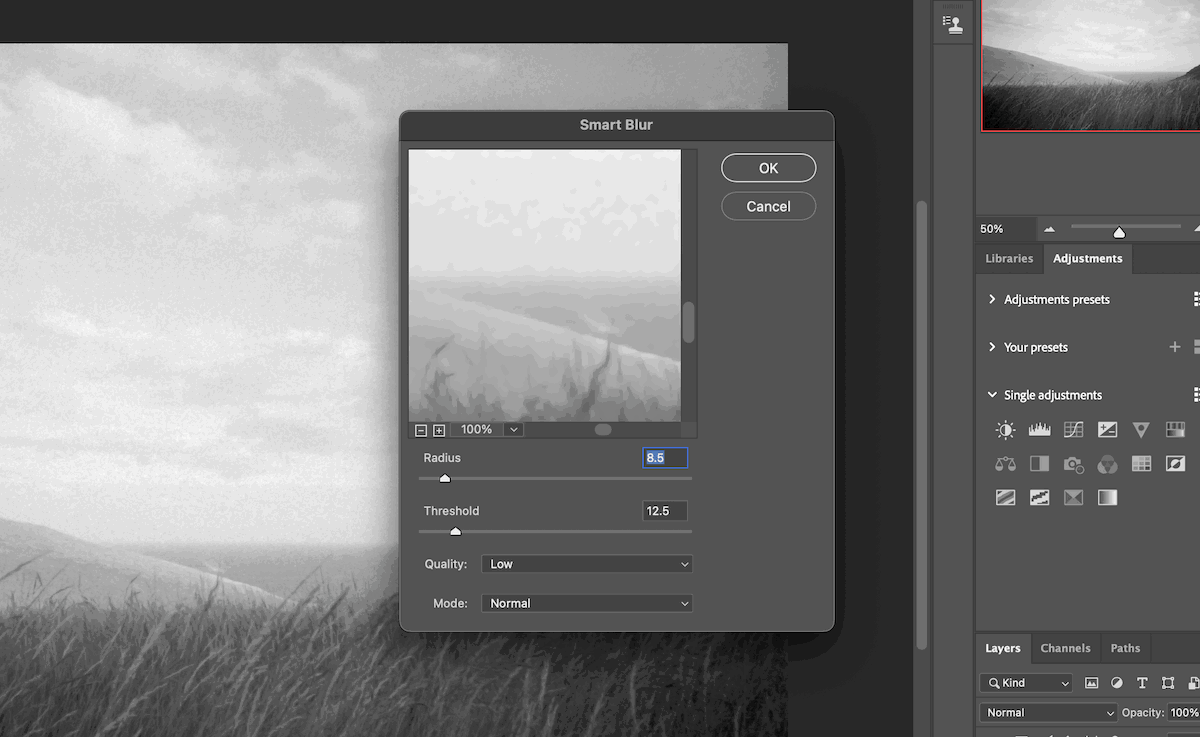
If Reduce Noise doesn’t help fix grainy photos, like my example, more drastic measures must be taken. Go to Filter > Blur > Smart Blur and play around with these sliders. This adjustment is dramatic, so be sure to use only the smaller side of these sliders.
Again, these steps will compromise the quality, and your photo will look much softer. You will have to decide if you would rather your image has more grain or is softer.
How To Avoid Shooting Grainy Photos
We will now look at ways to ensure there is no grain or noise in our photographs. You may not want to employ all, or even any, of these options. If not, you will get grain or noise in your images and you will have to settle for the post-processing approaches we outlined in this article.
Shoot With A Lower ISO
The main cause of grain and noise is a high ISO. Therefore, shooting with an ISO of 200-600 will ensure as little grain or noise as possible.
Use A Flash
Grain and noise are emphasised in dark environments. Using a flash on your camera will ensure a majority of your image is well lit (if shooting in an indoor environment). If you don’t want a harsh flash you can angle your flash to bounce off the walls by aiming it upward.
Overexpose Your Images
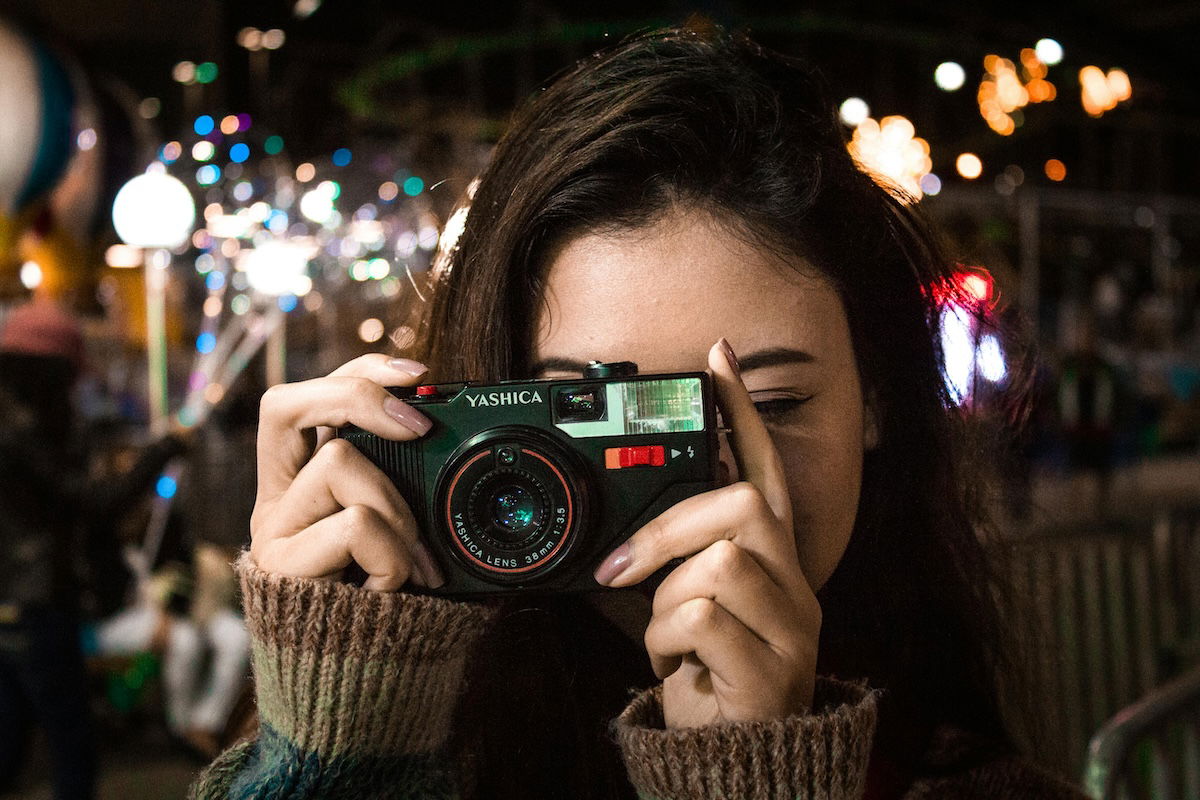
Again, getting as much light in as possible will combat grain and noise. If you overexpose your images you will find there is a slight amount less of grain and noise. This may not be much, but with the added editing in post-production it may be enough to suit your taste.
Shoot in RAW
RAW files provide much more information than shooting in JPEG. Ensure you are shooting in RAW as it will allow you much more customisation in the post-processing. This is a crucial bit of information. People who shoot in JPEG will realise that the suggestions above are much harder to perform if you dont have RAW images.
Built-in Noise Reduction
Many new cameras have built-in noise reduction inside the camera! Be sure to choose this setting in low-light situations or if you have to shoot at a high ISO. The camera make will have a good idea of how its sensors process light, so the built-in noise reduction should do an okay job.
Conclusion: How To Fix Grainy Photos
From this article we can see that there are a number of ways to fix grainy photos in Lightroom or Photoshop. Digital images will be much easier to fix, especially if shot on RAW. Film scans will be harder but you are able to get grain-free images.
The best software to fix grainy photos is Lightroom. This is thanks to its abilities but mainly its usability. If you don’t have any of these Adobe products, there are many digital software available that are able to reduce noise and grain online.


