Skyline photography is all about capturing the essence of a city in one image. The best skyline photos are taken from high up, giving the viewer a sense of the layout and scale of the cityscape below. But getting those perfect shots isn’t always easy. Here are some tips to help you capture stunning skyline photos every time.
1. Skyline Photography: Best Time for Capturing City Skylines – Blue Hour
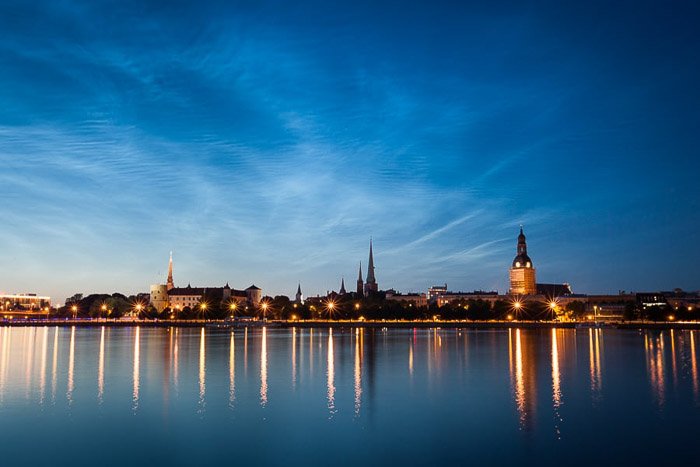
Like landscape photography, timing is crucial in city skyline photography. My favorite time to venture out is the time right after the sunset or right before sunrise.
It’s called “blue hour” for the magic colors it provides. It’s even better than the famed golden hour sometimes.
No other time of the day gives such a wide range of colors and shades. This also opens a lot of opportunities in post-processing to bring out those amazing city lights.
Histograms are at their richest in pictures like these.
2. Use Water to Capture Reflections of City Skylines
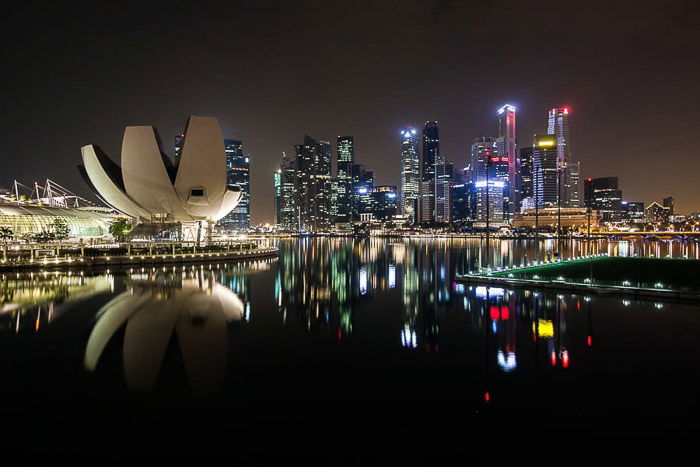
I love water. It can create amazing photography effects. Water is a magical mirror, and reflects light in your photos, creating stunning creative images.
Any city will light up at dusk, and there’s a big chance these lights will be diverse and even colorful. Large bodies of water such as rivers, lakes and canals are natural reflectors.
They’ll make skyline photography even more delightful.
So, head over to the riverside, or the bay and try to find a good vantage point.
3. Find Elevated Places for a Better City Skyline View
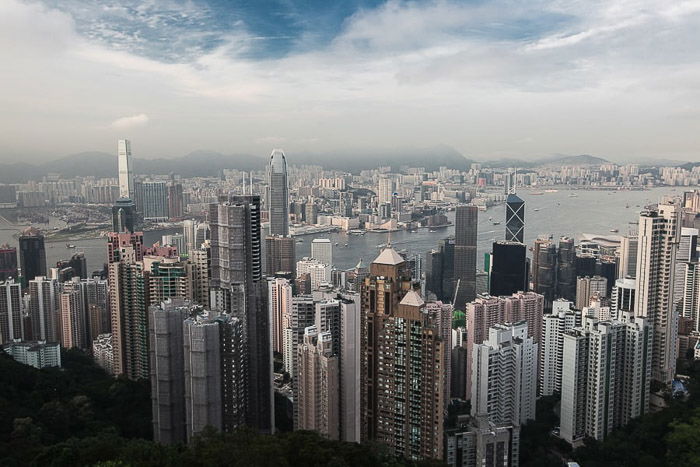
Some cities, like Mexico City, might not have water to use for capturing a great skyline shot. Others, like Hong Kong, may have too much of it that it’s overwhelming.
But it all makes a little more sense when you climb up the mountain or a hill and get a view from above. Shooting city skylines from the top delivers a strong visual statement. Try this anytime reflections are unavailable.
4. Use Long Exposure to Capture Movement
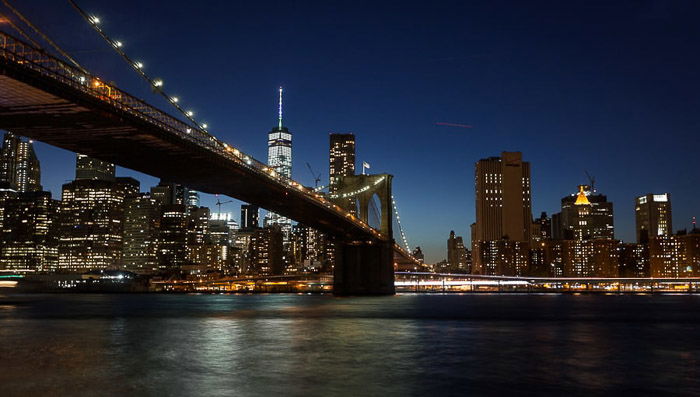
Shooting city skylines in normal mode is fine. But if you decide to follow the tip about water & reflections, long exposure will become your best friend.
When you leave your shutter open for longer, more light is able to get in. This creates a cool star-like look for all artificial light sources.
I typically expose for 10-15 secs and do a 3 picture bracketing. This ensures I get the maximum dynamic range possible in post-production.
For long exposure, don’t forget to bring a tripod and a remote shutter release (recommended)!
5. Leave Aperture Narrow for Better Depth of Field
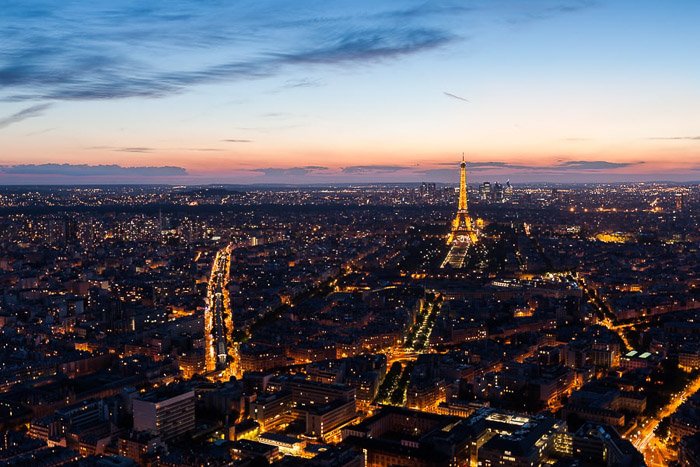
The narrower the aperture, the less light is able to get through your lens and the higher is depth of field.
In city skyline photography you’re not looking for a fancy bokeh. Or a blurred background of any kind. This is because your subject is at a considerable distance from you. Think of photographing various buildings, or even just one.
The difference in DoF between subjects located far away from the lens of photographer would be negligible.
I typically set aperture to f/11 or f/16 for the sharp outcome in skyline photography.
6. Use Live View Mode to Set Focus
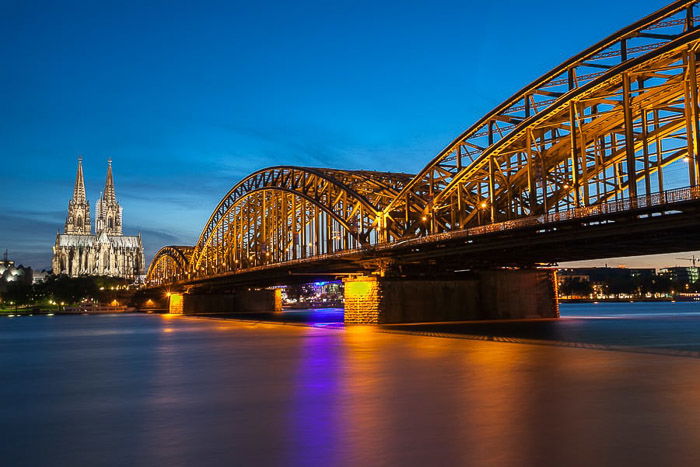
Focusing can be tricky while shooting city skylines. Especially after sunset when it starts getting dark. You can miss minor differences in sharpness on a small LED screen.
Make sure you zoom in and check your images after you take them. If you have Live View mode in your camera, I highly recommend that you use it. Set your focus manually, and check it with Live View.
Conclusion
The internet is full of cityscape photography, a lot of it of cities in the United States. From Los Angeles to Austin or Detroit, it’s all been photographed. Images of the Chrysler building in NYC are everywhere, or of the San Francisco Golden Gate Bridge.
That doesn’t mean you shouldn’t still pick up your wide angle lens, find that good vantage point, and photograph the Empire State Building on your next trip to New York.
City skylines are popular for a reason. They’re beautiful, whether it’s prints, stock photography, or social media.
Don’t be intimidated by the competition. Get out there and capture some cityscape photography!
