If you’re a photographer, or even if you just like to dabble in photo editing, you’ve probably heard of Photoshop actions. But what are they? How do they work? And how can you use them to make your photos look even better?
In this article, we’ll show you how to use Photoshop actions to get the best results. We’ll also give you a few tips on how to create your own actions, so that you can have total control over the look and feel of your photos. Let’s get started!
How to Use Photoshop Actions
When you edit a photo, you apply dozens of changes. After you develop an editing process, you might use the same procedure repeatedly on different images.
Photoshop can record a list of every change you make to a photo. This list is called an ‘action’. You can then open another image and apply this action of all of the editing steps from your previous shot. It is similar to applying Lightroom presets. But you can use it for so much more.
How to Install Photoshop Actions
First, you have to download the action you want to install. There are hundreds of websites where you can buy pre-recorded actions for Photoshop.
If you don’t want to spend any money, there are a lot of free actions to download. I’ll use a free Photoshop action called ‘Film Wash‘ as an example for his article.
Step 1: Unzip the Photoshop Actions File
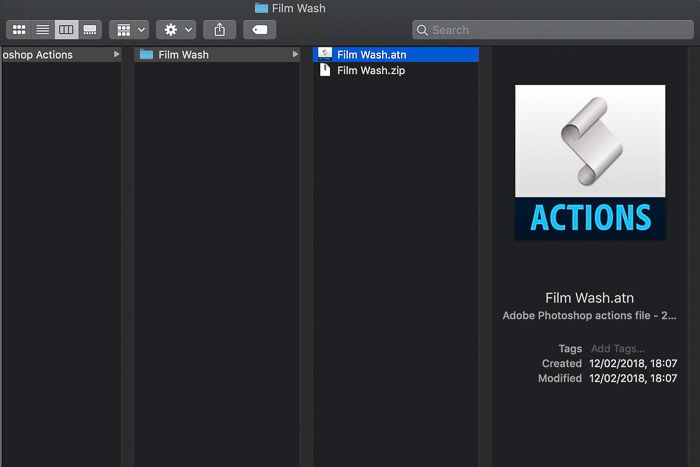
Usually, people pack Photoshop actions into a ZIP file (.zip). In your file manager, double-click the ZIP file to unpack the contents. You will see the Photoshop actions saved as ATN files (.atn).
Step 2: Open the Photoshop Action Palette
In Photoshop’s top menu, go to Window > Actions to open the Actions palette.
You can also click the Actions menu icon—the play button—in the right toolbar.
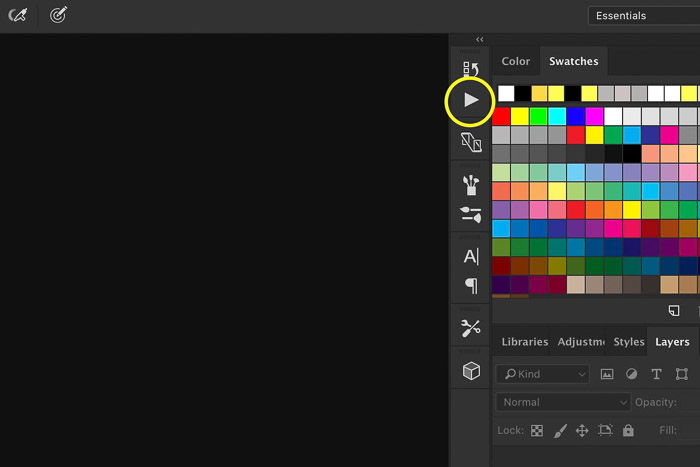
Step 3: Load the New Photoshop Action
Click on the Actions palette’s local menu button (four lines) in the top right corner. And select ‘Load Actions’.
Locate the ATN file (.atn) you want to install and select it. Click ‘Open’.
Once loaded, the action will appear in the Actions palette.
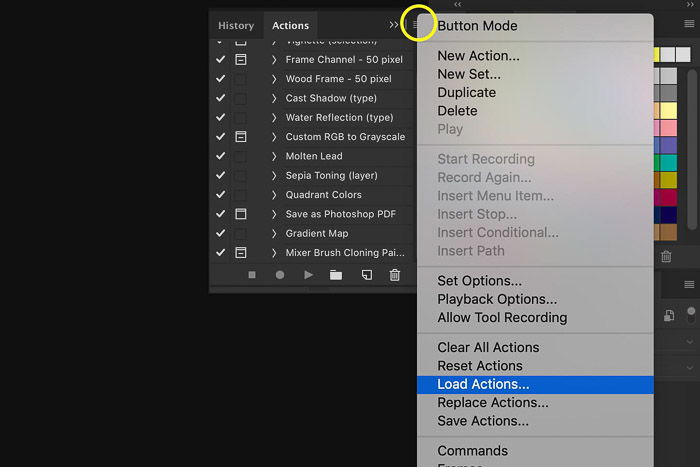
How to Use a Photoshop Action
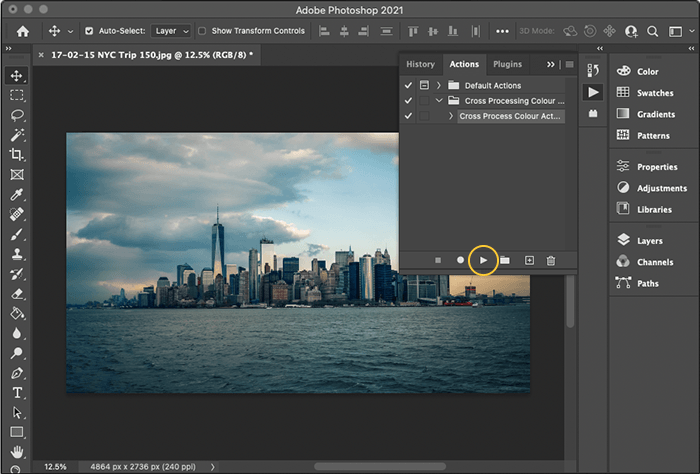
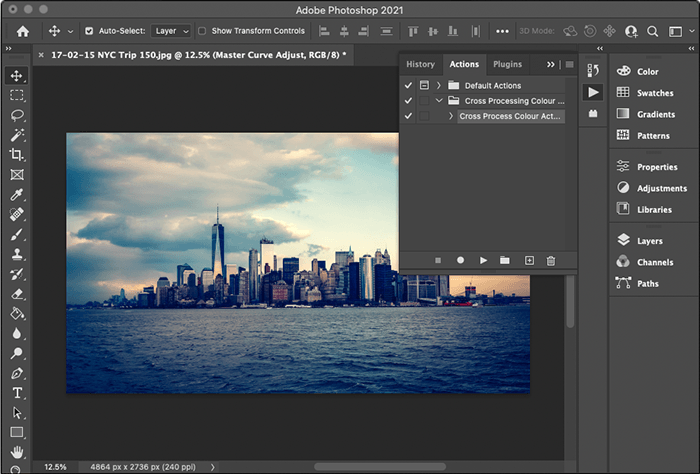
Select the action in the Actions palette. Then click the play button at the bottom to play an action. This applies all of the editing steps recorded in the action to your image.
How to Edit Photoshop Actions
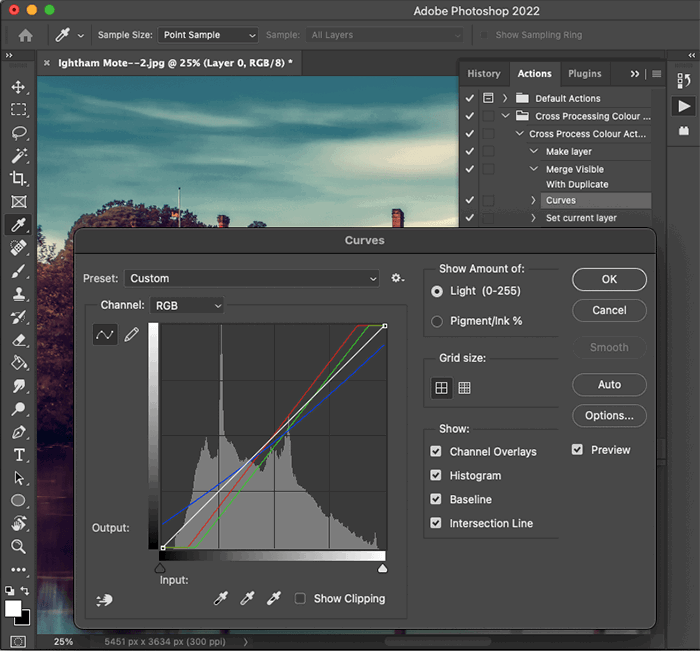
To make changes to any part of an action, click the disclosure triangle to see the recorded editing steps.
Double-click an editing step and press ‘OK’ to see its control panel. Then make your adjustments and close the panel. The action is updated to reflect your changes.
You can also double-click steps and rearrange them. Or you can record a new step by pressing the record button and making further edits.
How to Organize Photoshop Actions
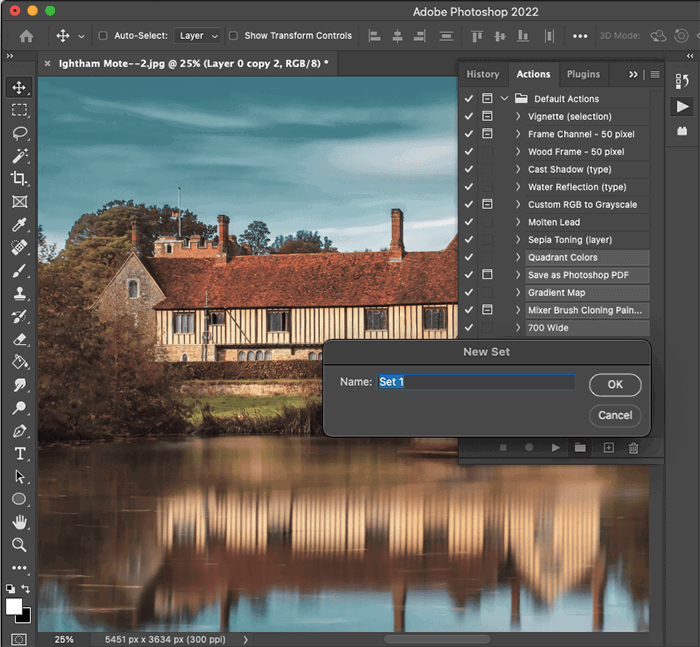
Actions are usually organised into handy folders called sets. If you downloaded a set, the actions are likely grouped for convenience. You can move Photoshop actions to and from sets. Grouping similar commonly used actions can save you editing time.
For example, you may want your portrait-retouch actions in one set, and your sky-replacement actions in another. Hold the Command (Ctrl) key to select more than one action. Or hold Shift to select a range of them. Once they are selected, click the Folder icon to create a new set.
Rename actions and sets by double-clicking on them. To remove a Photoshop action, first, select it in the Actions palette. Then click the Trash Can icon to delete it.
Conclusion
Now you know how to install, use, edit, and organize Photoshop actions. You can have hundreds of automated tasks in a single click, saving you a lot of time and effort.
After you master installing actions, use the record button to make your own. You can then share your Photoshop actions with others!
Try out our Effortless Editing course to master all the secrets of professional editing in Lightroom.
