The Adobe Lightroom noise reduction tool is among the best on the market today. Thanks to the inclusion of AI, Lightroom can clear up our noisy images in a single click!
Previously, we would have had to make manual adjustments to control the noise reduction in Lightroom. Now, photographers can shoot at higher ISOs without worrying about noise ruining their images.
Let’s dive into Adobe Lightroom‘s noise reduction and discover how good it is. We will compare it to other noise-reduction software to see which is best.
- Learn to use every tool for quick, professional edits.
- Discover seamless subject selection with a single click.
- Unlock hidden details in photos with our unique method.
What Is Noise When Using Lightroom Noise Reduction?
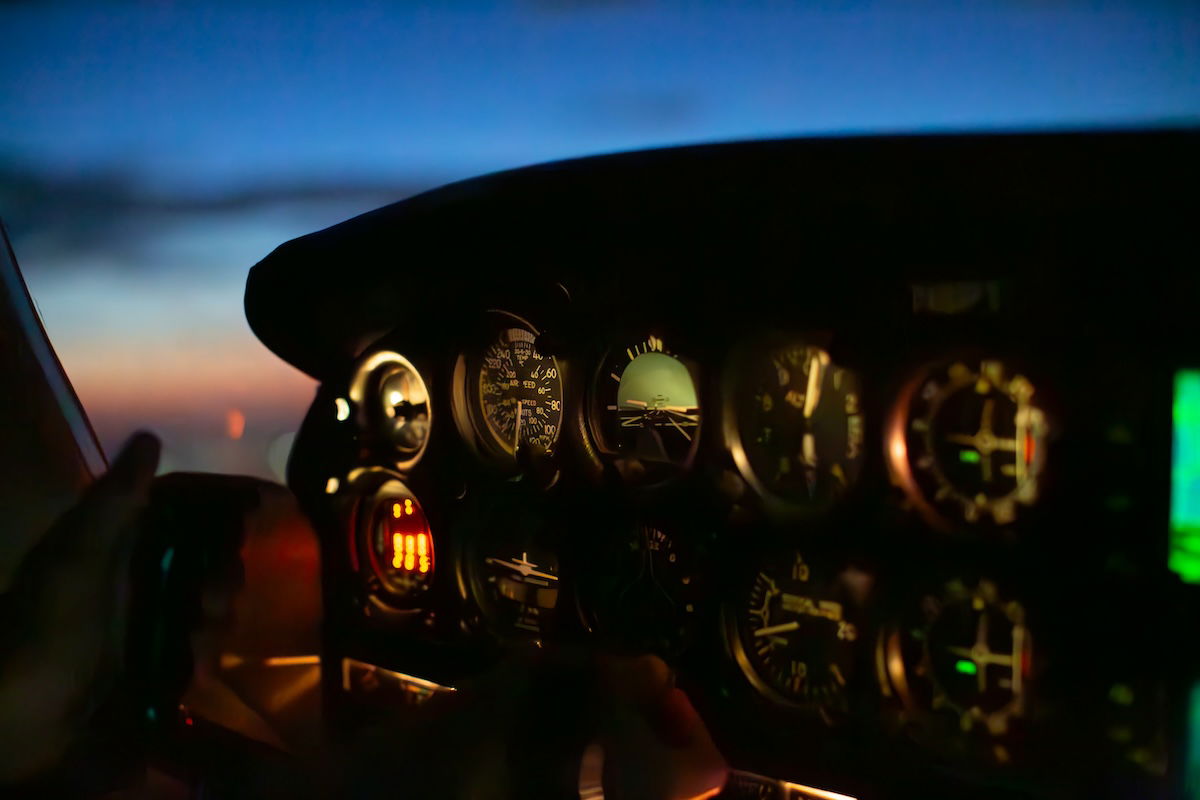
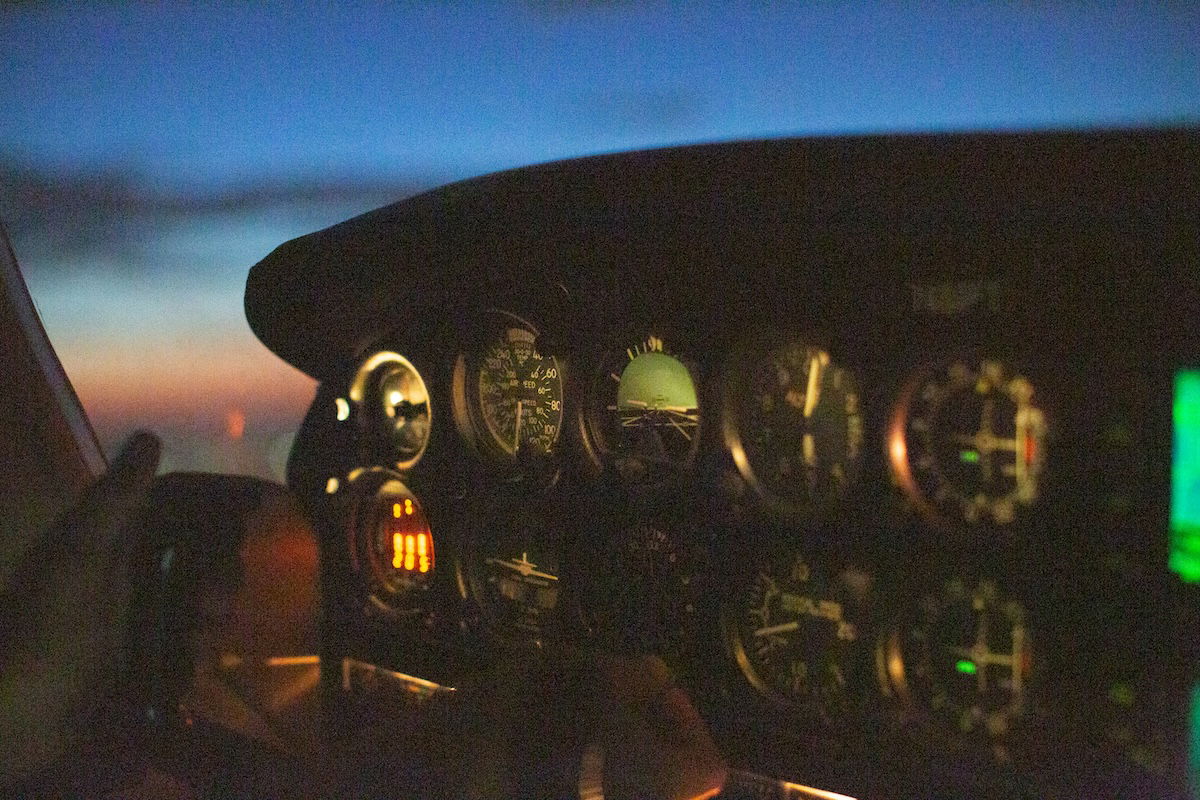
Image noise is an unavoidable effect of photography, especially shooting in low-light situations. Noise is produced by the digital sensor or film as an unintended effect. It provides unwanted specks of color and light across our images that profoundly affect the image quality.
Noise is most notable in dark areas but is evident across the entire image in high-ISO situations. Cameras are getting increasingly better at handling low-light situations. But now we also see a massive jump in noise reduction technology in digital editing software.
What Is Lightroom Noise Reduction?
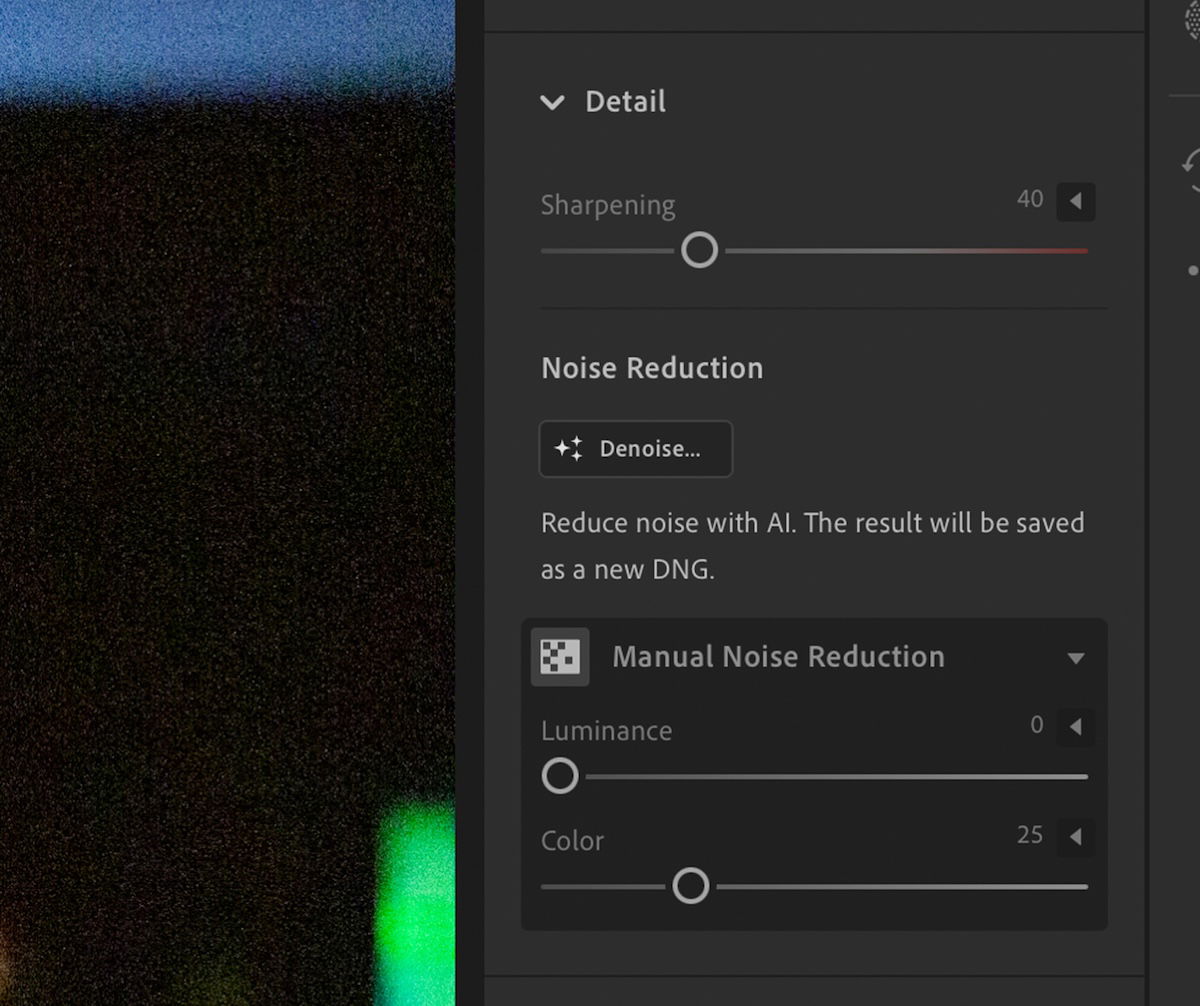
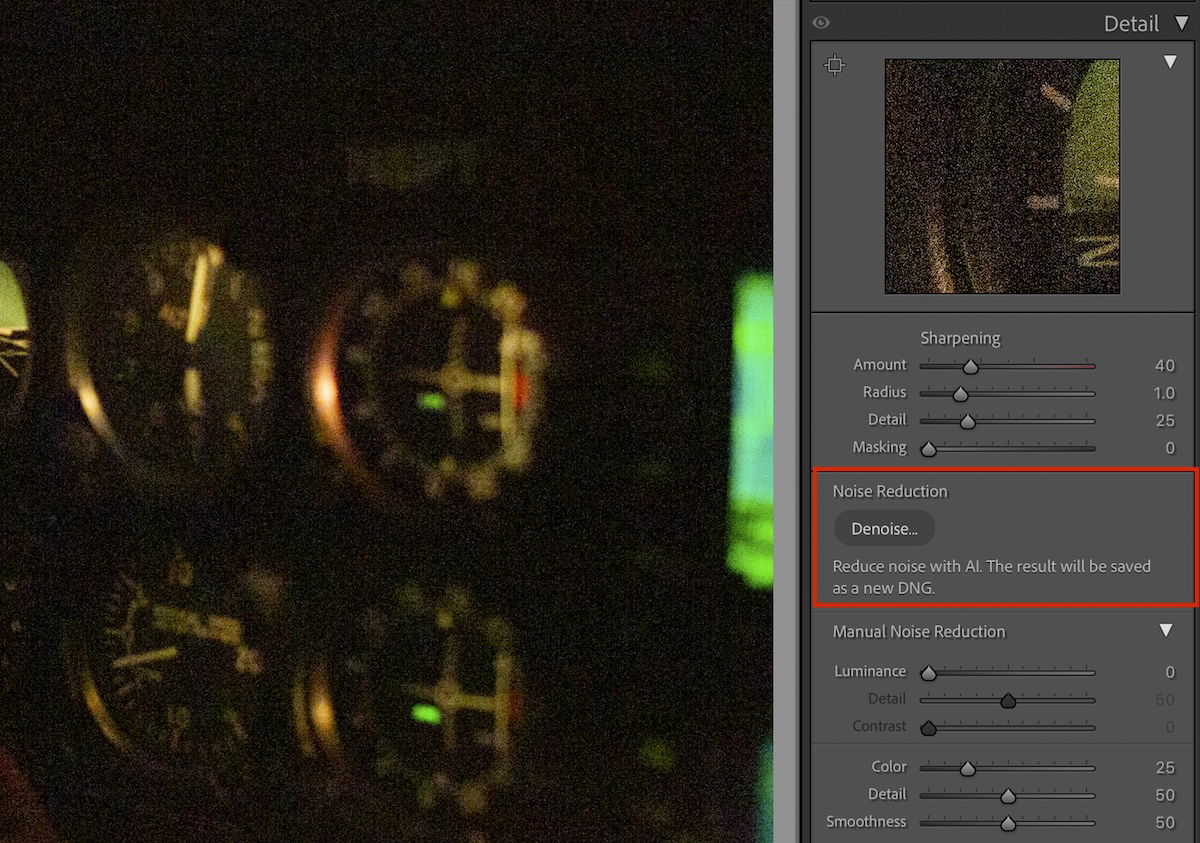
Lightroom’s noise reduction tool is Denoise. It is a single button that automatically removes noise from images. Denoise harnesses the power of AI to expertly read an image and remove the noise.
The Lightroom noise reduction is incredible. Over five years ago, noise reduction was good. But it was still not tempting enough to shoot confidently in low-light situations with a high ISO.
Now, photographers can feel comfortable pushing their ISO slightly further. They know that Lightroom noise reduction can treat their images well.
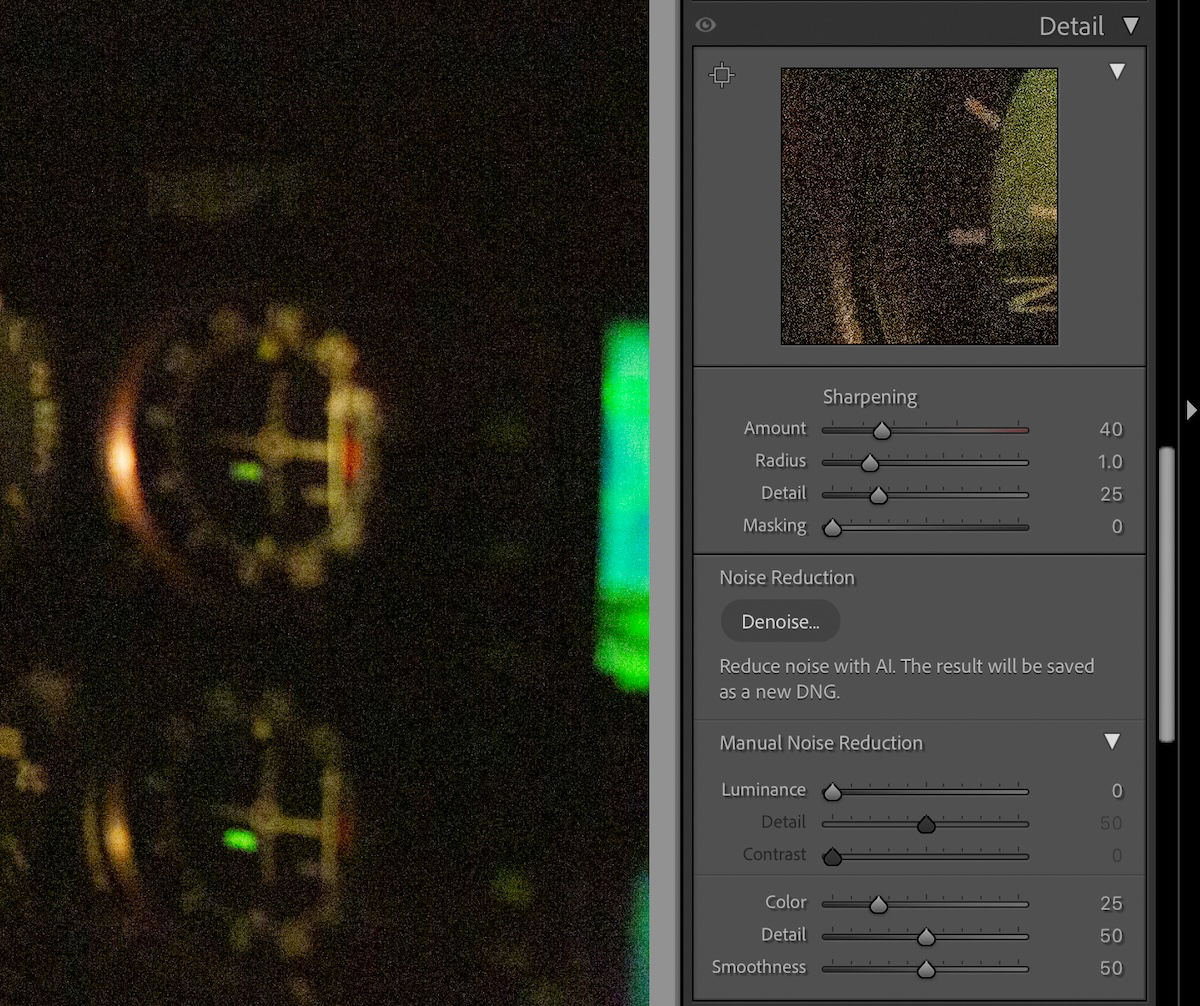
Lightroom also provides manual noise reduction. It lets you manage the luminance, detail, and contrast to combat the noise in your image. But messing around a great deal with these sliders produces less accurate results than the auto option.
Noise Reduction in Lightroom Classic vs Lightroom (CC)
Both modern Lightroom versions include similar noise-reduction capabilities. It means you get the same results with either version. The only difference is that Lightroom CC provides dropdown menus for the luminance and color in Manual Noise Reduction.
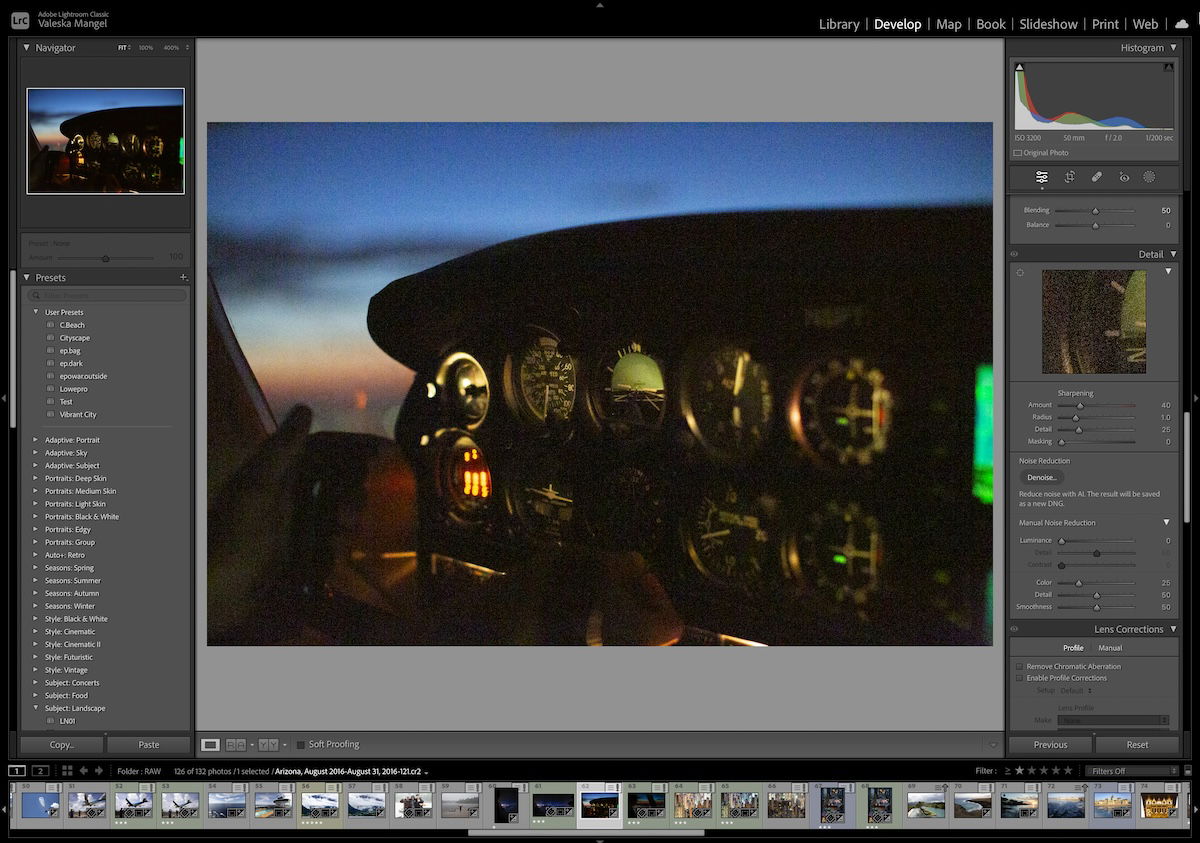
The Noise Reduction section is inside the Detail panel in the Edit (CC) or Develop (Classic) modes.
How to Use Lightroom Noise Reduction
First, select the image you want to edit. Next, take it into the Lightroom’s Edit (CC) or Develop (Classic) panel. You can then find the Denoise and Manual Noise Reduction in Noise Reduction inside the Detail Section.
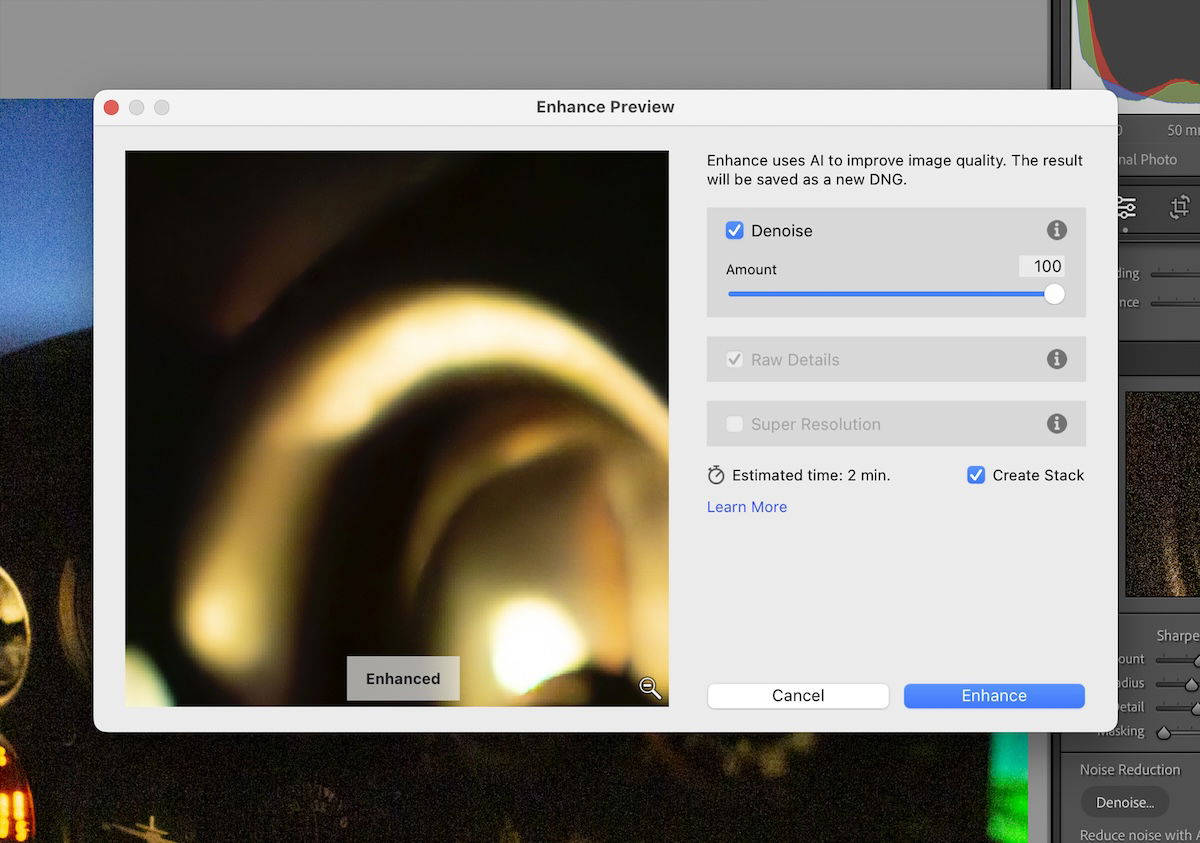
From there, click the Denoise button. A new dialog box will pop up, letting you choose the amount of Lightroom noise reduction and preview the results.
Lightroom then creates a DNG file of your image with the automatic noise reduction applied. This separate file is fantastic because Lightroom does not overwrite your original image. You also have the option to put the new image in a stack with the original.
Lightroom Noise Reduction vs Other Denoise Software
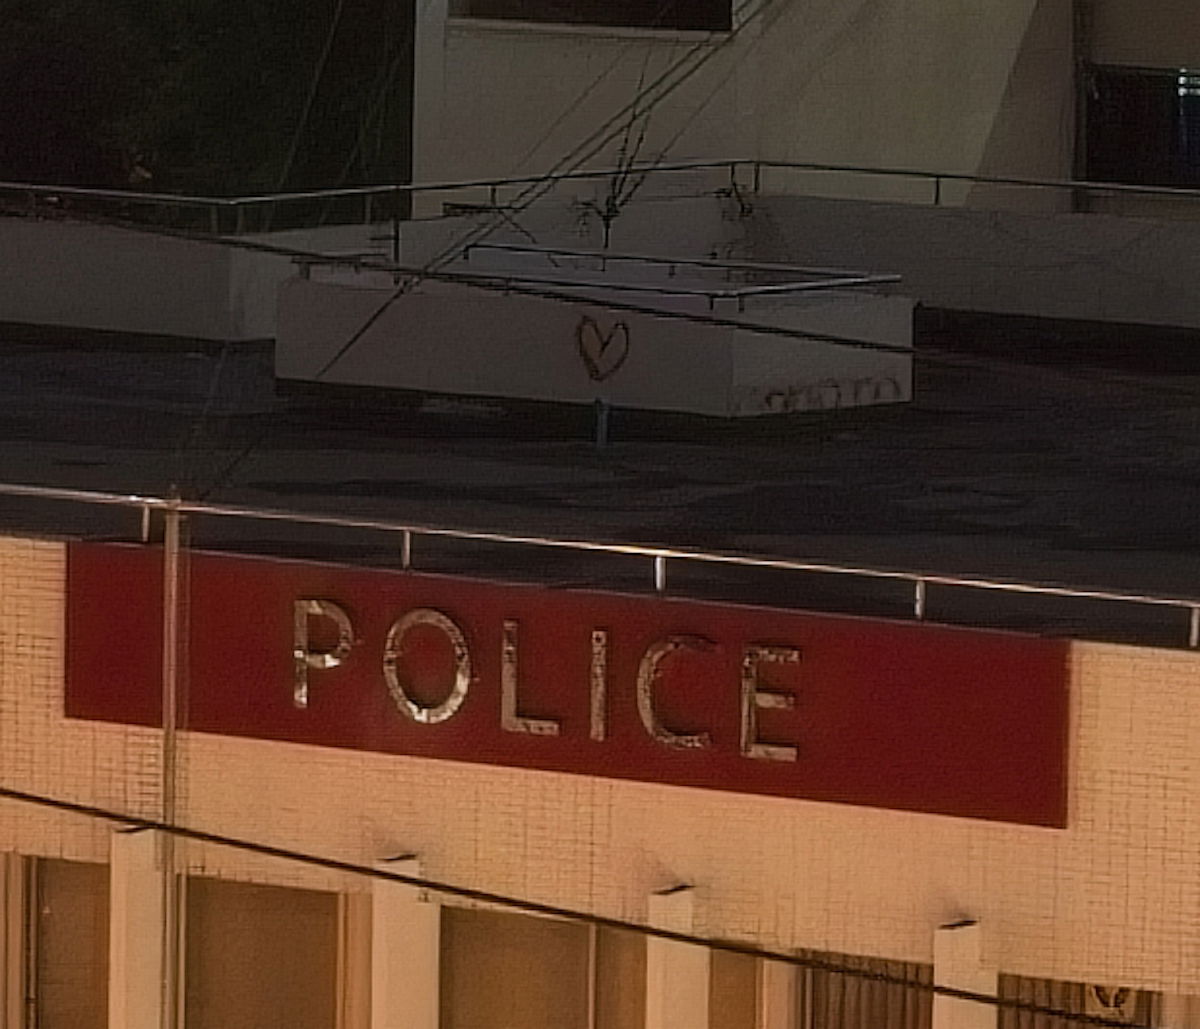
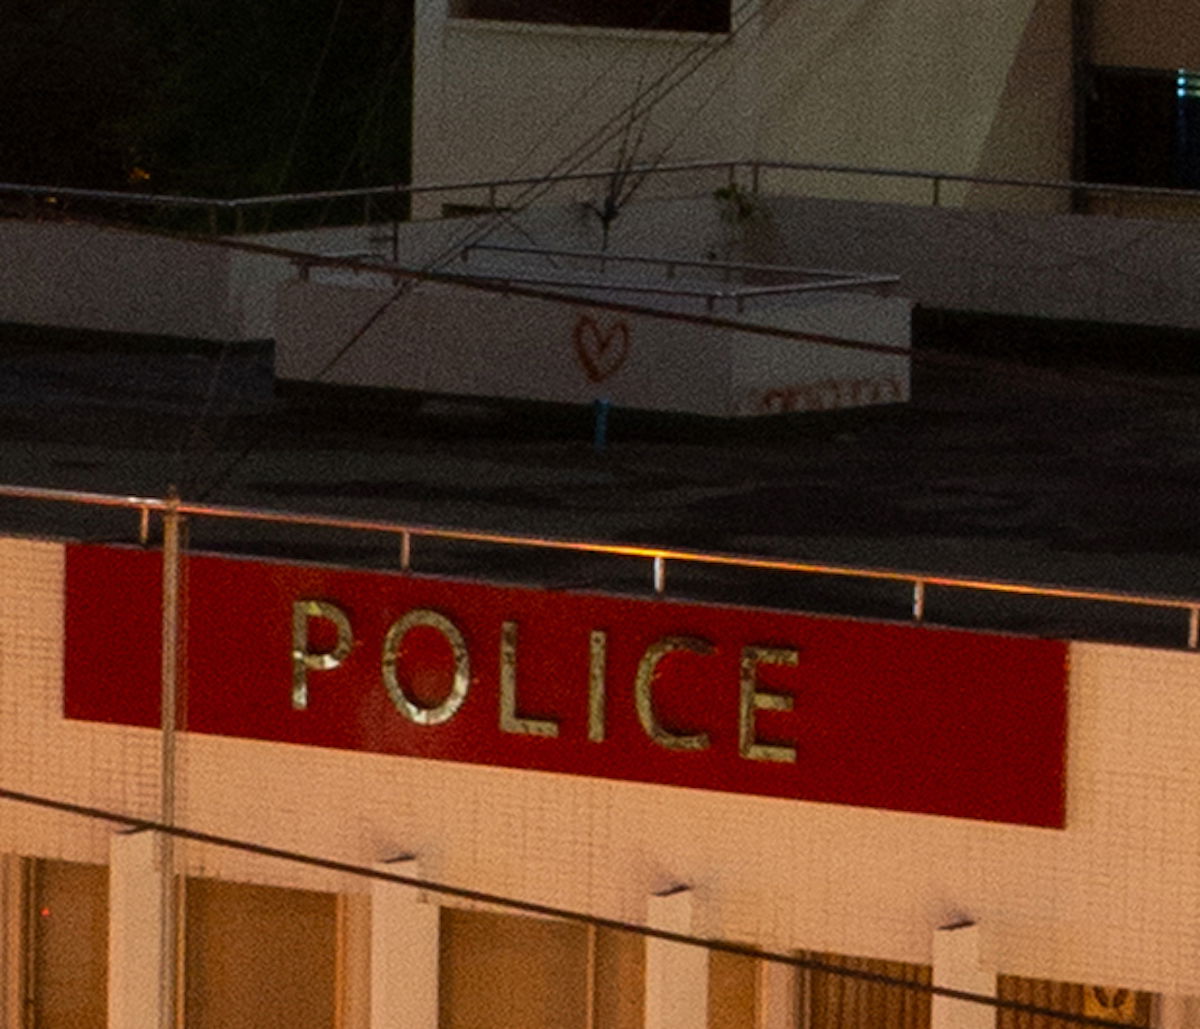
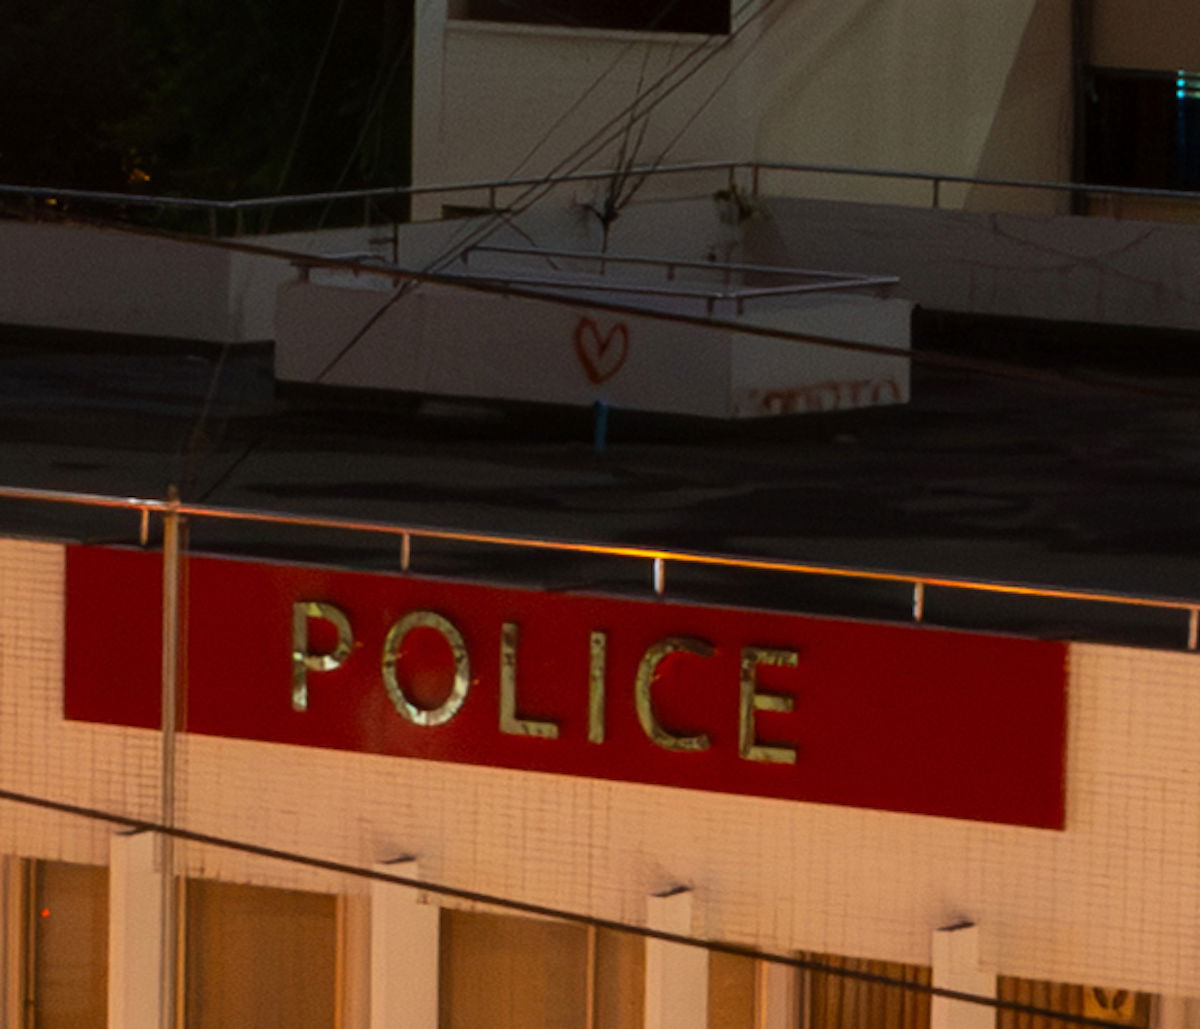
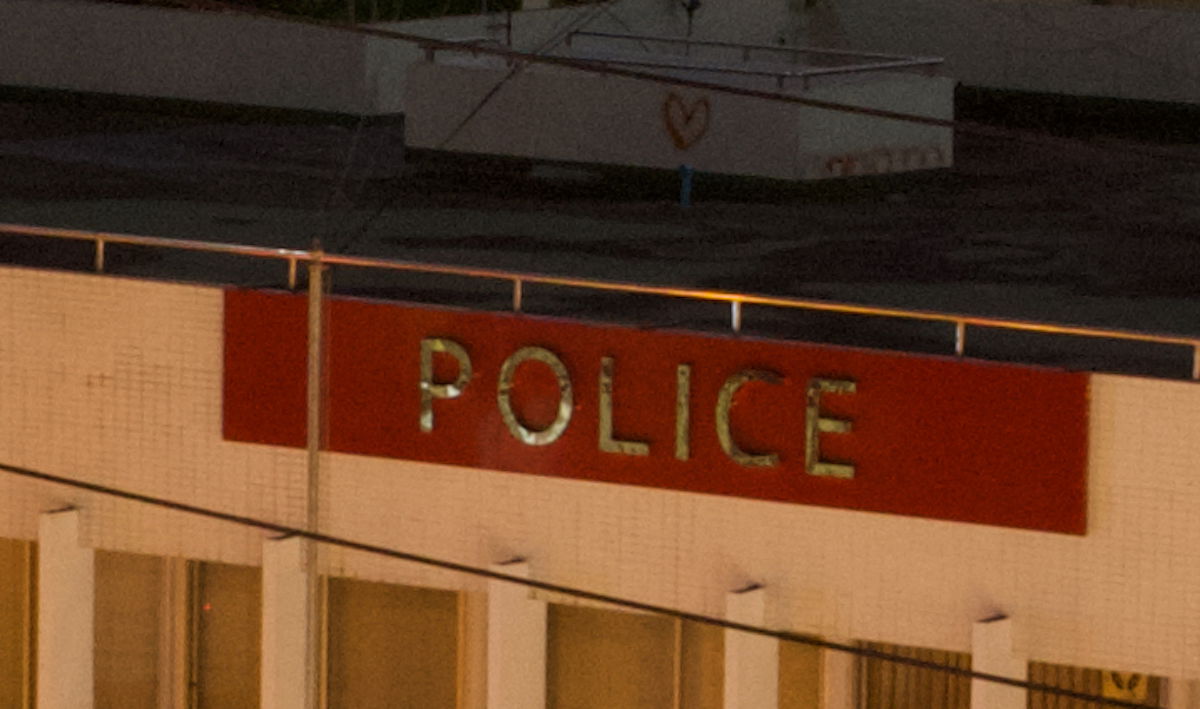
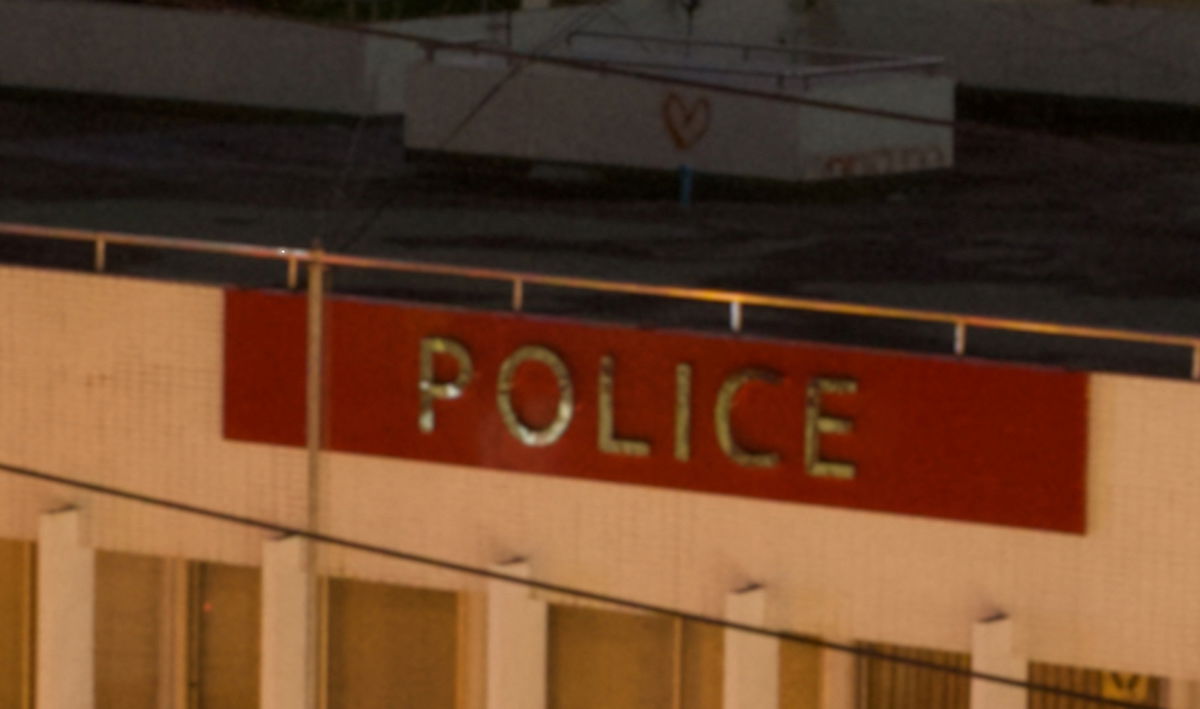
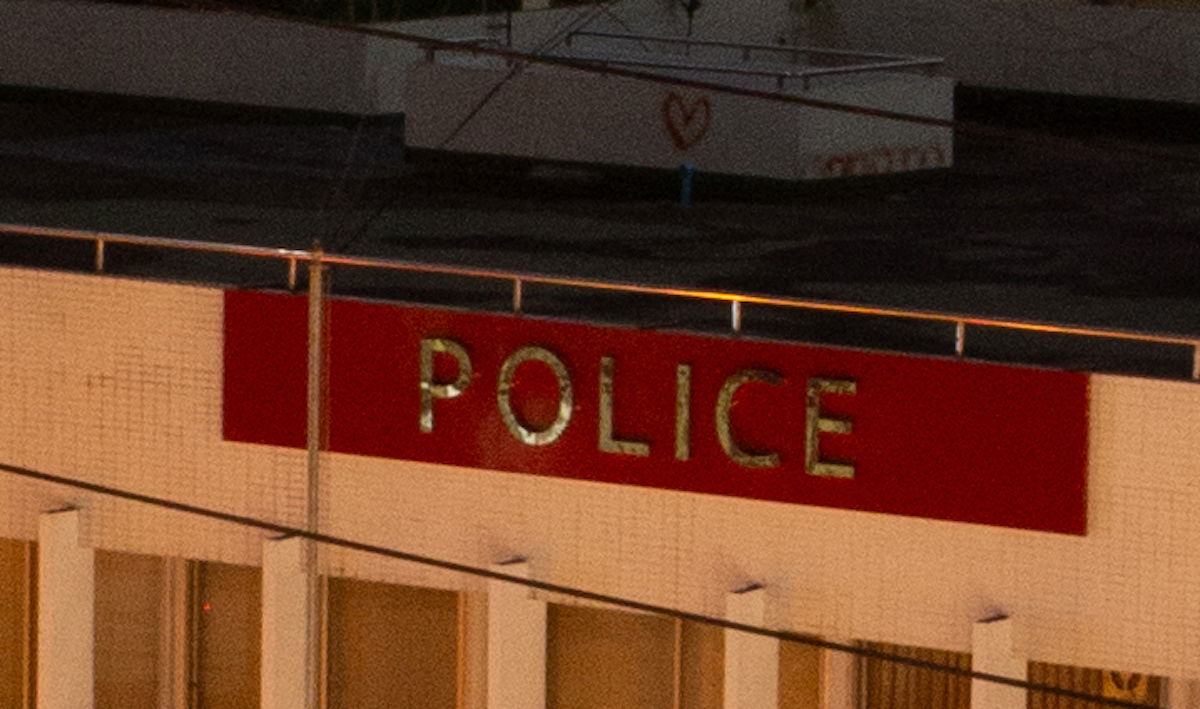
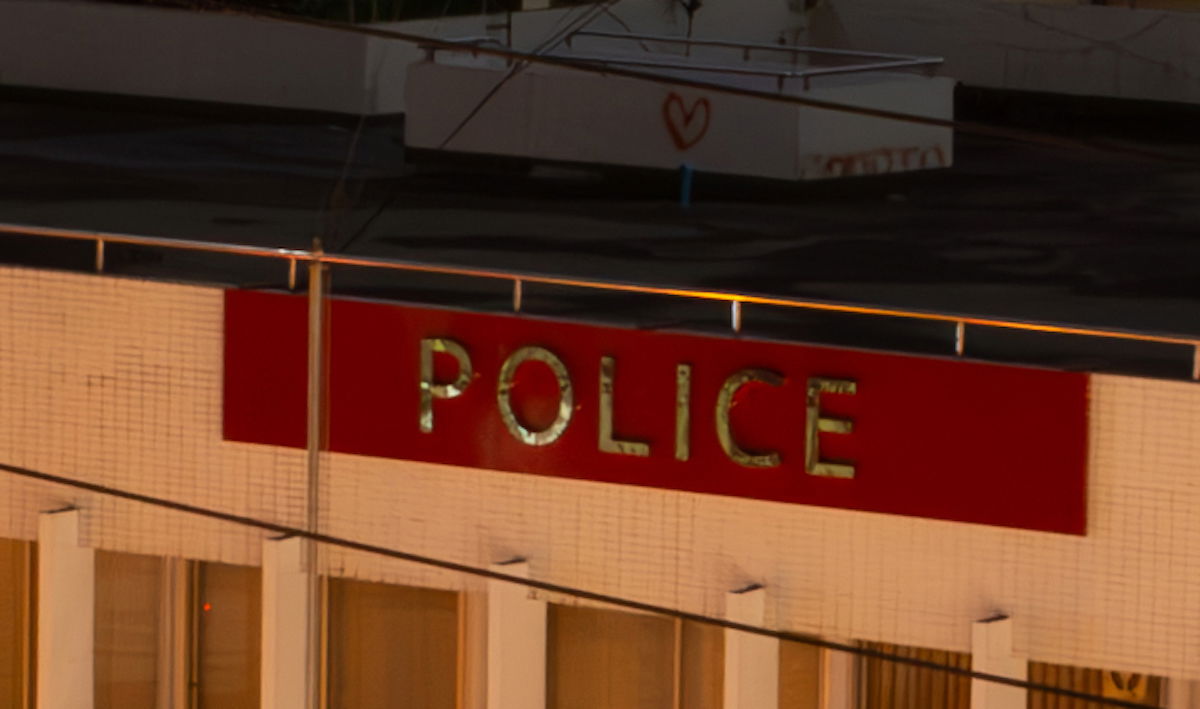
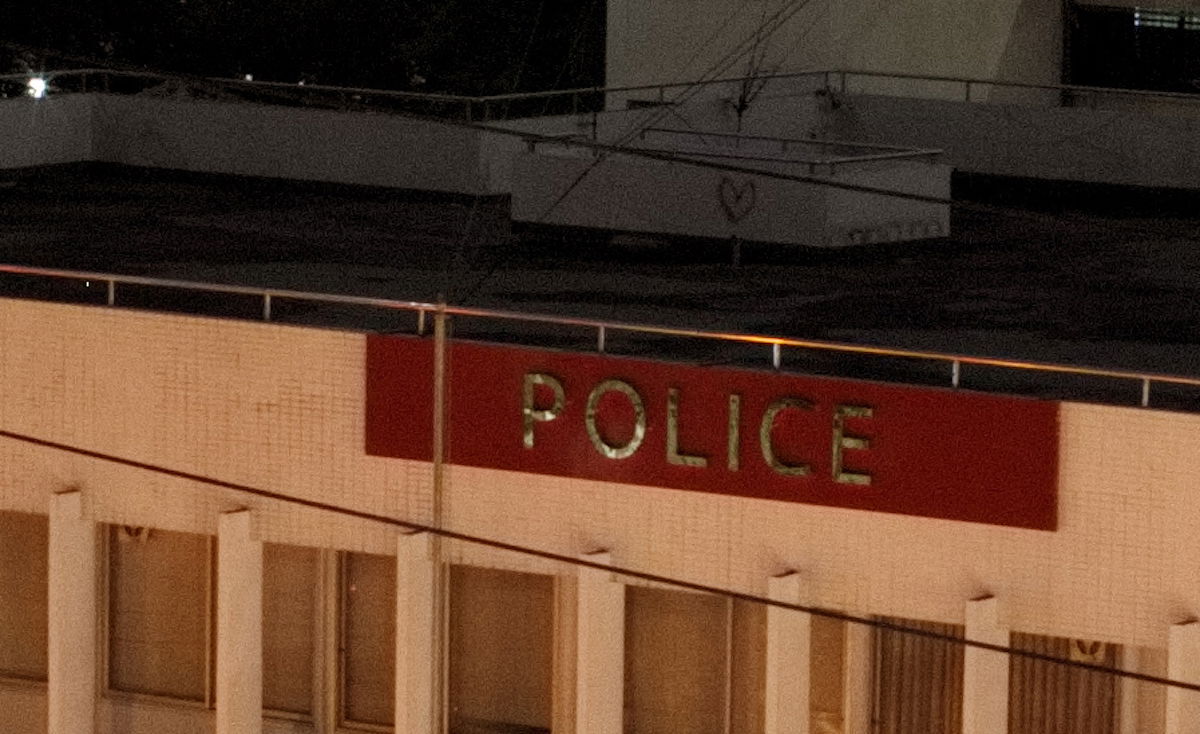
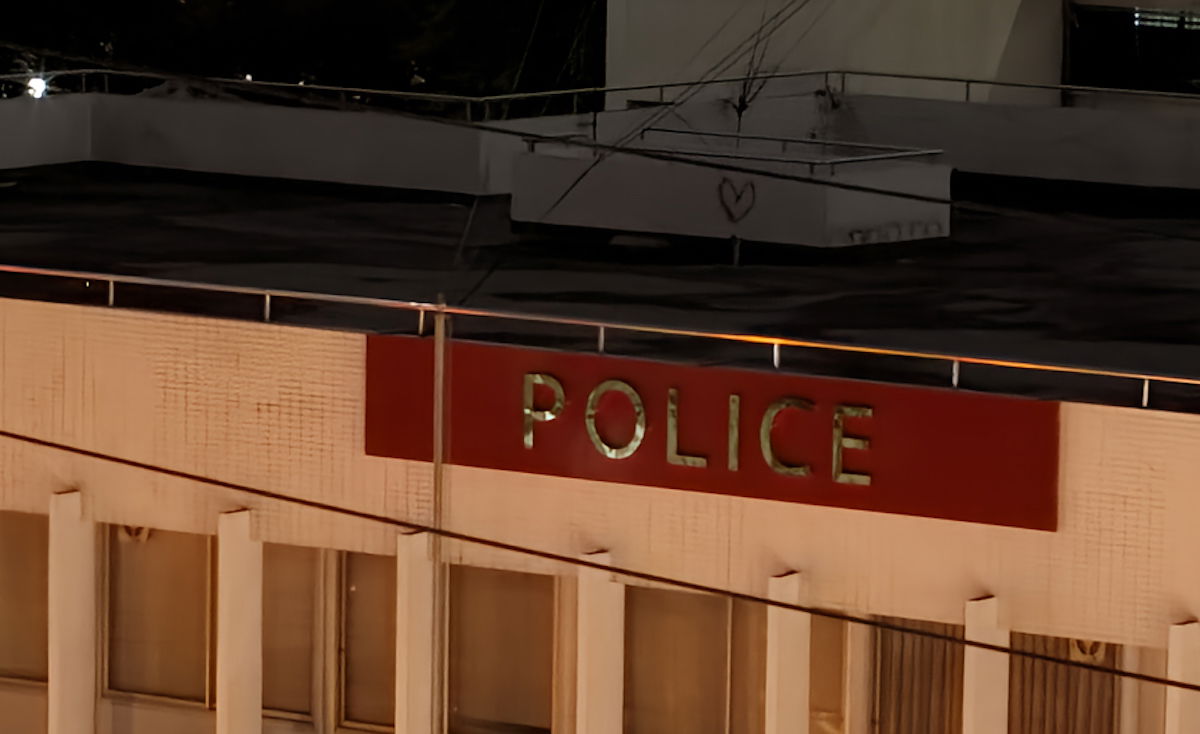
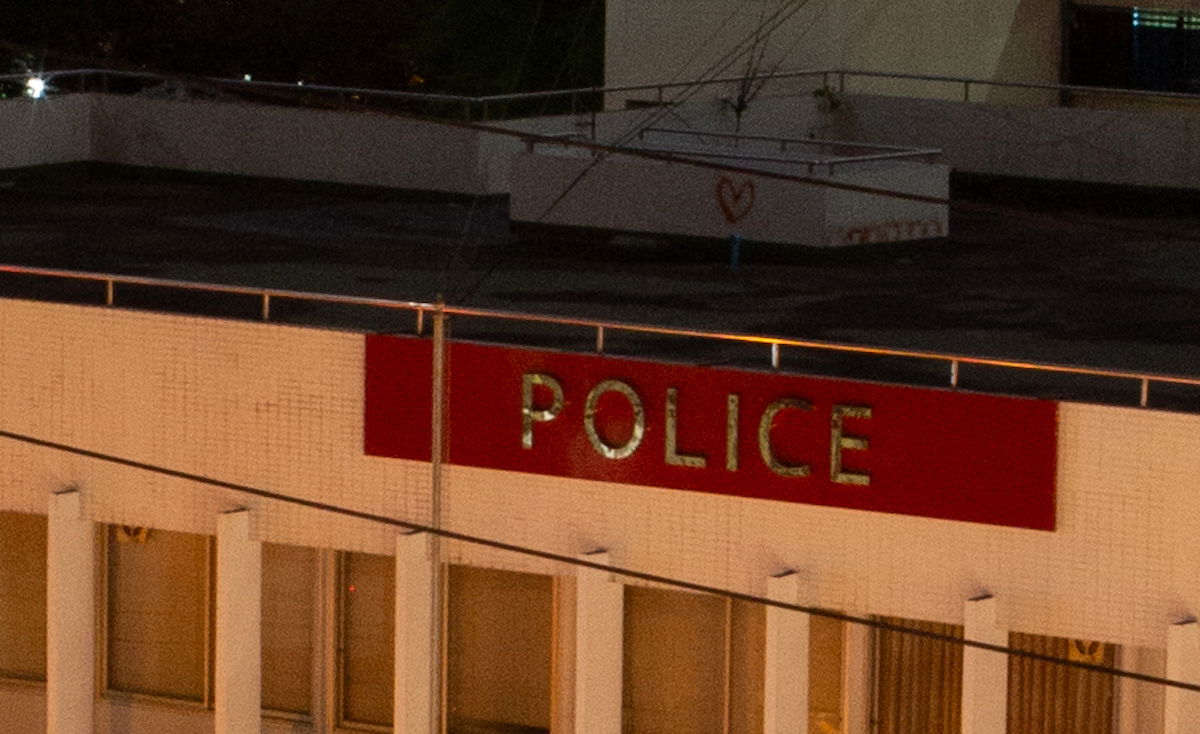
Let’s look at how Lightroom’s noise reduction holds up to other denoise digital editing software. Remember that different programs have different RAW processing abilities. So, note the noise reduction rather than the tones and colors presented.
We will look at these images at 300%, which emphasizes the negatives harshly. So, do not be too deterred by the “bad” results.
Luminar Neo
Luminar Neo‘s Noiseless AI is another noise reduction technology that uses a single click. From this comparison, we can see that it isn’t up to Lightroom’s standard.
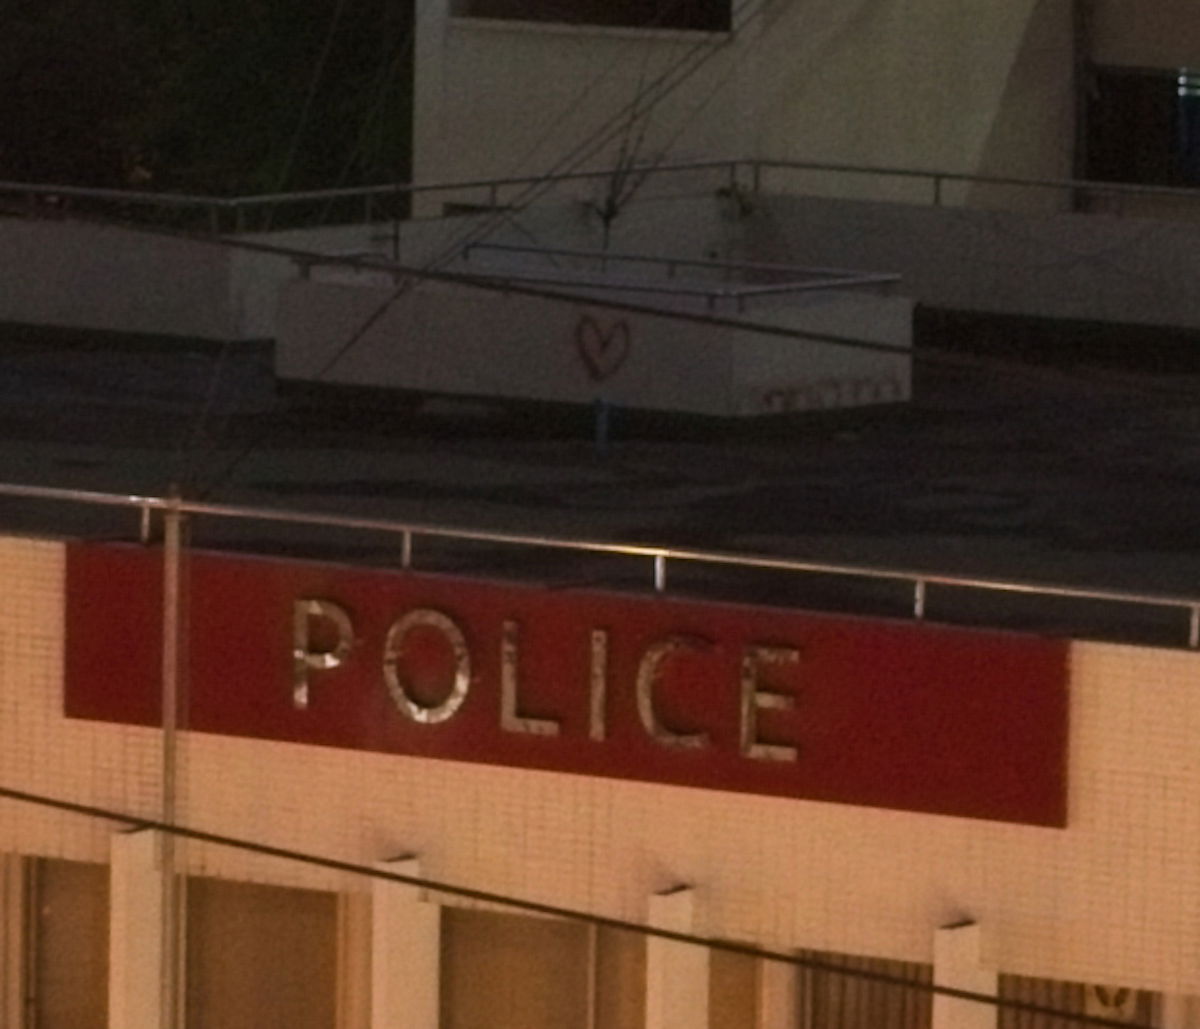
The most notable difference is the softness that Noiseless AI brings. The tiles disappear to the right of the red police sign.
DxO PhotoLab 7
DxO PhotoLab 7‘s DeepPrime XD does a brilliant job at noise reduction. The noise reduction results are like Lightroom’s, which is very impressive.
PhotoLab’s denoise tool effectively removes noise from the shadows above the police sign. The clarity difference comes from RAW processing rather than noise reduction.
ON1 Photo RAW
ON1 Photo RAW‘s denoise technology is interesting. It provides a great amount of sharpening along with noise reduction abilities. It also clears up the shadow areas above the police sign.
The downside to this sharpness is some pixelation along the noticeable lines in the photograph. The noise reduction could be better, but it does suffice.
Corel AfterShot Pro 3
AfterShot Pro 3‘s RAW Noise Removal does a good job of reducing noise. It keeps a true-to-image view of the scene and only affects the noise areas rather than the noise and sharpness. It slightly softens the image. But this isn’t noticeable when viewing it at full size.
inPixio Photo Studio
inPixio produces the most softness from its noise reduction out of any on this list. The software effectively reduces noise but more profoundly affects the image’s sharpness.
Remember that we are looking at these images at more than 300%. So, the image may still look sharp, just not as sharp as before.
CyberLink PhotoDirector 365
PhotoDirector 365‘s Denoise AI gives another interesting noise reduction result. It is very effective at eliminating the noise and does this job well. Notice the shadows above the police sign.
You may also notice that it applies smoothing to the image that, when zoomed in, looks a bit too clean. It starts to look like AI-generated imagery. Also, notice the handrail above the sign. The reflection becomes much more prominent in the Denoise AI image.
Conclusion: Lightroom Noise Reduction
After examining a wide range of digital editing software, we see that Adobe Lightroom’s noise reduction software is among the best. Lightroom has the best noise reduction software today, thanks to its ease of use and superb results.
So, if you tend to shoot much of your work in unfavorable, low-light conditions, ensure you buy Adobe Lightroom. It is particularly helpful for those who shoot events without a flash or street photographers who like to shoot at night.

- Learn to use every tool for quick, professional edits.
- Discover seamless subject selection with a single click.
- Unlock hidden details in photos with our unique method.

