Did you know that the most important thing in creating a black background is not a black cloth, wall or backdrop? there are many ways you can recreate that dark atmosphere.
In this article, we’ll show you exactly how to create black backgrounds for your photos. Hint: it’s all about the light you’re using.
What If Your Black Backgrounds Never Look Black
What we see with our eyes and what our cameras record can be very different. Our eyes see a wider range of tone and light values than our cameras can record in a single exposure.
I encourage my students to look at light first. Consider what you can see based on how the light is falling on your subject. Then think about how your camera will record it.
If you are looking at a scene with even light and not too much contrast it should be easy to imagine. Yet, If there is contrast, with more light on your subject than on the background, you can still create black backgrounds.
You don’t actually need too much contrast for dark backgrounds.
Figuring Out When the Light Is Right
Our modern digital cameras are capable to record a very wide dynamic range. Early digital cameras and all film were able to capture a more limited range of tones in a single frame.
Nowadays, we are able to make photos with more detail in the shadows and highlights. Our cameras are beginning to give results comparable to what we see with our eyes.
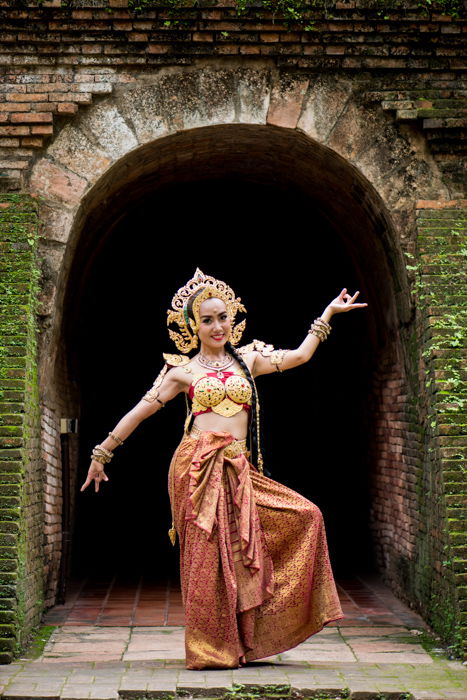
To be able to perceive when you can achieve a photo with a black background you need to know when the light is right. You need to understand how to see the difference in the light value that is on your subject and your background.
Doing this requires that you ignore some of the detail that you can see, so you begin to see more as your camera does. This is a good skill for any type of photography.
Think about how you will post process your image beforehand. Our cameras are able to record more detail. This means more tweaking in post to get a photo with a real dark background.
The most important thing is to see when the light is right. In a portrait or still life setup, you control the lighting and background. If you prefer natural portrait backgrounds, you can still achieve black backgrounds. We’ll show you how in this article.
Try Squinting!
To help you see if there will be enough contrast in a scene, squint your eyes and look at the scene. When you squint. you will not see much of the detail in the darker areas. Highlights will stand out more.
By looking at a scene in this way you will have a type of preview of what your photograph can look like. If there is too little contrast in a scene when you are squinting at it this will be more noticeable.
What Will Affect Your Black Backgrounds
These factors will determine how dark the background will be:
- Light difference between subject and background;
- Exposure settings;
- Color of the background;
- Post-processing.
When there is more light on your subject, you will be able to get the background very dark.
Say you have the same amount of light on both your subject and background. Even if your background is black, you will need to manipulate the photo later.
How to Set Up Black Background Portraits
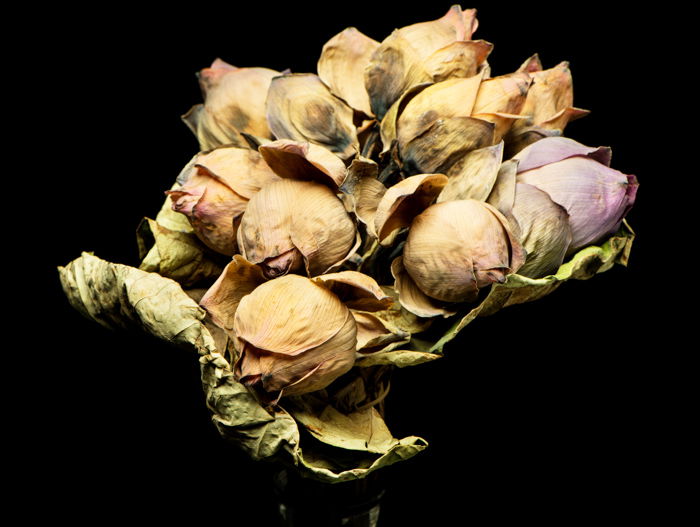
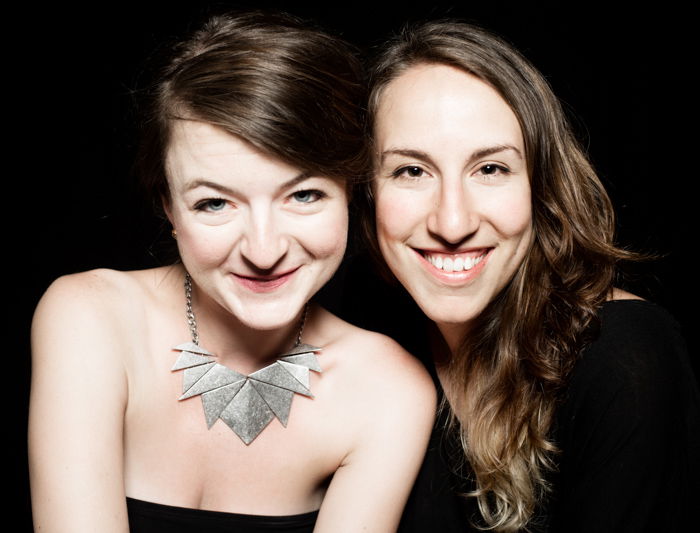
I use a black background when I am making portraits. I only have limited experience with still life or other styles. But you can use this method with any subject you wish to photograph.
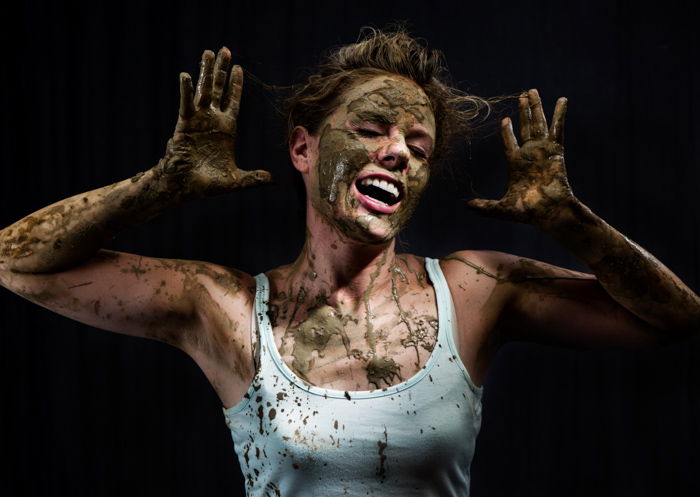
If you have some control over your lighting setup, creating black backgrounds will be easier. And if you manage your setup well, you will have to do minimal post-processing.
Choosing a black or dark colored background will make things easier. Make sure your background does not reflect any light. Shiny surfaces or plastic sheeting are not good because they will reflect light.
I use heavy black curtains in the studio or some black stretch fabric when I travel. The stretch fabric is good because it does not wrinkle, which can reflect light.
You will need enough space to separate your subject from the background. If they are too close together, the light on your subject and on the background will be similar. You want more light on your subject.
Using Natural Light
If you are indoors and using natural light, you can position your subject close to an open door or window. Close all the other doors and window coverings. Turn off any electric lights. You want the room to be as dark as possible.
If you have a black backdrop, hang this as far back from your subject as you can. Depending on how dark the room is, this may not be necessary. Use the squinting technique I mentioned earlier to help you see where the bright areas are.
Chose your camera angle so that you avoid seeing any light areas in the background. If you are using a backdrop, make sure you cannot see the edges or top of it in your frame.
If you can, you may need to change your lens or move the background closer to your subject. Be careful not to move the background too much.
See my article on natural light outdoor studio. You’ll learn how to set up black backgrounds for portrait photography outside.
Using Studio Strobes, Flash or a Continuous Electric Light Source
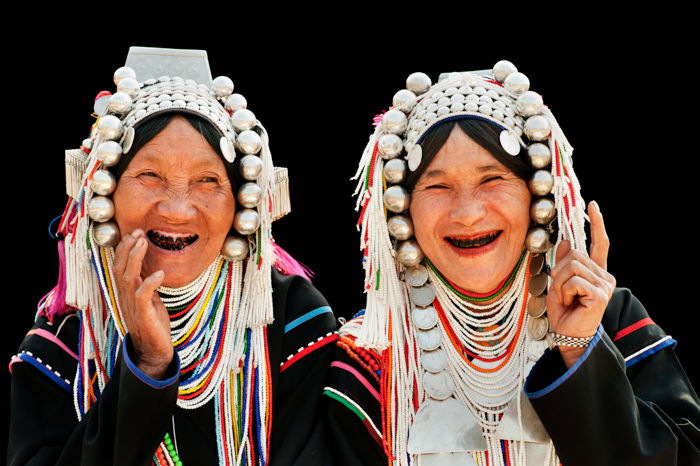
When you work with electric light sources you have more control. This goes double if you have more than one light. The same main principle applies as with using natural light. You must have more light falling on your subject than on the background.
Separation of subject and background is the best way to do this. If you are working in a small room you may have to use ‘flags’ to control the light. A flag can be anything that blocks the light you are using on your subject from affecting the background.
I use black corrugated plastic sheets. They are lightweight and easy to position. I have a collection of various sizes and use them often to help me control the light.
Using a modifier on your light source can help prevent light spilling. A snoot attached to your strobe or flash will provide a very directional light. Barn door attachments will also help control the light.
If you are using an umbrella or soft-box the light will scatter and appear softer. This is the preferred light for a lot of portrait photography.
With an umbrella or soft-box, it will be more difficult to keep the light off your portrait background. You must make there’s enough distance between your subject and light source.
Working in a small room with a black background will help. This will absorb some of the light spills.
How to Control the Light and Your Exposure
In an ideal situation, you should control your light and exposure. Having your camera and lights set to auto will provide disappointing results.
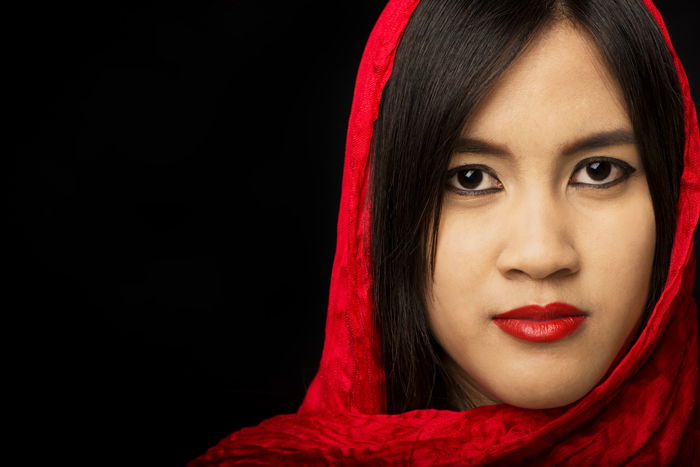
In portrait photography having your subject’s face well exposed is most important. When I am making portraits I usually take a spot meter reading from my subject’s face. Then I set my exposure so their face will be well exposed.
I make sure to have the balance of light on them and the background correct. This means that the portrait background will be black, or very dark.
If your background is not dark enough, here are a few things you can do.
- Move your subject and light source closer together.
- Increase the light output of your strobe, flash or continuous light.
- Move the background further away from the light source into a darker place.
Light-skinned or light haired subjects are easier to separate from the dark background. Darker skinned subjects or those with dark hair will need more light.
To avoid them blending into the black background, add a little backlight.
Look for Black Backgrounds in Everyday Situations
You do not always need to be in control of the lighting to make black background photography work. I love finding everyday situations where I can make black background portraits.

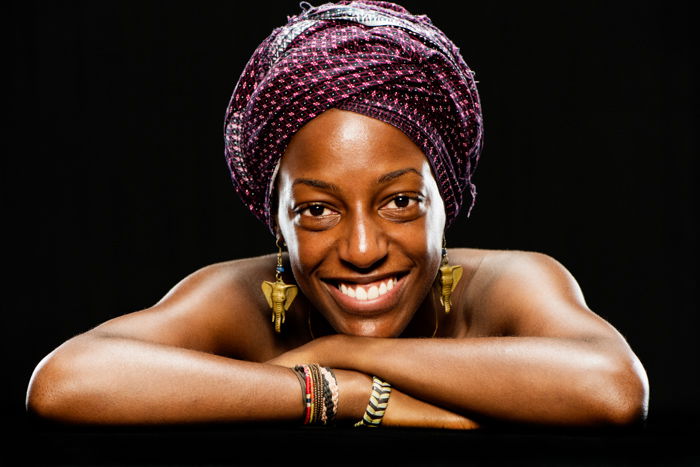
You can look for someone with a dark background behind them. This woman with the most wonderful smile sells steamed fish in our local market.
She is standing in front of a large open doorway. Behind her is a room with no windows and only a little light. Light reflecting off the white building on the other side of the alley is illuminating her.
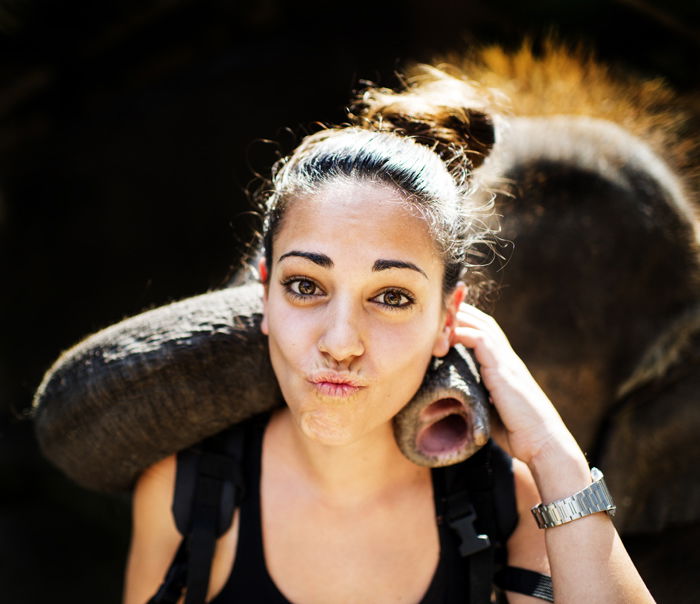
This portrait of a young woman and an elephant has a natural black background. This is because they were in front of a large open building with a high ceiling. The bright sun is behind them and is reflecting off the white pavement in front of her.
This gave me a lot of light on her face and not much on the background because it was in the shade.
During an outdoor portrait session, you can look for locations with black backgrounds. These are spots where no bright light is affecting the background.
Sometimes using partial black backgrounds can produce very satisfying results.
Post-Processing Black Background Photography
Sometimes the light value on your subject is not too different from your background. In these cases, you will need to manipulate the background to make it darker.
The amount of processing required will also depend somewhat on your camera’s sensor. A wider dynamic range will produce photos that need more editing.
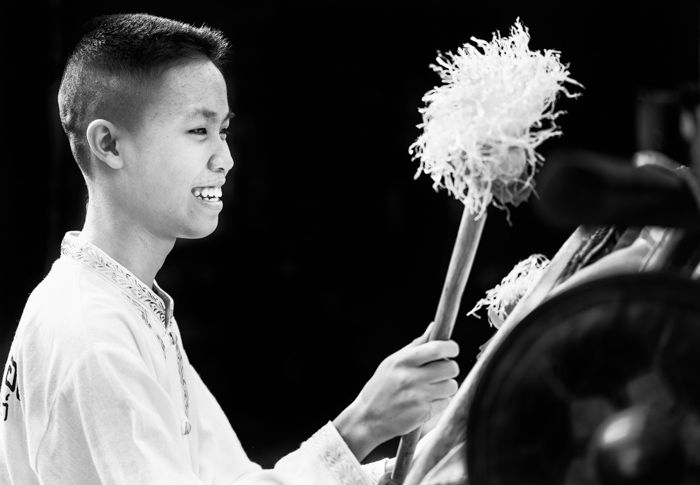
Using Lightroom and Photoshop to Recreate Black Backgrounds
The controls I use most to tweak my backgrounds are:
- Contrast
- Shadows
- Blacks
- Levels
- Tone curve
- Brush
- Burn
I use Adobe Lightroom and Photoshop. You can apply these techniques in whatever software you use though.
First of all look at the background and decide how much darker you would like it to be. At times I will only need to adjust the sliders for blacks and shadows to get the look I want.
This is usually when the background is a uniform black. For example, in studio photos where I had full control over the lights and background.
If you were photographing outdoors in a more natural setting, you may need to use other tools. There may have been areas of the background reflecting some light. Or part of the background may have been a lighter color. This is when the brush or burn tools are most effective.
I will darken areas of the background using the brush tool in Lightroom. This means painting over the areas that are too bright. Then I will move the exposure slider all the way to the left or right.
The effect is extreme and it helps me see where I am painting. Once I am finished painting I will move the slider to a level giving me the result I want.
How to Use the Photoshop Burn Tool
At times I find the burn tool in Photoshop more effective. I will use this on a very low exposure level. Usually about ten percent.
If the exposure is set to more than that, it is too severe and more difficult to use.
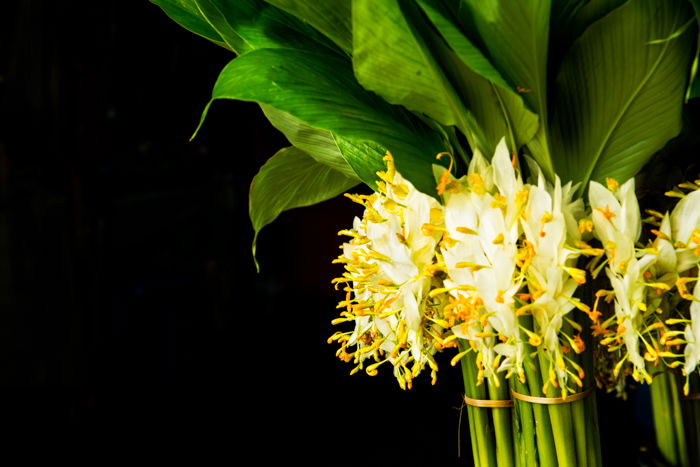
I will also set the burn tool range to shadows. In this setting, the tool will affect darker parts of the image more than light areas. If you overlap a little when the range is set to shadows, it will have less effect on your subject.
Using the combination of a low exposure and range set to shadows I can darken any light areas. Our eyes gravitate to light parts of an image. Light objects or areas visible on a dark background can be distracting.
As with any manipulation in Lightroom or Photoshop, I avoid extremes. I will use a combination of different tools to achieve a result rather than one tool pushed to the max. This can help avoid quality deterioration in the image file.
Conclusion
As with so much in photography, black background photographs depend on how you can see the light. Look for when there is more light on the subject than the background. Look at the shadows. And at how the light falls on your subject.
Is there enough difference? If not, can you control or manipulate the situation? Give it a try. Using this technique is a great way to make your subject stand out.
