Mastering the art of sky photography is a great way to improve your results in many different genres. With a better understanding of how to capture skies, you can improve your landscapes, shoot in different conditions, and learn more about shooting outdoors.
In this article, we’ll give you all the information you need to improve your sky photography. We have tips and tutorials for everything from sunset photography to enhancing your skies with editing software. Continue reading for everything you need to know about shooting skies. And remember to click the links below for more information about the specific topics.
Sky Photography Ideas
Come with us on our deep dive into sky photography. It’s an underappreciated area of photography, and improving your knowledge and skills in this area will give your images a huge boost. The sky’s the limit when you broaden your photography horizons, so let’s get started.
Clouds
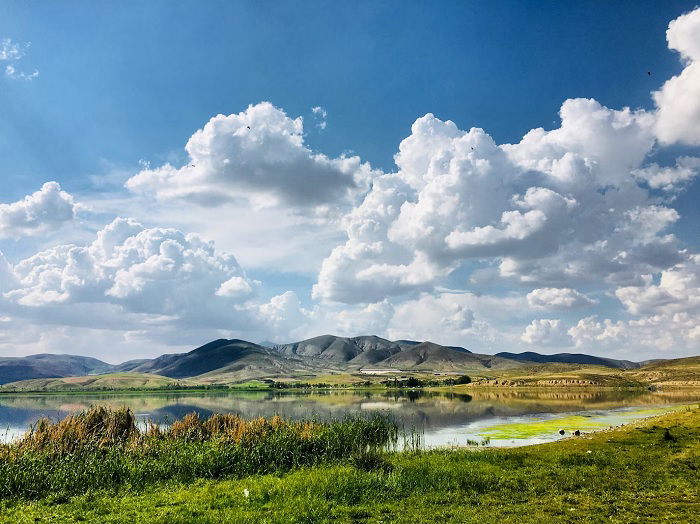
Beginners often believe clear skies are the best conditions to work with. There are some benefits, like consistent lighting and a reduced chance of rain. But clouds can actually add so much to your images.
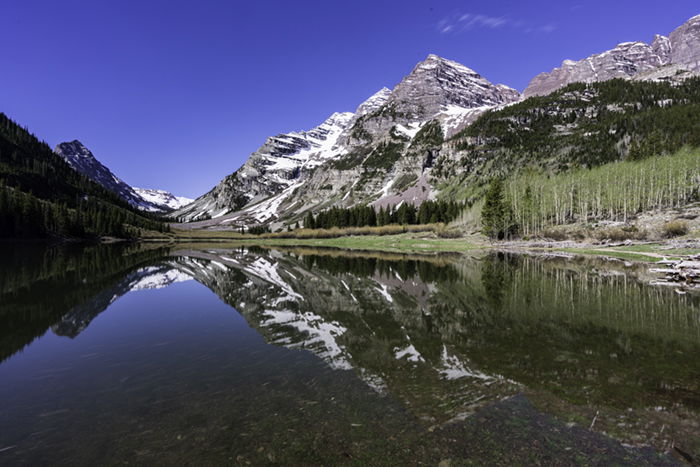
For many, there’s nothing better than a clear blue sky. But for some photographers, there’s nothing more dull. A clear sky is a blank, featureless space where nothing interesting happens. There’s nothing of interest and nothing to draw the eye.
Clouds, on the other hand, give you something to work with. Of course, a flat layer of continuous grey clouds is even worse than a blue sky. But broken clouds that stand alone against the blue backdrop are excellent features in a landscape.
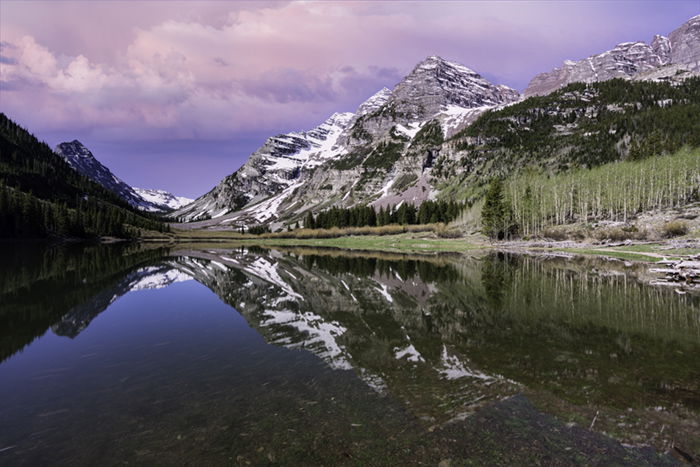
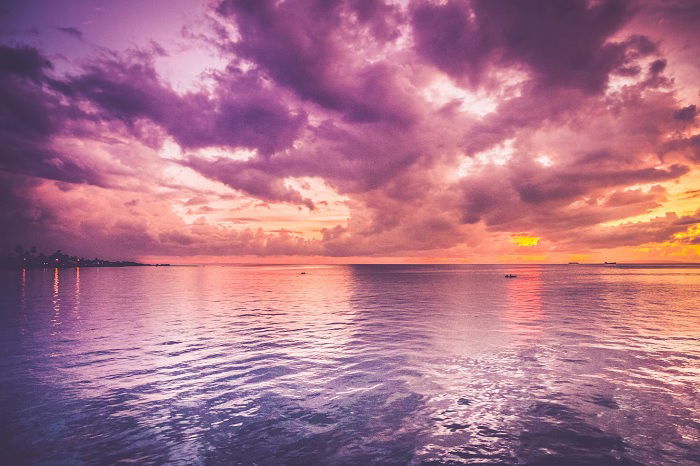
As well as bringing shape, clouds also hold color. During the day, they are white. But at sunrise and sunset, they hold brilliant pinks, reds, and oranges. These clouds are the secret ingredient for a dazzling sunset shot.
Read all our tips on how to use clouds to improve your photography.
Skylines
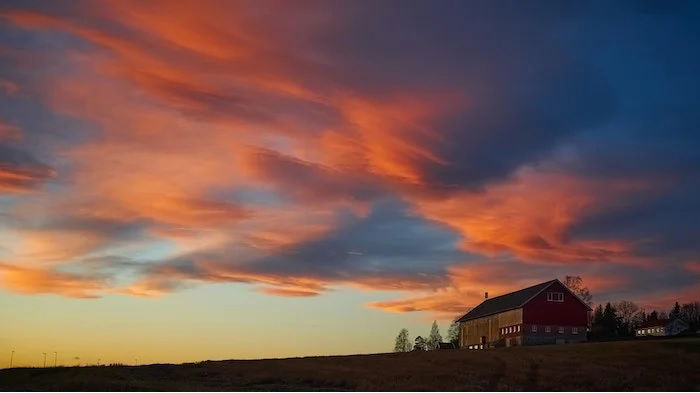
The horizon bridges the gap between the Earth and the sky. And a flat, featureless horizon doesn’t give the viewer much to focus on. But a feature-packed skyline is the perfect remedy, bringing Earth and sky together in a way that’s visually striking.
We usually associate dramatic skylines with cities and cityscapes. And while the towering buildings of a city are perfect for a protruding skyline, they can also be found in the natural world. Rocky ridges or rows of tall trees all produce skylines you can use as powerful features in your photos.
Read our full how-to guide on skyline photography here.

Sunrises
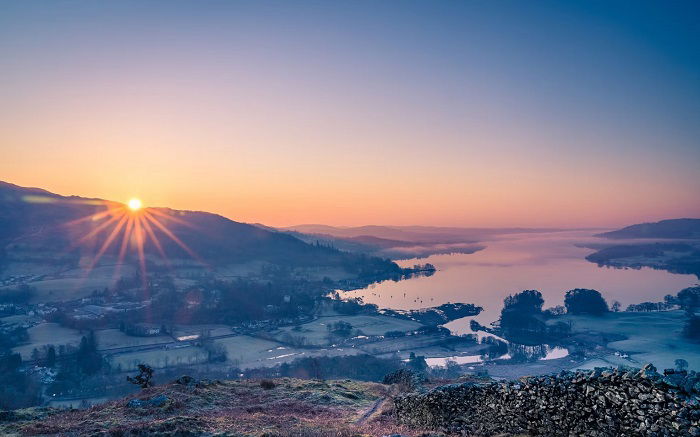
Sunrises produce the most breathtaking skies. The problem is you have to get up super early or stay up all night to catch them. But they are definitely worth the hassle if you want to get the most out of sky photography.
Location scouting is one of the most important aspects of sunrise photography. You have to arrive at the shooting location well before sunrise, which means traveling at night. That can be dangerous in remote areas, so knowing where you’re going is best.
You also need to know the location is a good spot for capturing the sunrise before you shoot. If you arrive only to find it a less-than-ideal spot, the whole morning is wasted. You have to get up early another day to try again.
We have more scouting advice in our full article on shooting sunrise photography.
Sunsets
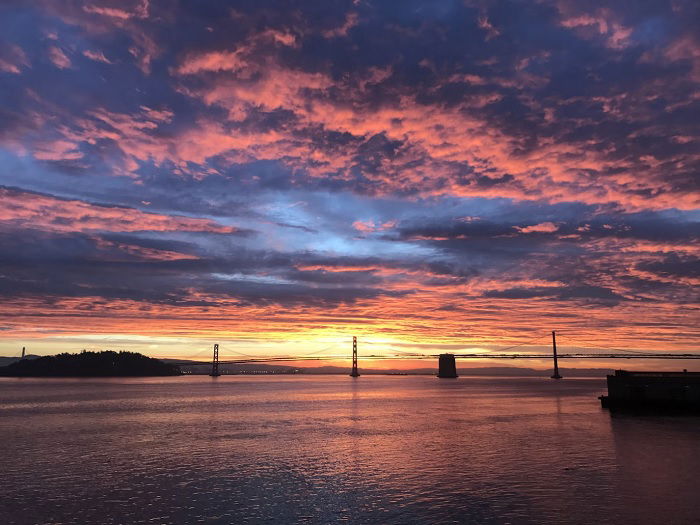
Similar to sunrise photography, sunsets are one of the best opportunities for breathtaking sky photography. Bringing gorgeous colors to clouds overhead, dusk really is one of the best times to point your camera to the skies above.
Many of the practicalities are similar to sunrise photography. You have to scout your locations well in advance. And you’ll need to pack much of the same equipment, including a trustworthy tripod. You’ll also need to know your camera settings to get the best results. Sunsets don’t last long, so you need to know what you’re doing beforehand, or else you’ll miss the moment.
We have all the best techniques for capturing stunning sunsets in our full-length article.
Rainbows
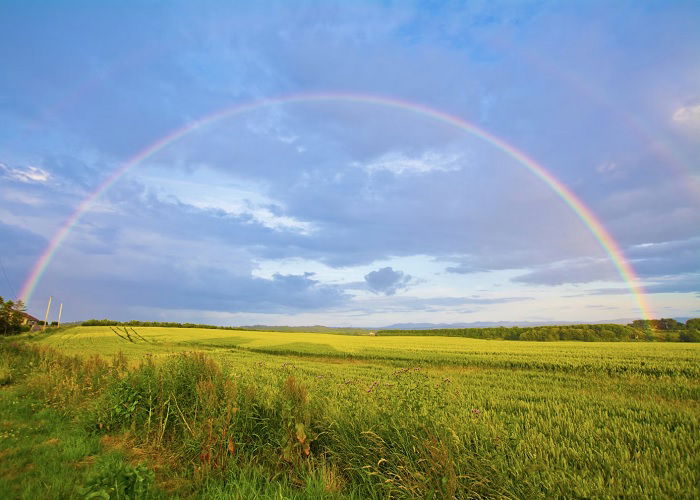
Rainbows are beautiful features that can make your sky photography stand out. But they are not easy to capture. They are fleeting, often only sticking around for a matter of moments. And they are practically impossible to predict. That’s why you need to know how to photograph a rainbow when it appears.
You don’t need to be a meteorologist, but you will need some understanding of the weather. Rainbows only appear when you have a mix of rain and sun. That means you should look for showery weather rather than constant downpours.
Rainbows can look faint in photos. But you can remedy that by taking several exposures of the same rainbow. You then create a composite image so the rainbow is far more striking. You will probably need photo editing software to create the composite. But some cameras have a Pixel-Shift or High-res Shot mode that creates the composite in-camera.
Read our full article on rainbow photography here.
Rain
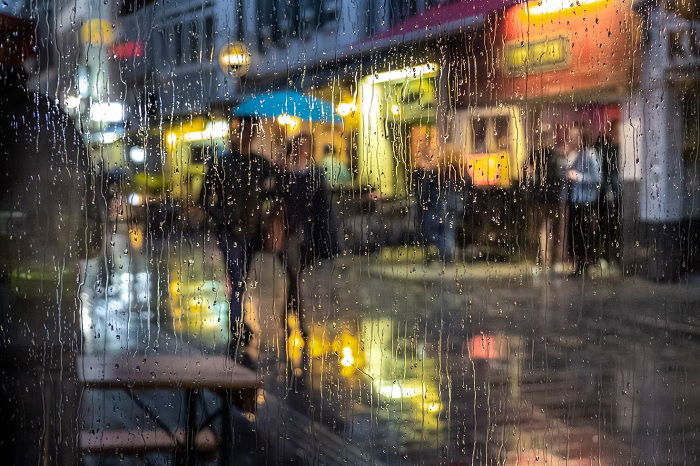
If you want a rainbow, you have to put up with the rain. And you don’t necessarily need to patiently wait for your rainbow. You can use your time to experiment with rain photography. You don’t usually get the best skies when it’s raining, but you can use the rain for powerful, atmospheric photography.
Choosing the right equipment is vital for rain photography. You need weather-sealed gear or additional gear that keeps the camera and lens dry.
Rain gives us new textures, whether that’s droplets on a window or puddles on the ground. We can use these elements in our images. And falling rain creates movement and energy, helping to build atmospheric tension.
With the right equipment, there’s no reason you can’t try rain photography next time it pours down.
Aurora Borealis
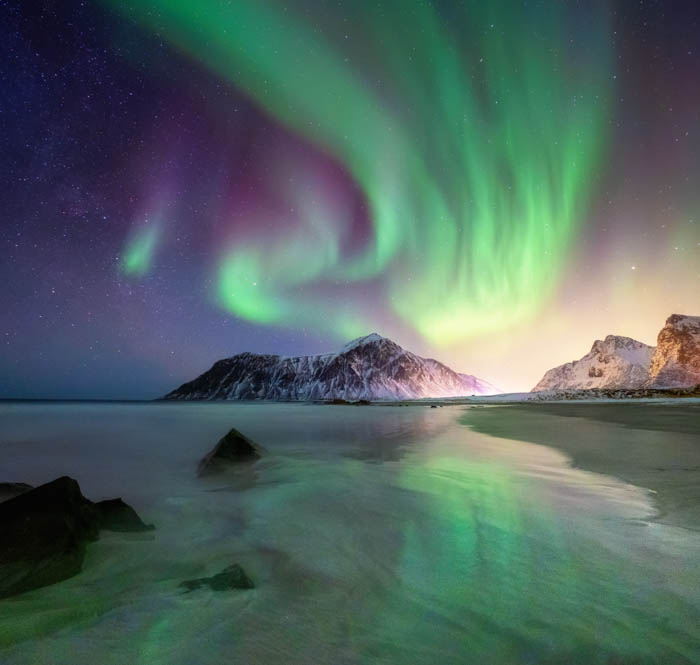
The Aurora Borealis, or the Northern Lights, is one of the most spectacular events in the natural world. The problem is, you have to travel to the Arctic Circle in order to see them. But if you’re willing and prepared, it makes one of the best photography expeditions anywhere in the world.
A tripod is a must-have piece of equipment when shooting the Aurora Borealis. You’ll be using slow shutter speeds, so any camera shake will ruin your image. That’s why a remote shutter release is useful, too.
The Northern Lights are only visible at night, but it’s best to have your camera set up well before dark. Firstly, it’s easier to set everything up in daylight. But it’s also helpful for focusing. You should use manual focus and find a focus point during the day when you have better visibility.
We have even more vital information on photographing the Aurora Borealis in this full-length article.
Sky Photography Editing
Photo editing has become a vital part of all photography genres, and it’s no different with sky photography. Using photo editing software is a great way to add more life and vitality to the skies in your images. You can even use software to replace boring skies in photos.
Adobe Lightroom and Photoshop are the two most popular editing programs. But Software like Skylum’s AI-driven Luminar Neo also has excellent sky editing and replacement tools.
Sky Editing Tips
Shoot in RAW when shooting sky images. This gives you more options when it comes to editing the images later on.
The Graduated Filter tool is the best place to start when editing skies, helping you equalize the exposure across the image. Skies, especially white clouds, can appear overexposed. Adjusting the graduated filter helps balance it with the rest of the image.
Color adjustments can help you bring out the blue, deepening and enriching the color. You can do the same with the oranges and yellows of a cloudy sunset. Use the Adjustment brush for localized edits.
Learn more about editing skies in Lightroom in this in-depth article.
Sky Replacement in Photoshop
Adobe Photoshop is one of the best software suites for replacing skies in your images. It produces the best, most convincing results, and the process is also fairly simple.
Photoshop has a dedicated sky replacement workspace with a catalog of replacement skies. The key is finding a new sky that matches the rest of your image. It’s important to get the time of day and color palette correct, otherwise it will be obvious that you changed the sky.
Click this link to read the full step-by-step guide on replacing skies in Photoshop.
Sky Replacement Apps
While Photoshop is one of the best applications for using a Sky Replacement tool, it is by no means the only one.
Luminar Neo is a fantastic software suite from Skylum. Driven by the power of artificial intelligence, it has one-click solutions to once arduous editing tasks. They’ve even streamlined the sky replacement process, making it quick and easy to completely replace a sky.
But sky replacement editing isn’t limited to computer applications, you can also find sky replacement tools in some smartphone apps.
Lightleap is our top recommendation for sky replacement with a smartphone. It’s available for Android and iOS phones. The sky replacement process is fairly straightforward and works very well.
Read more about these sky replacement apps and more in our full-length article.
